Most riders aren’t deciding between racing downhill through rock gardens or chasing podium finishes. They’re trying to answer a simpler question: which bike will feel good on the streets they actually ride?
When comparing a hybrid vs. mountain bike, the difference shows up in everyday moments. Rolling over cracked pavement. Climbing a short hill on the way to work. Coasting along a paved trail. Taking a spontaneous turn onto light gravel.
A hybrid bike is built for mixed surfaces and practical comfort. A mountain bike is designed for traction, control, and impact absorption on rough terrain. Both can handle real-world riding, but they feel very different once you start logging miles.
This guide breaks down what changes between the two in terms of speed, comfort, tire width, suspension, maintenance, and overall ride experience. The goal is simple: help you choose the bike you’ll actually want to ride more often.
What a Hybrid Bike Is Designed to Do
A hybrid bike blends the upright comfort of a city bike with the efficiency of a road bike. It typically features:
- Medium-width tires with moderate tread
- A lightweight frame
- Flat handlebars for upright posture
- Rigid forks or short-travel suspension
- Gearing suited for pavement and light hills
Hybrids are built for versatility. They’re comfortable on pavement, stable on bike paths, and capable on light gravel or crushed stone. They prioritize efficiency without forcing an aggressive riding position. For most everyday riders, that balance matters more than extreme capability.
What a Mountain Bike Is Designed to Do
A mountain bike is engineered for control on unpredictable terrain. Standard features include:
- Wide, knobby tires
- Suspension forks, often with longer travel
- Stronger frames
- Powerful disc brakes
- Lower gearing for steep climbs
Mountain bikes shine on dirt trails, loose gravel, rocks, roots, and steep descents. The design favors traction and durability over rolling speed. On smooth pavement, though, those same features can feel slower and heavier than necessary.
Pavement Performance: Rolling Speed and Effort
For most riders, pavement makes up the majority of miles. This is where the hybrid vs mountain bike comparison becomes obvious. Hybrid bikes roll faster on smooth surfaces. Their tires are narrower and less aggressive, which reduces rolling resistance. That means less effort per mile and a smoother, quieter ride.
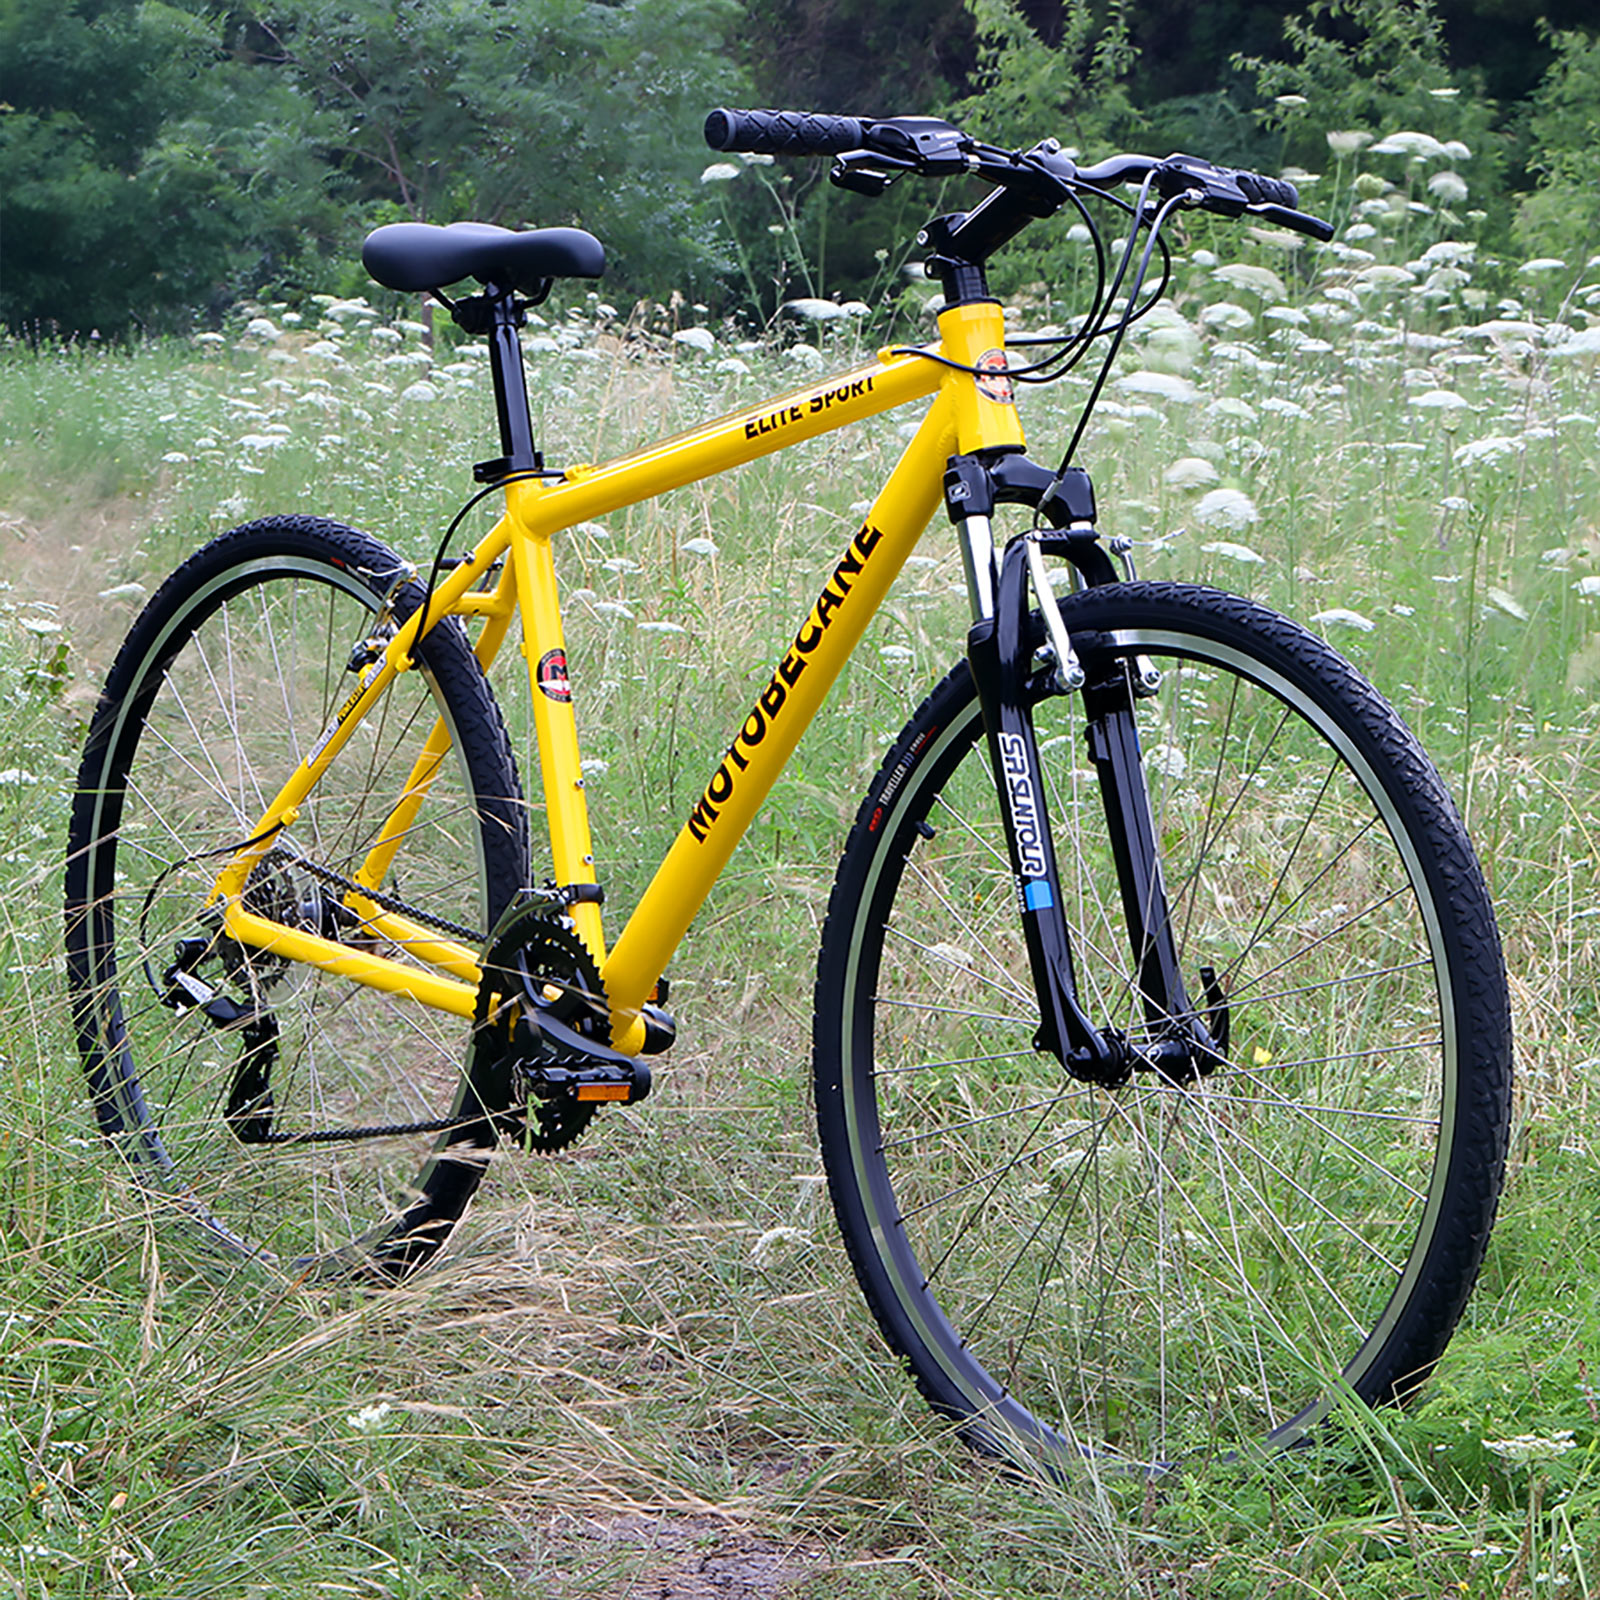
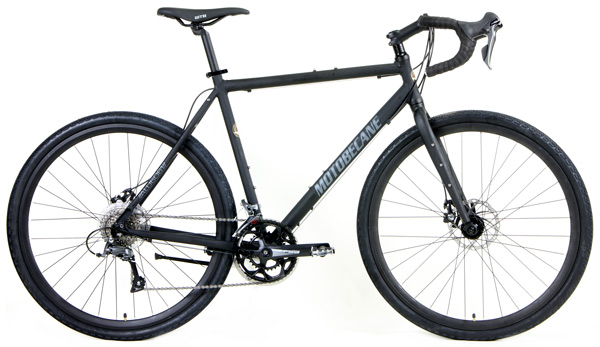
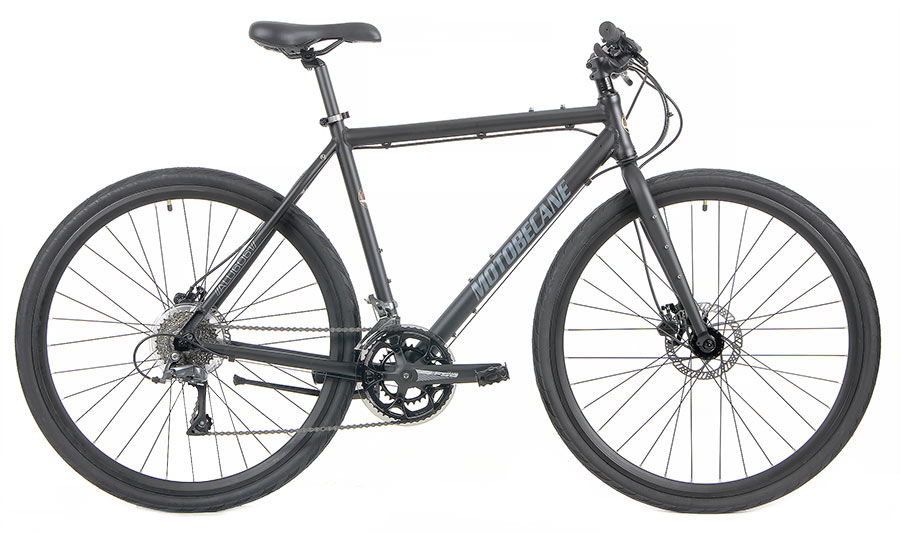
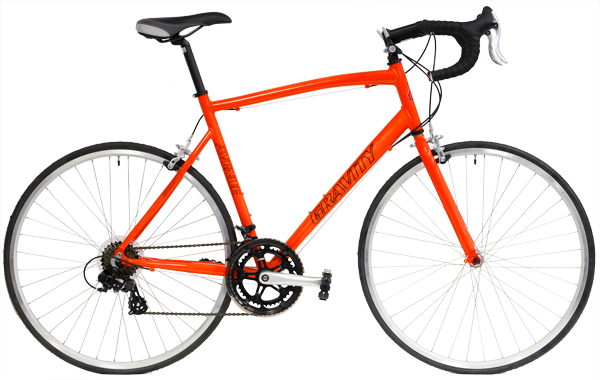
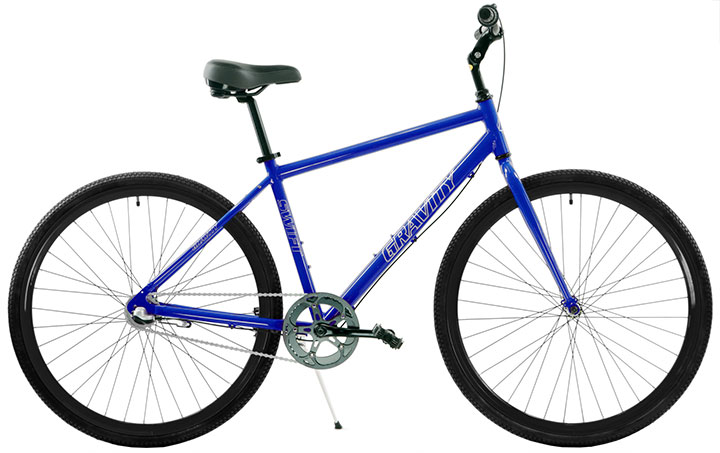
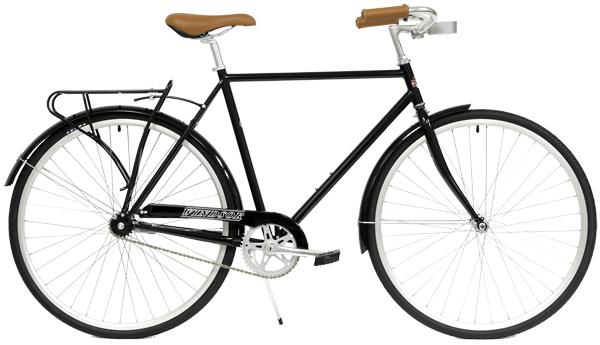
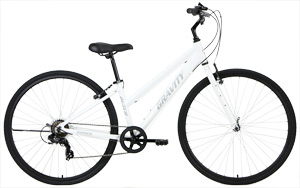
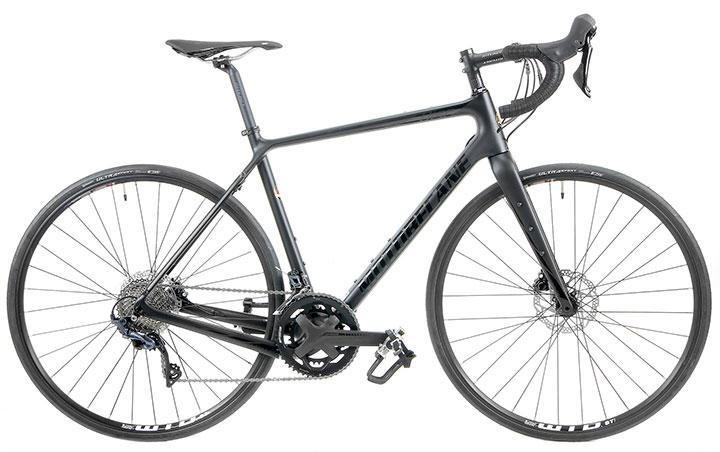
Mountain bikes, with their knobby tires and suspension systems, absorb more energy. You feel stable, but you work harder to maintain the same speed. The difference may not matter on short errands, but over 10 to 15 miles, it adds up. If your rides are primarily city streets, paved paths, or suburban roads, a hybrid often feels lighter and more responsive. The Gravity X-Rod 10 leans slightly sportier within the hybrid category. With multi-speed gearing and a lighter frame feel, it maintains strong rolling efficiency on pavement while remaining stable on park paths and light gravel. Riders who want fitness-focused performance without the forward-leaning posture of a road bike often find this style appealing. It shows how hybrids can feel quick and responsive without becoming specialized or demanding.
Rough City Roads: Comfort and Control
Not all pavement is smooth. Many riders deal with cracked asphalt, potholes, expansion joints, and uneven surfaces.
Here, mountain bikes feel planted. The wide tires and suspension soak up bumps. The bike tracks straight even when the surface is unpredictable.
Hybrid bikes still perform well on rough roads, especially models with slightly wider tires. Many riders find that proper tire pressure and good saddle choice make more difference than suspension for typical city riding.
For moderate bumps and debris, hybrids are usually comfortable enough without the added weight and maintenance of full suspension.
Bike Paths and Light Gravel
Crushed limestone paths and light gravel trails are common weekend routes. This terrain is often where riders start wondering about capability.
Hybrid bikes handle light gravel confidently. Their tires offer enough grip for stable cornering while maintaining good rolling speed.
Mountain bikes feel extremely secure on gravel. If your routes regularly include loose surfaces, deeper stones, or uneven trail sections, that added traction may matter.
Some riders also consider a gravel bike for this category. Gravel bikes lean closer to road geometry but with wider tires and drop bars. However, if you prefer flat handlebars and upright comfort, hybrids remain a practical choice.
For casual gravel paths rather than technical trails, hybrids usually feel sufficient and more efficient.
Trails: Where Mountain Bikes Pull Ahead
True off-road trails with roots, rocks, tight turns, and elevation changes are mountain bike territory. The geometry, suspension, and braking systems of a mountain bike provide control that hybrids cannot match on technical terrain.
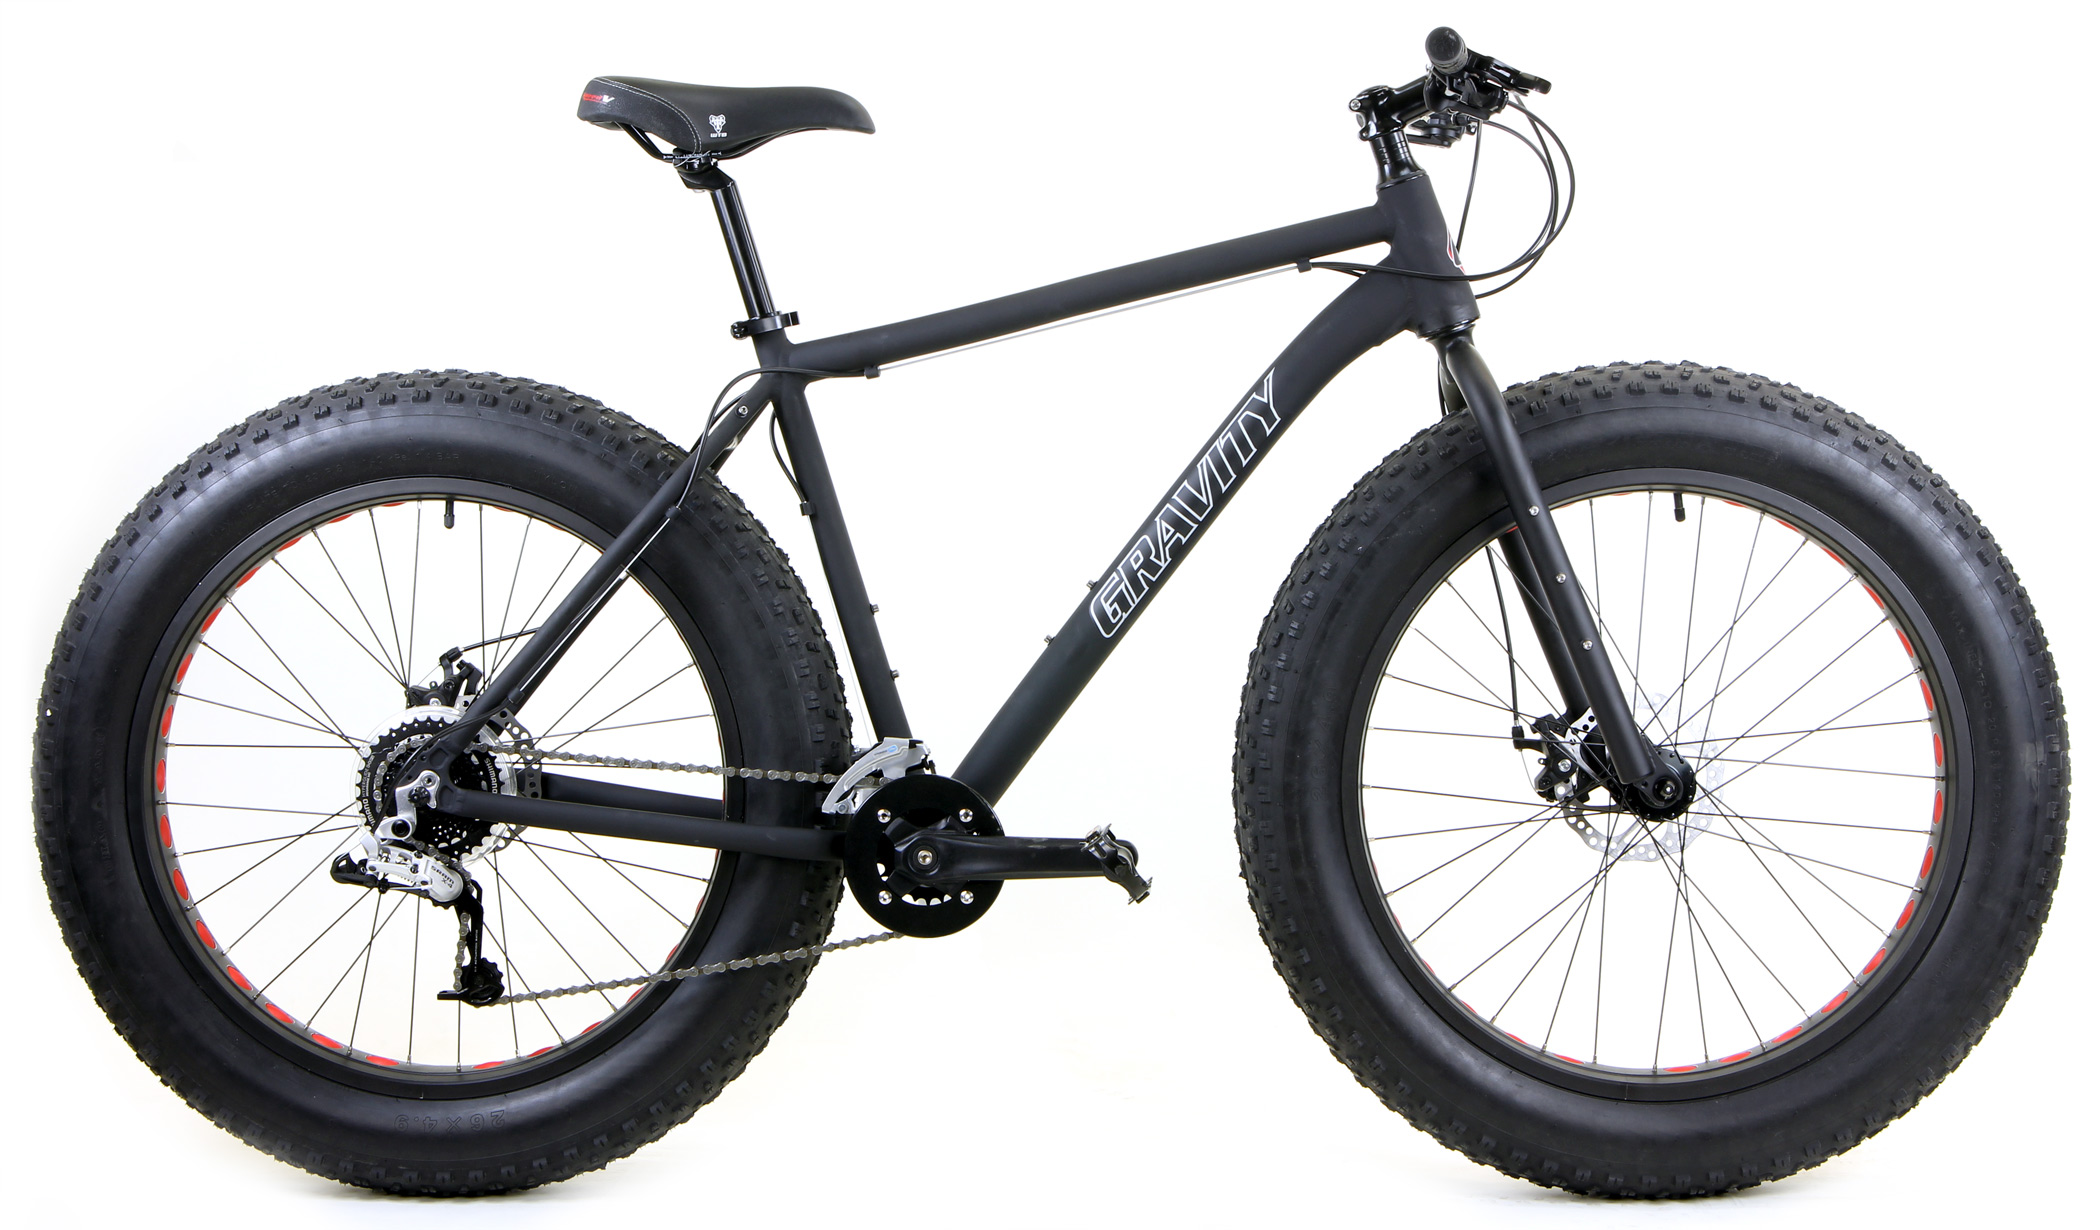
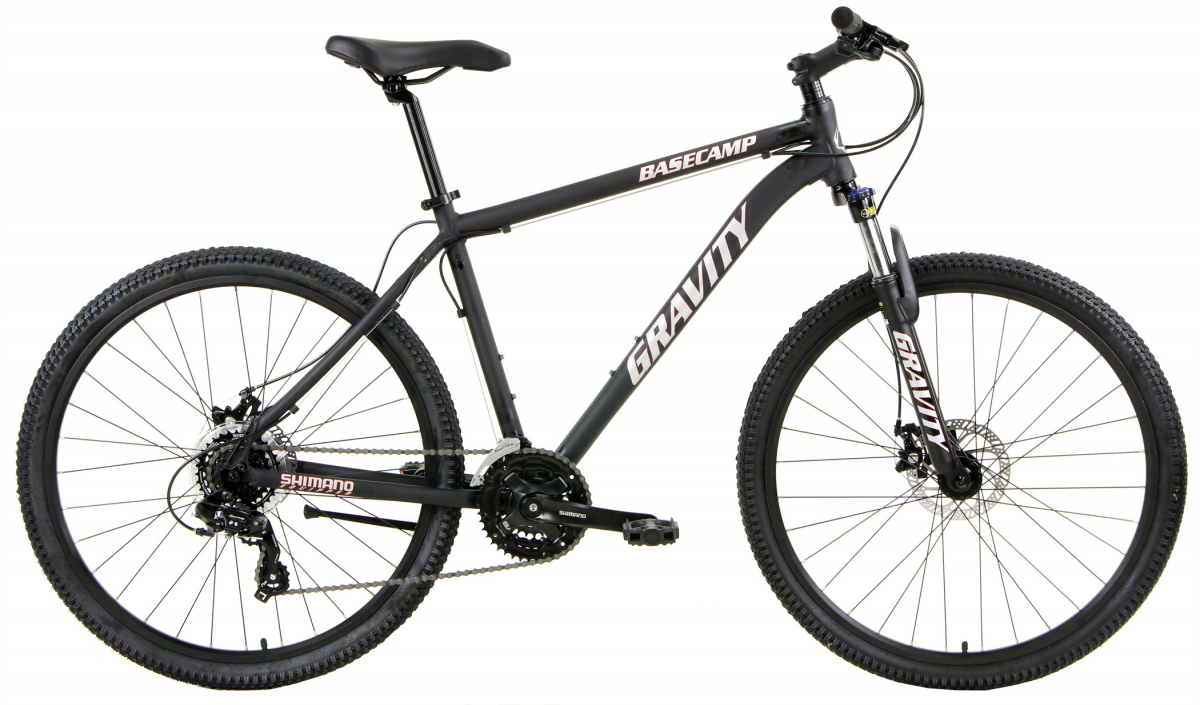
If your plan includes regular singletrack riding or challenging dirt trails, the mountain bike’s design advantages become essential rather than optional. But for riders whose “trails” mean park paths and packed dirt, a hybrid often covers the need. For riders who want a capable trail machine without stepping into overly aggressive territory, the Gravity Basecamp LTD27 represents what modern hardtail mountain bikes do well. Built around a durable aluminum frame with 27.5-inch wheels, it balances maneuverability and stability on tight turns and rolling singletrack. The suspension fork absorbs roots and rocky chatter, while wide tires maintain grip when terrain becomes unpredictable. It’s a strong example of how a mountain bike prioritizes control and confidence when pavement ends and real trail riding begins.
Sand and Snow
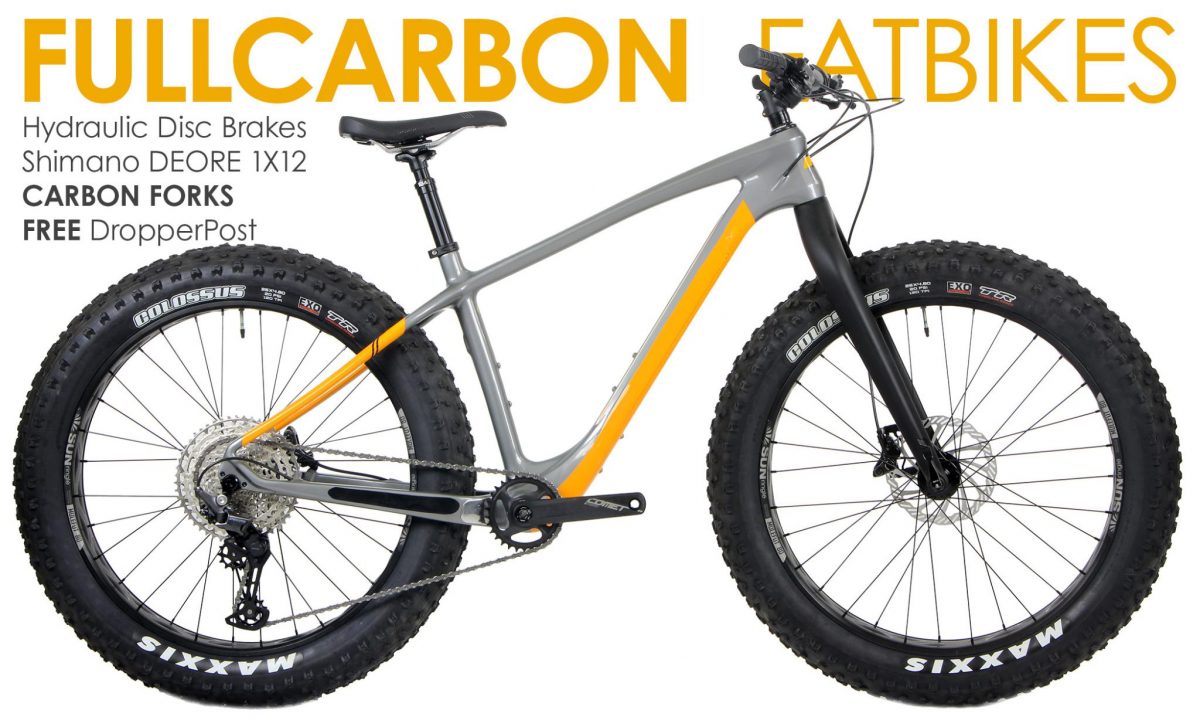
Sand and snow require specialized traction. In these conditions, even mountain bikes can struggle. A fat bike is built specifically for soft surfaces, using extra-wide tires to distribute weight and maintain grip. Neither a standard hybrid nor a standard mountain bike matches that performance in deep sand or snow. If these surfaces are rare in your riding routine, they shouldn’t dictate your primary bike choice.
Casual Cruising and Relaxed Riding
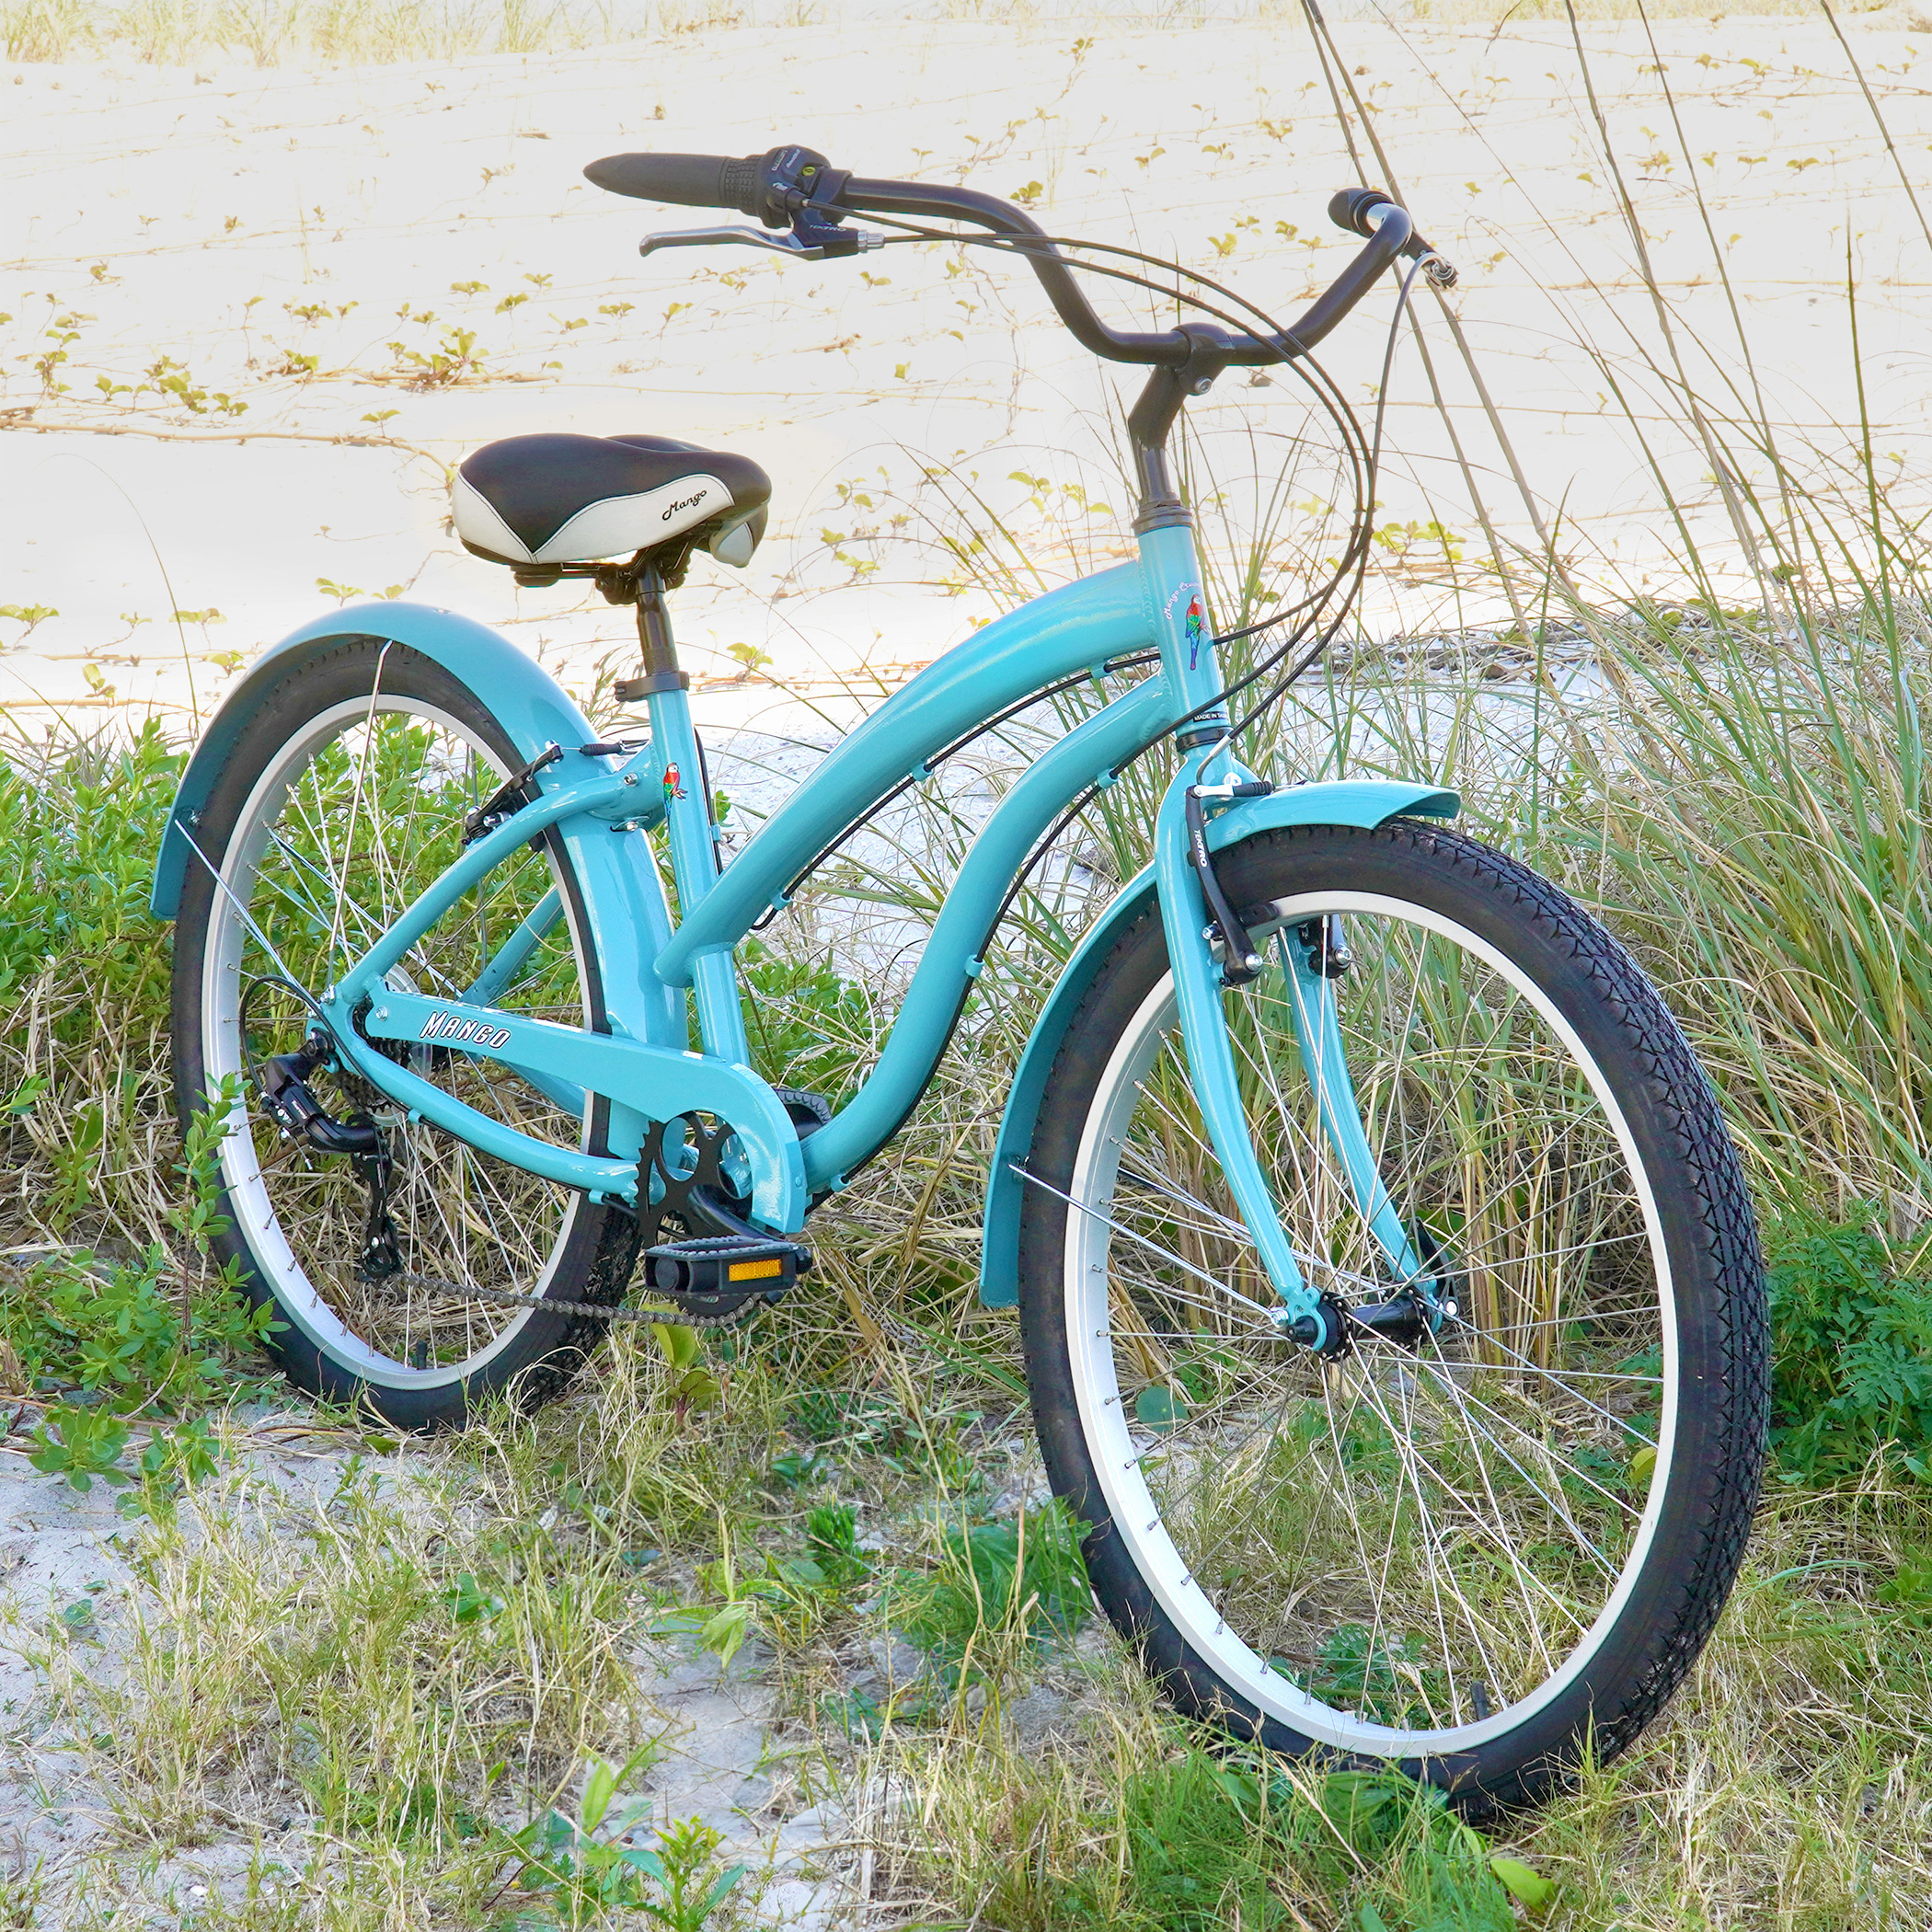
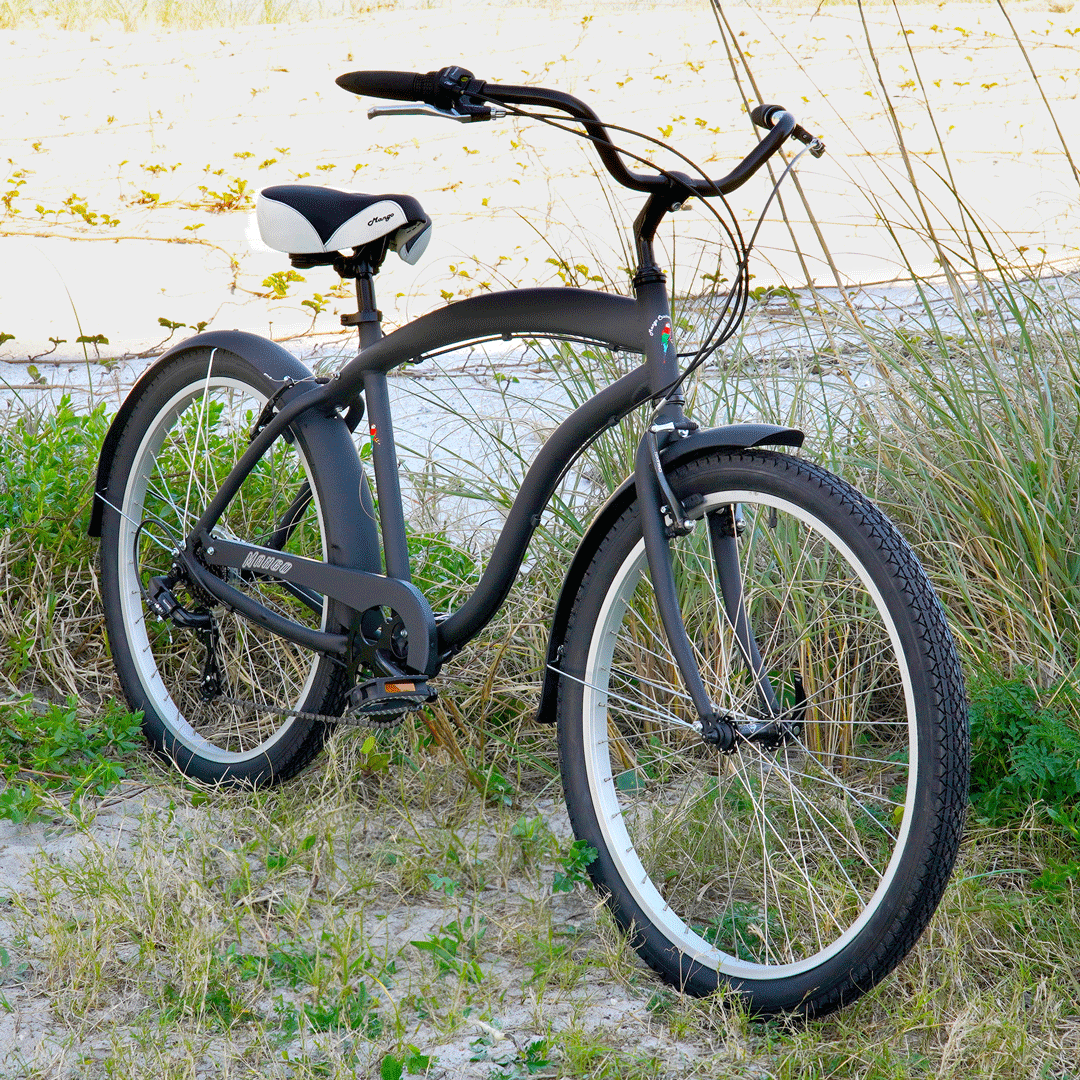
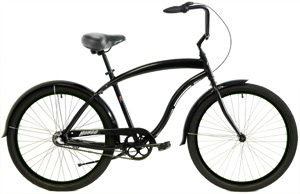
Some riders prioritize comfort above all. Short neighborhood loops, boardwalk paths, or slow weekend spins. A beach cruiser is built specifically for that relaxed experience, with wide saddles and simple gearing. Hybrids can deliver a similar upright feel while offering more versatility and gearing options. Mountain bikes feel more aggressive in this setting. Their suspension and knobby tires are often unnecessary for casual cruising.
Tire Width: How Much Is Enough?
Tire width significantly affects ride feel. Hybrid tires typically range from 32mm to 45mm. They strike a balance between efficiency and comfort. Mountain bike tires often start around 2.2 inches wide and go up from there. The increased air volume improves shock absorption and traction but increases rolling resistance.
For pavement and light mixed use, moderate-width hybrid tires provide enough comfort without slowing you down.
Suspension: Helpful or Overkill?
Suspension improves comfort on rough terrain. But it also adds weight, complexity, and maintenance. Front suspension on a mountain bike absorbs impacts and increases control on trails. On smooth pavement, though, that movement can feel inefficient.
Many hybrid bikes use rigid forks. Some include short-travel suspension for added comfort. For everyday city riding, rigid setups often feel simpler and more responsive. If your rides rarely involve technical off-road terrain, full suspension can become unnecessary complexity.

Maintenance Considerations
Mountain bikes generally require more maintenance due to:
- Suspension servicing
- Heavier drivetrain wear from dirt riding
- More complex components
Hybrid bikes tend to be simpler and easier to maintain, especially when used primarily on pavement.
For riders who value low upkeep and straightforward ownership, this difference matters over time.
Rider Goals: Fitness
If your goal is fitness, rolling efficiency makes a difference. Hybrid bikes allow steady, comfortable miles without excessive effort from tire drag. They encourage longer rides on mixed surfaces. Mountain bikes build strength through added resistance, but many riders find themselves working harder than necessary on pavement. If your fitness plan includes paved routes and bike paths, hybrids often feel more sustainable.
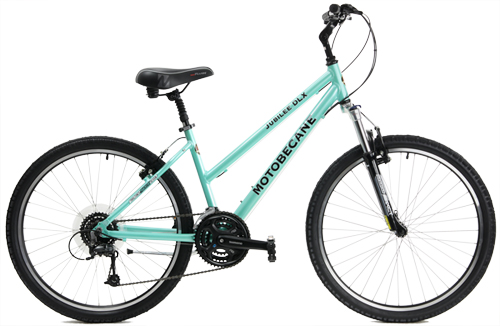
The Motobecane Fantom 2.5 EAGLE shows how far modern hardtail performance has evolved. Equipped with a wide-range 1x drivetrain, it simplifies shifting while giving riders the gearing needed for steep climbs and fast descents. The 27.5-inch platform keeps handling responsive, especially on technical terrain where quick direction changes matter. For riders who regularly push into dirt, rock gardens, and elevation shifts, this kind of build demonstrates when a mountain bike becomes more than practical, it becomes necessary.
Rider Goals: Commuting
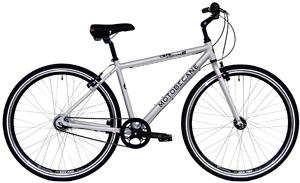
Commuters need reliability, comfort, and efficiency. Hybrids typically include mounting points for racks and fenders, making them practical daily transport.Mountain bikes can commute, but their heavier build and tire drag may feel excessive unless your route includes rough trails. For urban travel, hybrids often feel better suited.
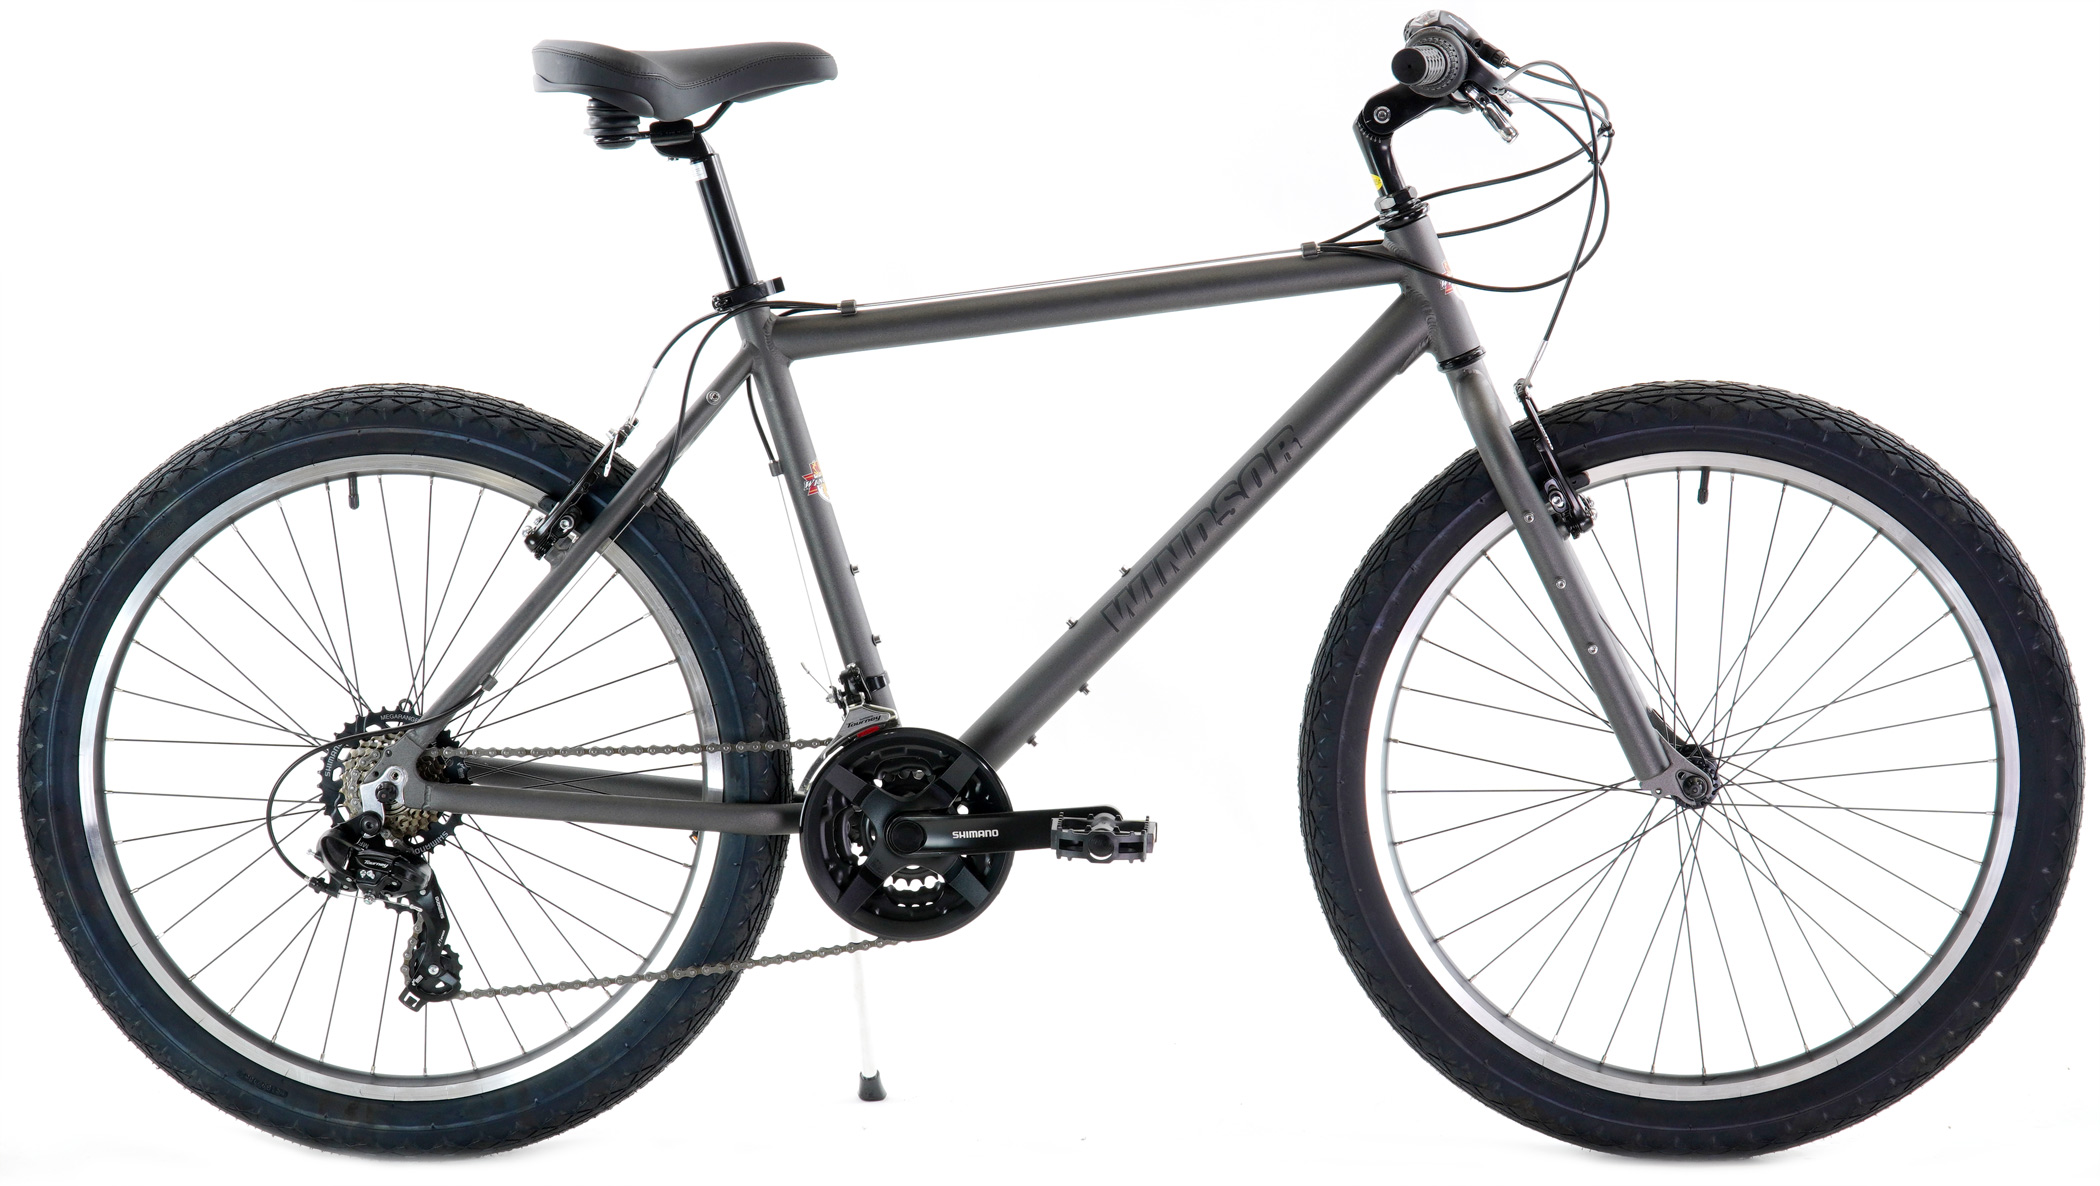
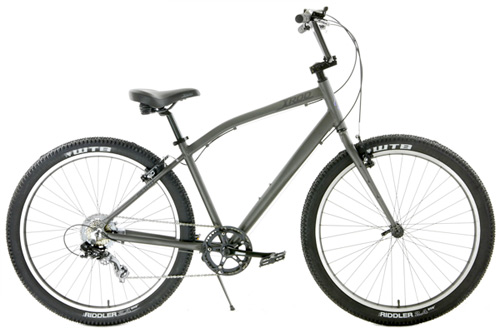
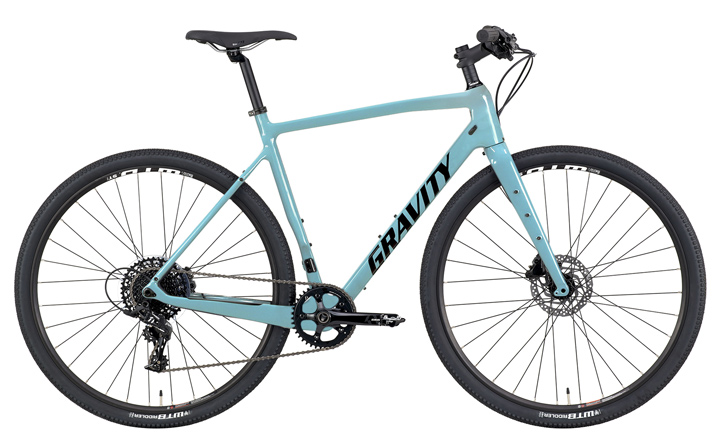
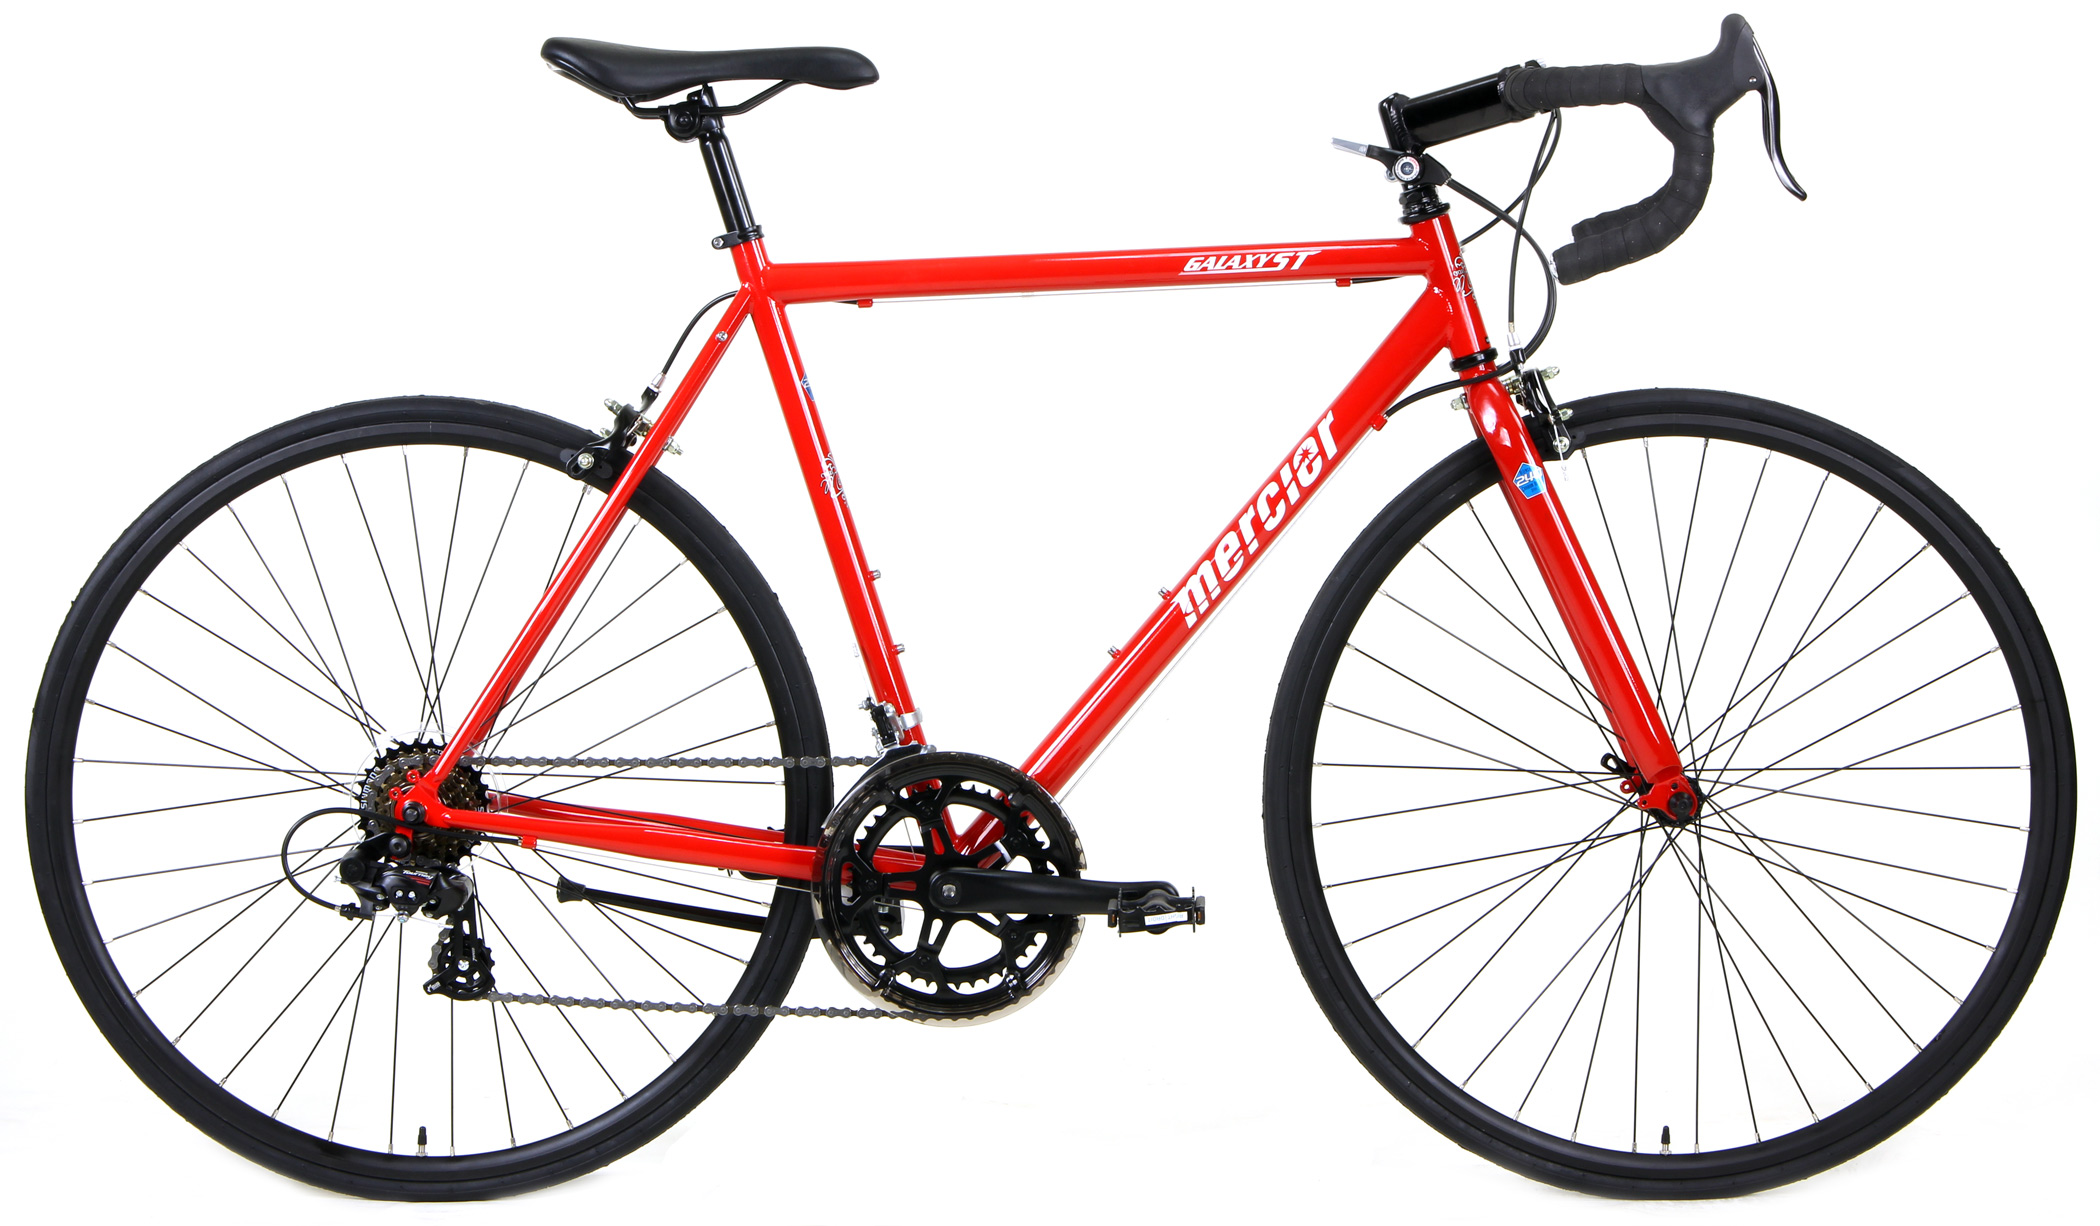
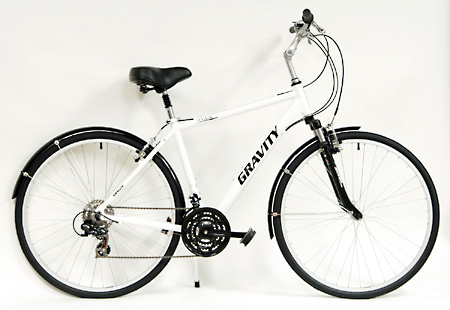
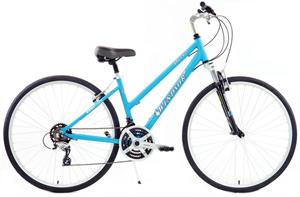
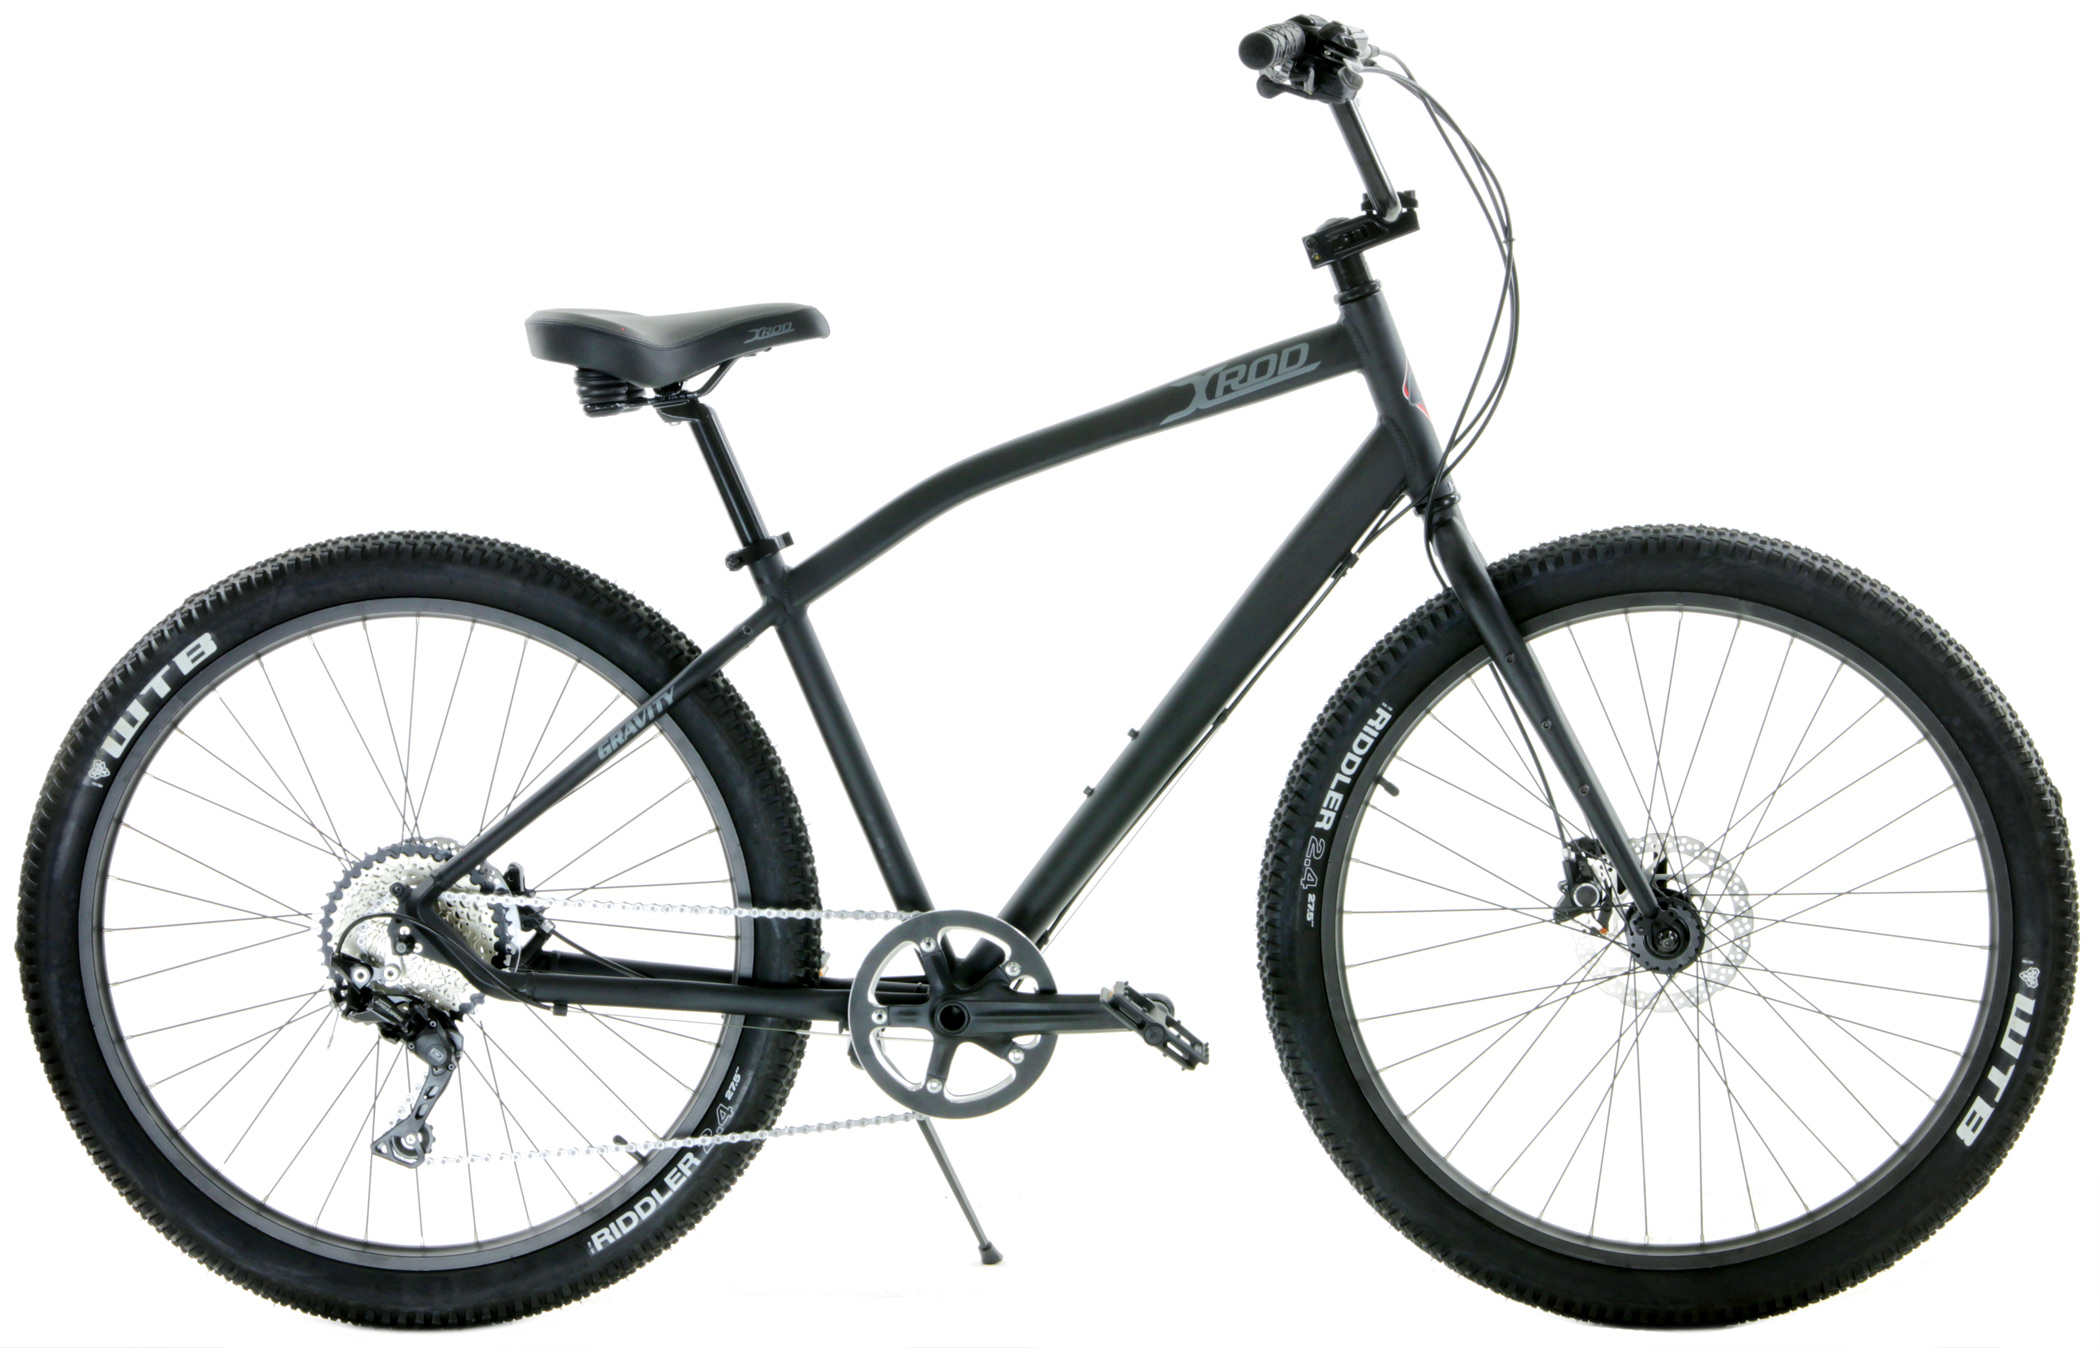
The WFB SuperCommute is a practical example of how a hybrid bike supports everyday riding. Its flat-bar design keeps posture upright and comfortable, while disc brakes provide reliable stopping power in varied weather. The steel frame adds durability without sacrificing ride quality, making it well suited for daily commuting, errands, or fitness miles on mixed pavement. It reflects what hybrids do best: combine efficiency with comfort in a way that encourages consistent riding.
Rider Goals: Recreation
Weekend rides with family or friends usually involve mixed surfaces and moderate speeds.
Hybrid bikes fit this category well. They’re stable, comfortable, and efficient.
Mountain bikes excel if recreation includes real trail exploration rather than paved park paths.
Rider Goals: Adventure
If adventure means exploring forest roads, rocky climbs, and uneven terrain, mountain bikes offer clear advantages. If adventure means mixing pavement with light gravel detours, hybrids often provide enough capability without sacrificing speed.
Rider Goals: Performance
For pure speed on pavement, a road bike remains unmatched. Neither hybrids nor mountain bikes are designed for competitive road performance. But between the two, hybrids generally maintain higher average speeds on smooth surfaces. Mountain bikes are performance machines in the dirt, not on the street.
A Practical Decision Framework
When deciding in the hybrid vs mountain bike debate, ask:
- Where will I ride 70 percent of the time?
- Do I want faster rolling or maximum traction?
- Am I maintaining suspension components?
- Do I plan to ride technical trails regularly?
- Which bike feels comfortable during a 10-mile ride?
If most of your miles are pavement, paths, and light gravel, hybrids often feel more enjoyable long term.
If technical dirt trails are a regular part of your routine, mountain bikes justify their design.
The Bike You Ride More Wins
A bike that feels easy to ride gets used more often. That consistency builds fitness, confidence, and enjoyment. Choosing based on realistic riding patterns, rather than extreme scenarios, leads to better long-term satisfaction.
Hybrid bikes simplify daily miles. Mountain bikes expand off-road capability. Neither is universally better. The right choice depends on your terrain, goals, and maintenance preferences. In the end, the better bike is the one that matches your actual roads, not the toughest route you might ride once. Explore the category that fits your real-world riding style and choose the bike that makes you want to head out again tomorrow.
Find the Bike That Matches the Miles You Actually Ride
The hybrid vs mountain bike decision becomes simple when you focus on your real routes, not extreme scenarios. Think about where your wheels spend most of their time. Smooth pavement, neighborhood streets, park paths, light gravel, or technical dirt trails. The right bike should feel natural on those surfaces and motivate you to ride consistently.
If your miles lean toward pavement, bike paths, commuting, and weekend fitness loops, explore a hybrid bike built for comfort and rolling efficiency. If your riding includes rocky terrain, root-covered trails, and steeper off-road climbs, a dedicated mountain bike delivers the traction and control those environments demand.
For riders mixing pavement with rougher backroads, a versatile gravel bike offers another practical option. If speed on smooth roads is the priority, a purpose-built road bike keeps effort low and momentum high. Planning to ride sand or snow? A wide-tire fat bike provides the flotation and grip those surfaces require. And for relaxed neighborhood cruising or boardwalk rides, a comfortable beach cruiser keeps things simple and enjoyable.
The best bike is the one that fits your terrain, your pace, and your goals. Explore the category that aligns with how you actually ride, and choose the bike that makes you want to head back out tomorrow.