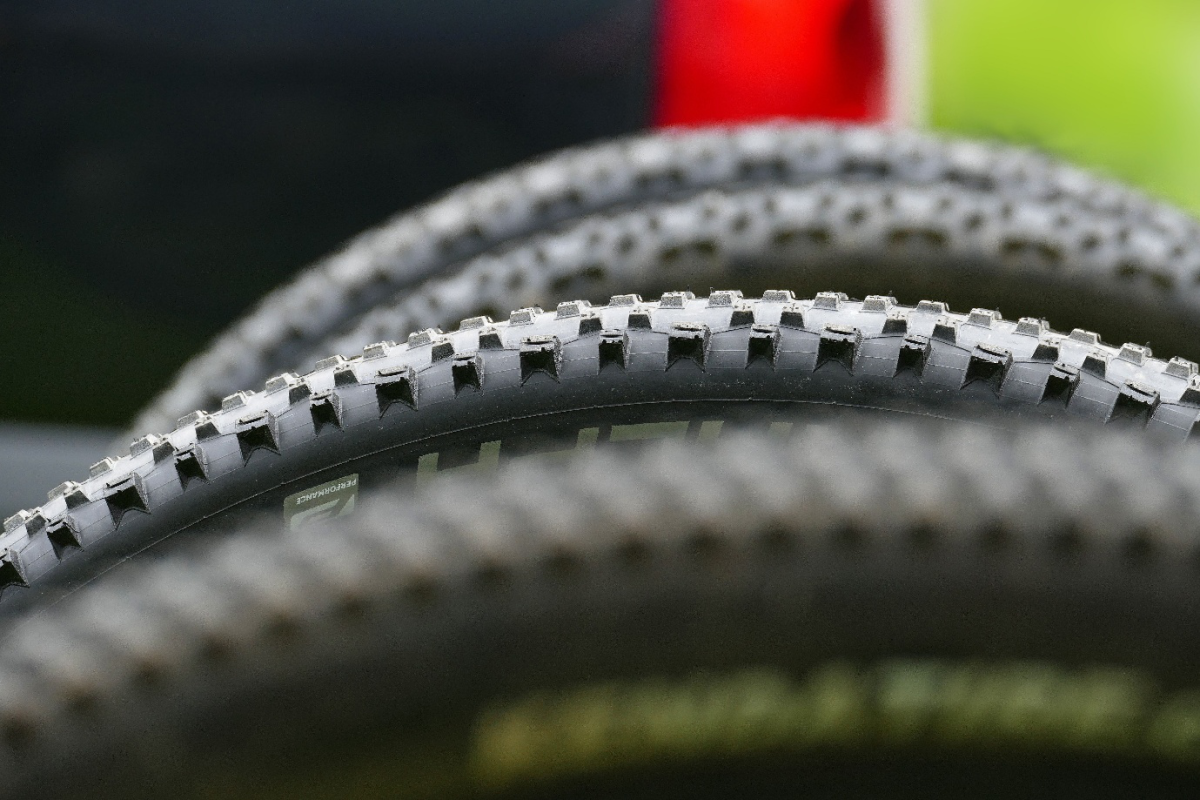
Tires shape how a bicycle feels more than riders expect. They affect grip, comfort, speed, puncture protection, and confidence on rough surfaces. That is why more cyclists are asking about tubeless bike tires pros and cons before upgrading. A tubeless setup removes the inner tube and uses an airtight tire, compatible rim, valve, tape, and liquid sealant.
Here’s what you should know before deciding whether a tubeless tire setup is the right choice for your riding style and needs.
What Makes Tubeless Different?
Traditional bike tires use an inner tube to hold air. When a sharp object pierces the tire and tube, the tube loses air quickly. Tubeless tires hold air directly inside the tire and rim system. Liquid sealant inside the tire can close small punctures as they happen.
This design started gaining popularity in off-road cycling, where thorns, rocks, and low pressures are common. Today, many modern bikes and wheels are tubeless-ready. Still, compatibility matters. The tire, rim, tape, and valve must work together, or the system may leak, burp air, or become frustrating to install.
Pro: Better Puncture Resistance
The most popular benefit is puncture protection. Sealant can plug small holes from thorns, glass, and wire before you notice them. For a gravel bike or mountain bike, this can prevent trail interruptions and long walks home. Commuters on a hybrid bike may also appreciate fewer flats from city debris.
Every cyclist remembers that one perfect ride — the one where everything clicked. The gears hummed, the wind cooperated, and the tires rolled so smoothly it felt like flying. That effortless feeling isn’t just luck; it’s often the magic of a tubeless tire setup done right.
Whether you’re cruising on a road bike, exploring new trails on a mountain bike, or tackling mixed terrain on a gravel bike, going tubeless can transform your experience. No more pinch flats. No more overinflated tires bouncing off every pebble. Just smooth traction, efficient rolling, and peace of mind on every mile.
What “Tubeless Ready” Really Means
Walk into any bike shop or browse through hybrid bike specs online, and you’ll see the words tubeless ready stamped on rims and tires. But what does that really mean?
“Tubeless ready” indicates that the rims and tires are designed to form an airtight seal — without needing an inner tube. The rim bed is slightly modified to work with sealant and a tight-fitting tire bead, preventing air from leaking out.
However, “tubeless ready” doesn’t always mean tubeless out of the box. You’ll need three essentials: tubeless tape to seal spoke holes, tubeless valves, and a quality sealant. Once set up, you’ll wonder how you ever rode without it — the system self-heals small punctures instantly, letting you keep rolling when others are pulling over with a flat.
How Much Sealant Is Enough?
Getting the sealant right is key to a successful tubeless tire setup. Too little, and you’ll end up with leaks; too much, and you’re just adding weight and mess.
As a general rule:
Road tires (25–32mm): around 1 to 1.5 ounces per tire
Shake the sealant bottle thoroughly before use — the active ingredients can settle at the bottom. Then pour it directly into the tire before seating the final bead, or inject it through the valve using a sealant syringe if you prefer less mess. Rotate and shake the wheel gently afterward to distribute it evenly across the inner surface.
It’s worth checking the sealant every few months, especially in dry climates, since it can harden over time. Refill as needed to keep your protection at peak performance.
Taming the Stubborn Bead: Seating Made Simple
Here’s where many first-timers get stuck — literally. That last bit of tire bead just doesn’t want to pop into place. Don’t panic; it’s a rite of passage.
Start by ensuring the rim tape is applied smoothly and the valve stem is snug. Add a little soapy water around the tire bead — it helps it slide into place and seal faster. Then comes the air rush:
If you have a compressor or a tubeless-specific floor pump, hit it with a quick burst of air to snap the bead into place. Listen for the telltale “pop-pop” — that’s your tire sealing beautifully against the rim.
For stubborn cases, remove the valve core to allow a greater rush of air during inflation. Once seated, reinflate with the valve core back in, and you’re ready to roll. It’s a moment of triumph every rider remembers — the satisfying sound of your tubeless dream coming to life.
Finding the Perfect Pressure for Your Ride
The right tire pressure can make or break your tubeless experience. Lower pressures improve grip and comfort, but go too low and you risk burping air or damaging the rim.
For road bikes, aim for 70–90 psi for most riders, depending on tire width and weight. Wider tires can go lower, especially if your rim supports it.
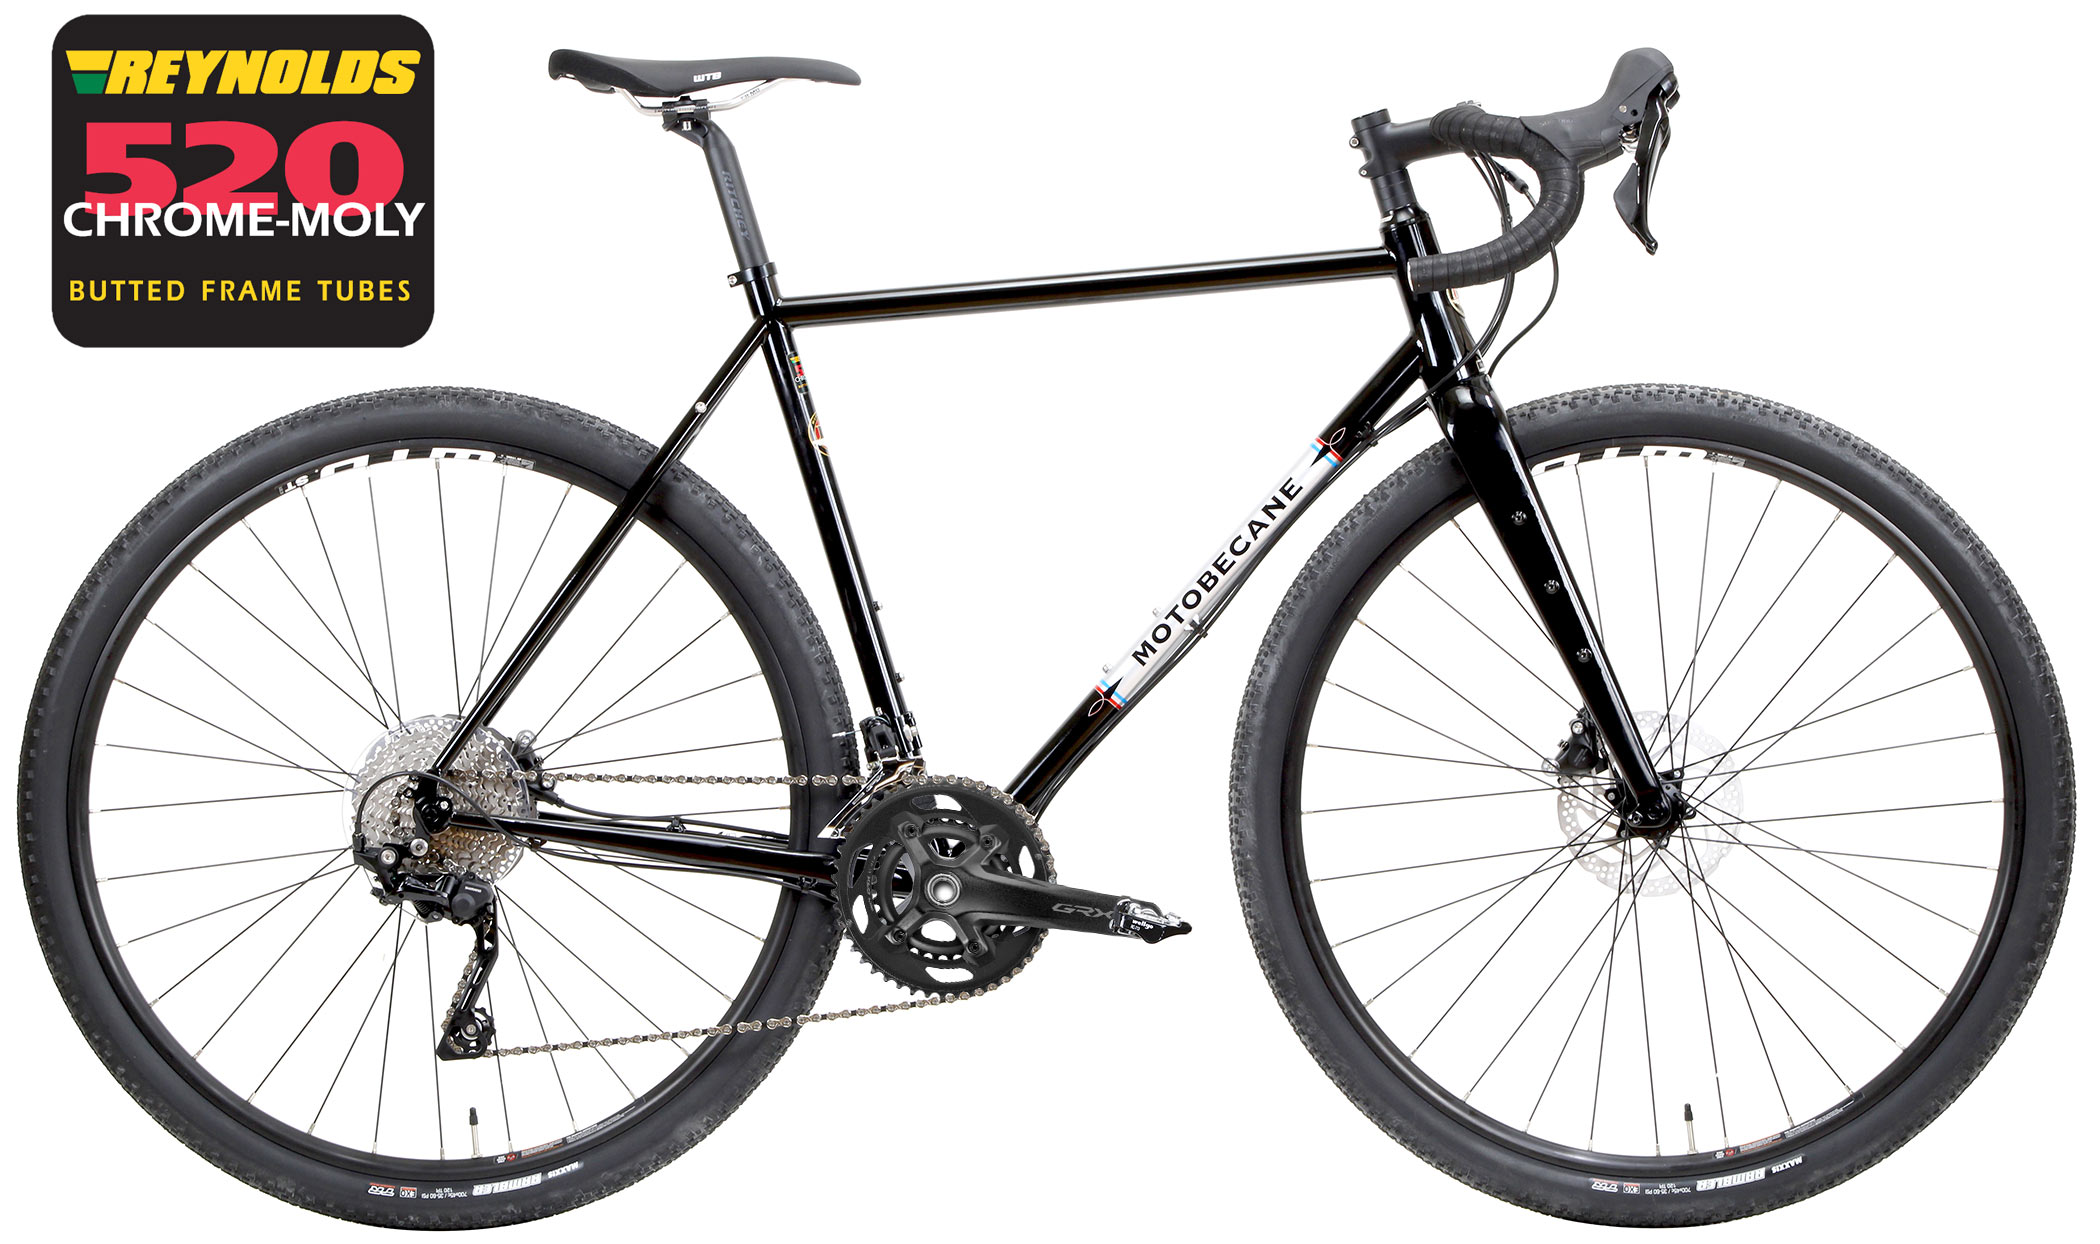
If you’re rolling on a gravel bike, try 35–50 psi. This range balances comfort with speed while letting the tire conform to rough terrain without jarring your hands.
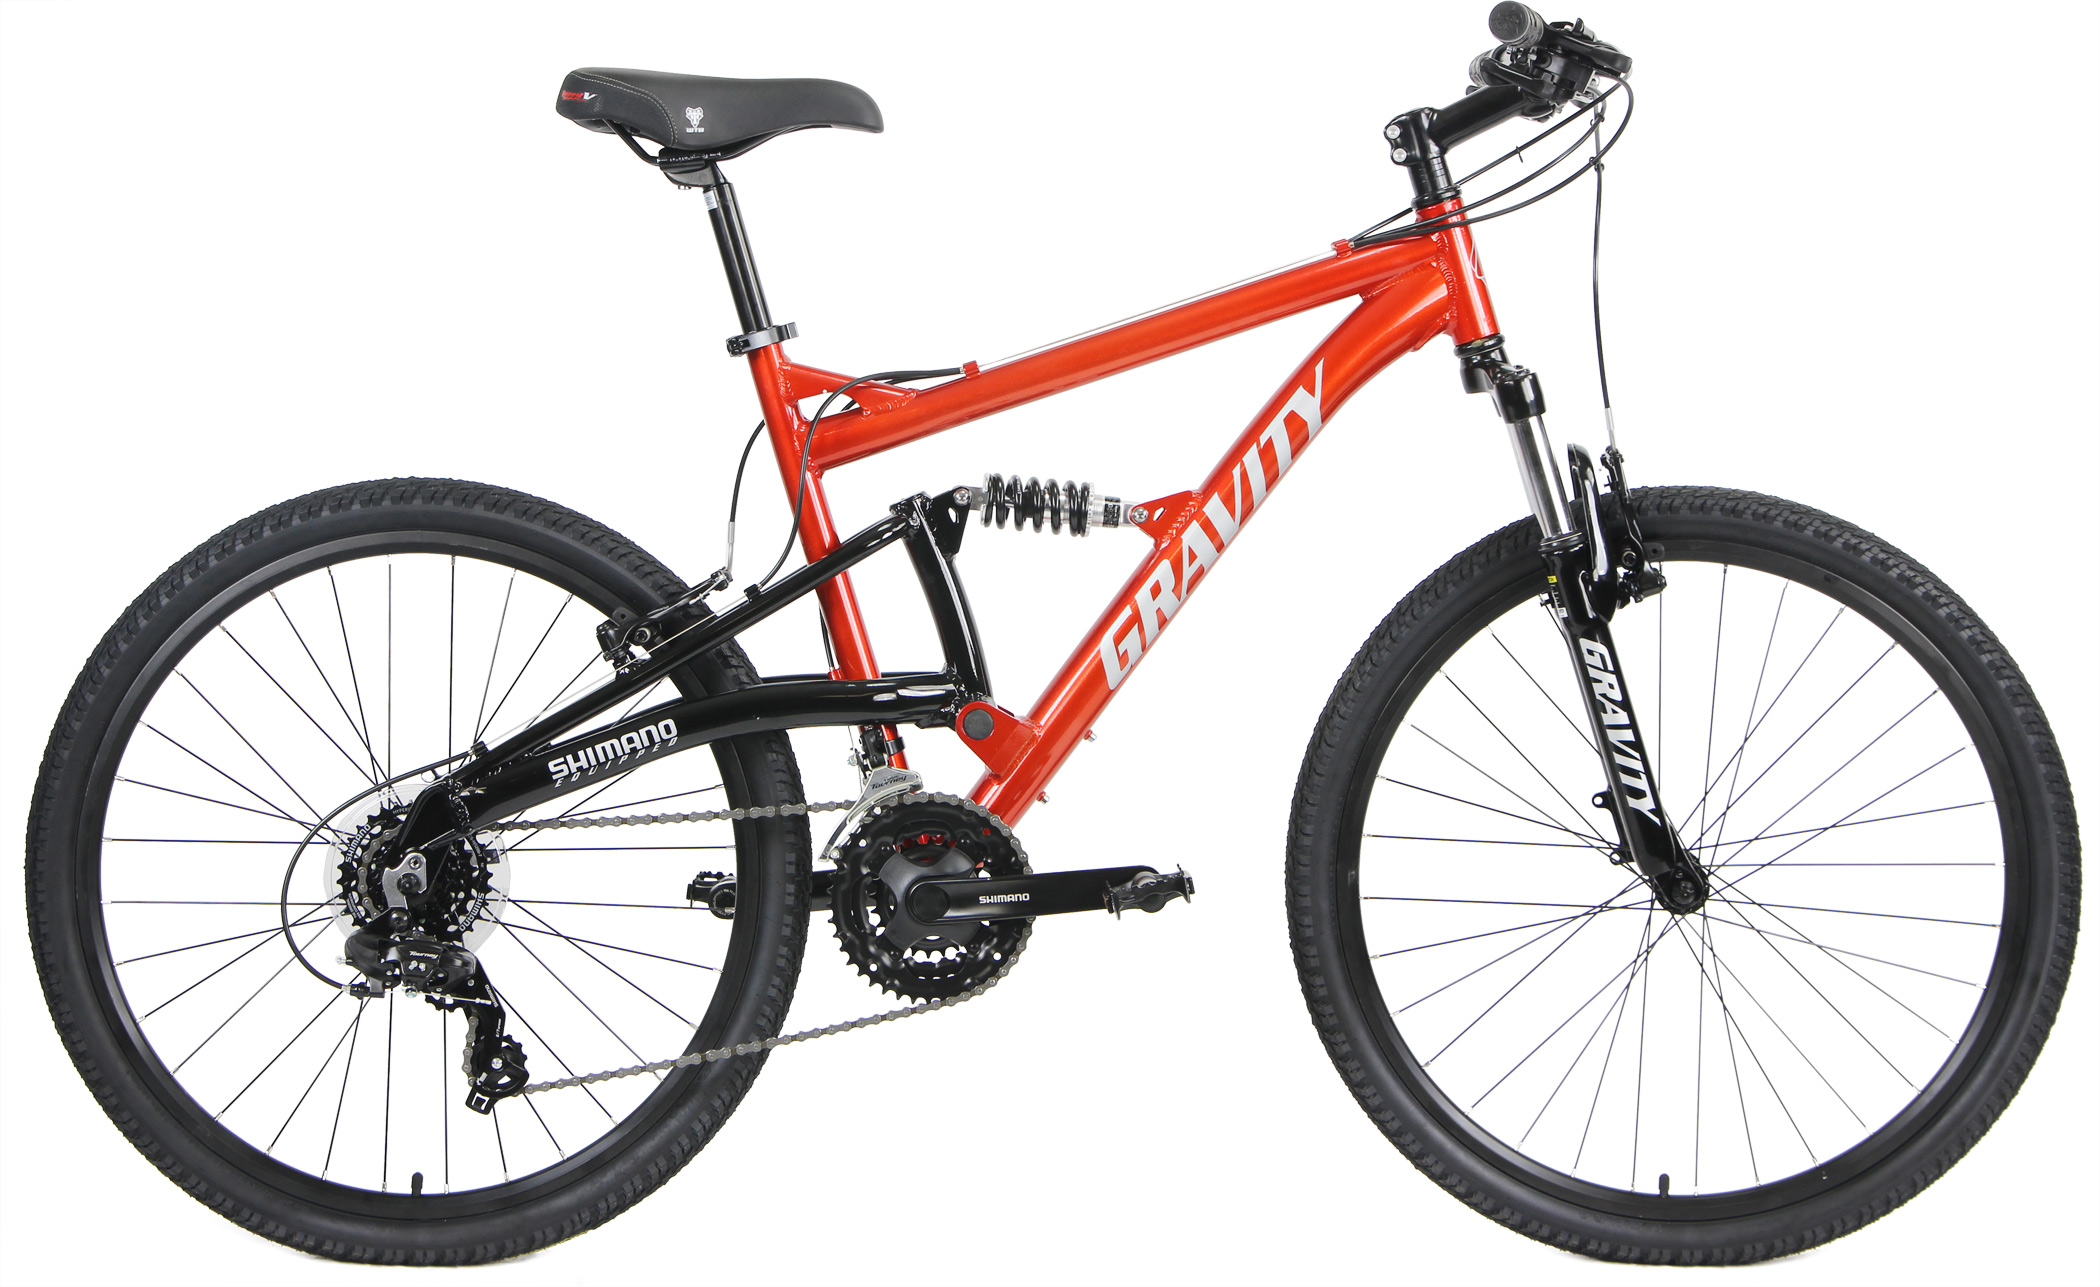
For a mountain bike, it’s all about grip and control. Riders typically run 22–30 psi in the front and 25–35 psi in the rear, depending on the terrain and tire volume. The beauty of tubeless is that you can safely experiment with pressures much lower than tube setups, maximizing traction and feel.
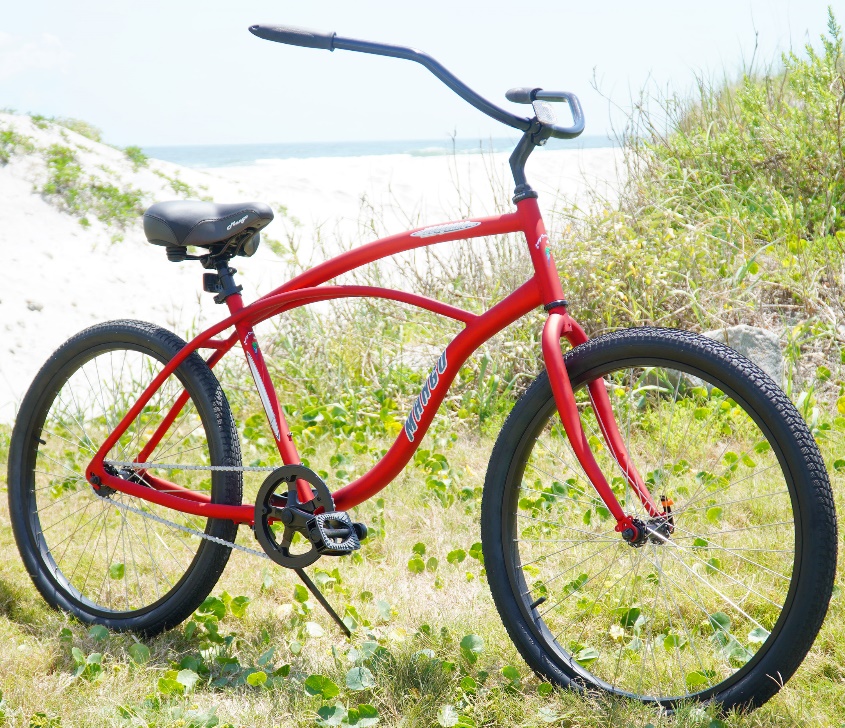
Even hybrid bikes benefit from a little flexibility — running slightly lower pressures gives a smoother city commute and better handling on uneven paths. And if your idea of a perfect day is a seaside spin, a beach cruiser can float comfortably at 25–35 psi for that plush, rolling-on-clouds feel.
The Performance Edge: Faster, Safer, Stronger
Once you experience tubeless, it’s hard to go back. Without tubes, friction inside the tire decreases, allowing you to maintain higher speeds with less rolling resistance. You’ll notice it most on long rides or climbs — that effortless glide that keeps your momentum alive.
But the benefits go beyond speed. Punctures that would normally ruin a ride now seal instantly. Tiny thorns, glass shards, and sharp gravel become non-events. And because you can run lower pressures, you get better traction in corners and a smoother ride overall.
On a gravel bike carving through dirt, a mountain bike bombing down descents, or even a road bike sprinting for a new personal record, tubeless technology is the quiet performance upgrade that changes everything.
Common Mistakes and How to Avoid Them
Every rider has a story about their first tubeless hiccup. Maybe the sealant sprayed across the garage, or the tire wouldn’t stay inflated overnight. Most issues come down to two things: rushing the process or skipping details.
Always double-check the valve’s tightness and make sure the tape fully covers all spoke holes. If you hear air hissing from the sidewalls, give the tire a good shake and lay it horizontally for a few minutes to let the sealant do its job.
And remember, patience pays. Once the sealant sets and the bead is seated perfectly, you’ll have a setup that can last months — or even seasons — with minimal upkeep.
Riding into Your First PR
That first post-tubeless ride feels special. The tires grip better, the bike feels faster, and your confidence skyrockets. Suddenly, hills seem shorter and corners feel sharper. You’re not just maintaining speed; you’re flowing with the road, trail, or gravel beneath you.
Whether you ride a city hybrid bike, a rugged fat bike, or a comfort-first beach cruiser, the right tubeless tire setup opens a new level of performance and freedom. It’s not just about saving weight or preventing flats — it’s about feeling more connected to every ride.
Ready to Go Tubeless?
If you’re ready to upgrade your ride, now’s the time. At BikesDirect.com, you’ll find bikes already equipped with tubeless-ready wheels and premium tires — from road and gravel racers to trail-taming mountain bikes. Choose your style, add your favorite sealant, and experience the performance difference for yourself. Every order ships direct to your door, factory fresh, so you can skip the middleman and hit the road sooner. Your next smooth, flat-free adventure starts right here.