For years, bike fitting worshipped exact angles: knee-over-pedal by the plumb bob, elbows at tidy degrees, stems slammed because pros did it. The result was often a fast-looking bike that felt twitchy after 40 minutes and punishing after 90. Modern bike fit flips the script. Instead of making your body serve a geometry chart, it tunes contact points and posture to your mobility, riding goals, and terrain. Numbers still matter—they’re guardrails, not handcuffs. What counts is whether you can breathe deeply, steer lightly, and put down power without discomfort from the first ten minutes to the last ten miles.
To make this practical, we’ll compare how modern bike fit plays out on three distinct platforms you can buy today—an endurance-leaning carbon road bike, a flat-bar city/fitness bike, and an all-road/gravel bike—so you can see how the same principles adapt to different ride styles.
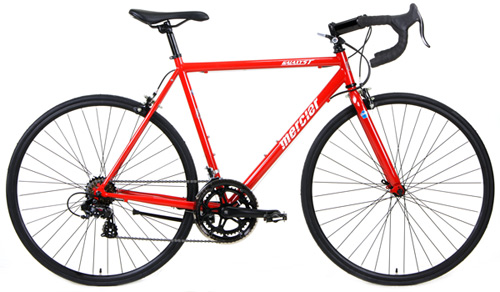
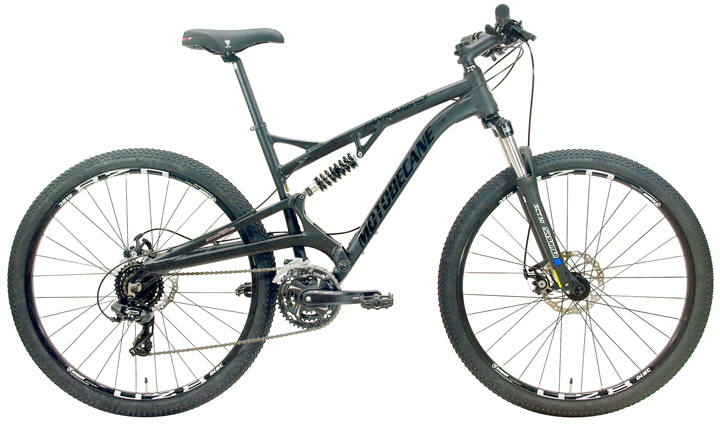
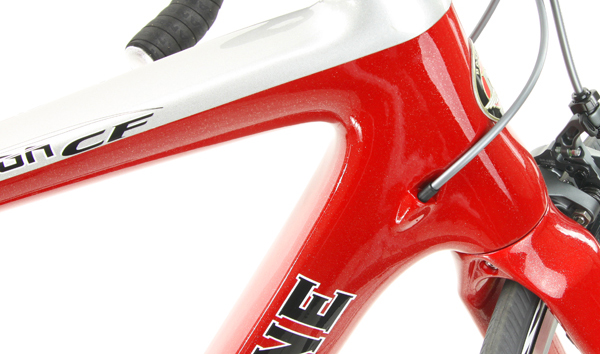
- Endurance carbon road: Motobecane Le Champion CF LTD
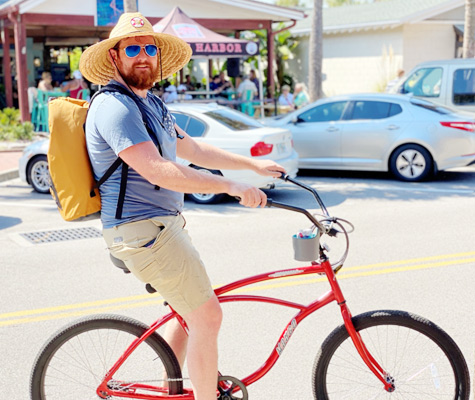
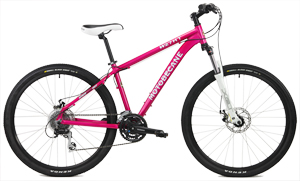
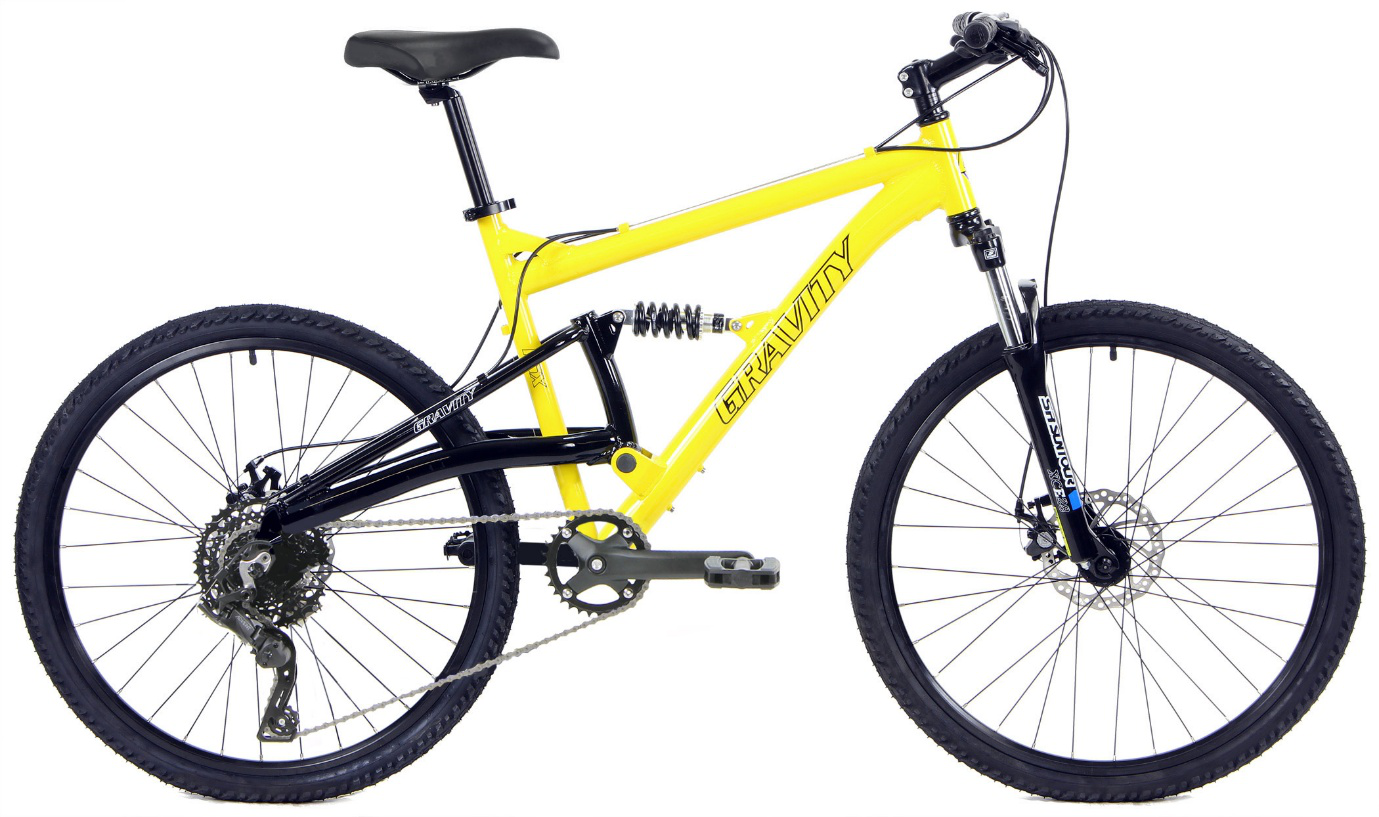
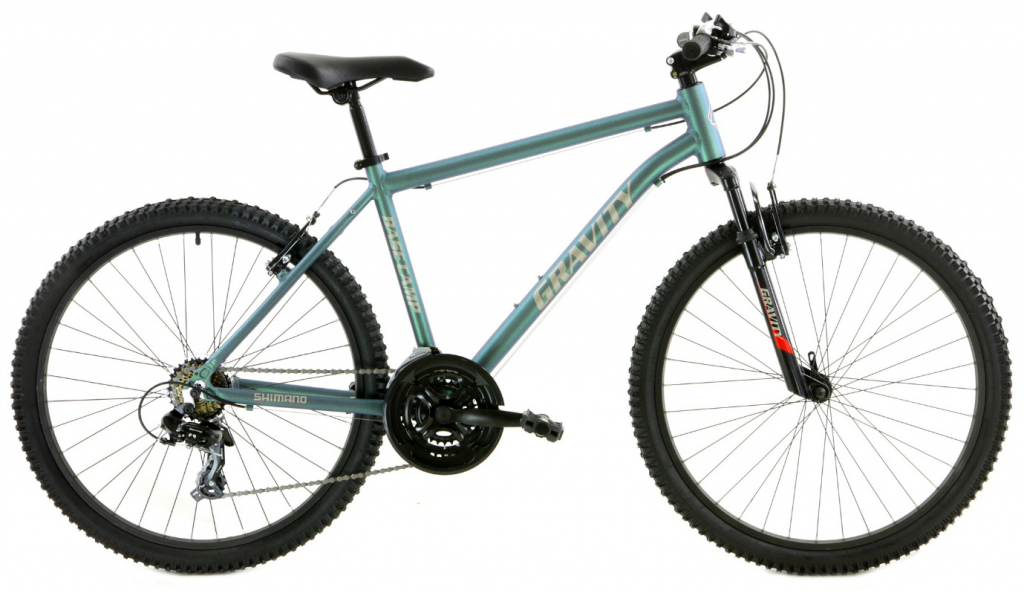
- Flat-bar city/fitness: Gravity Avenue FXD Disc
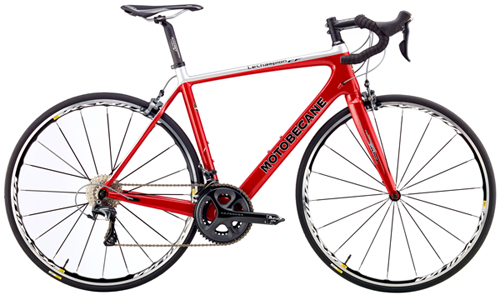
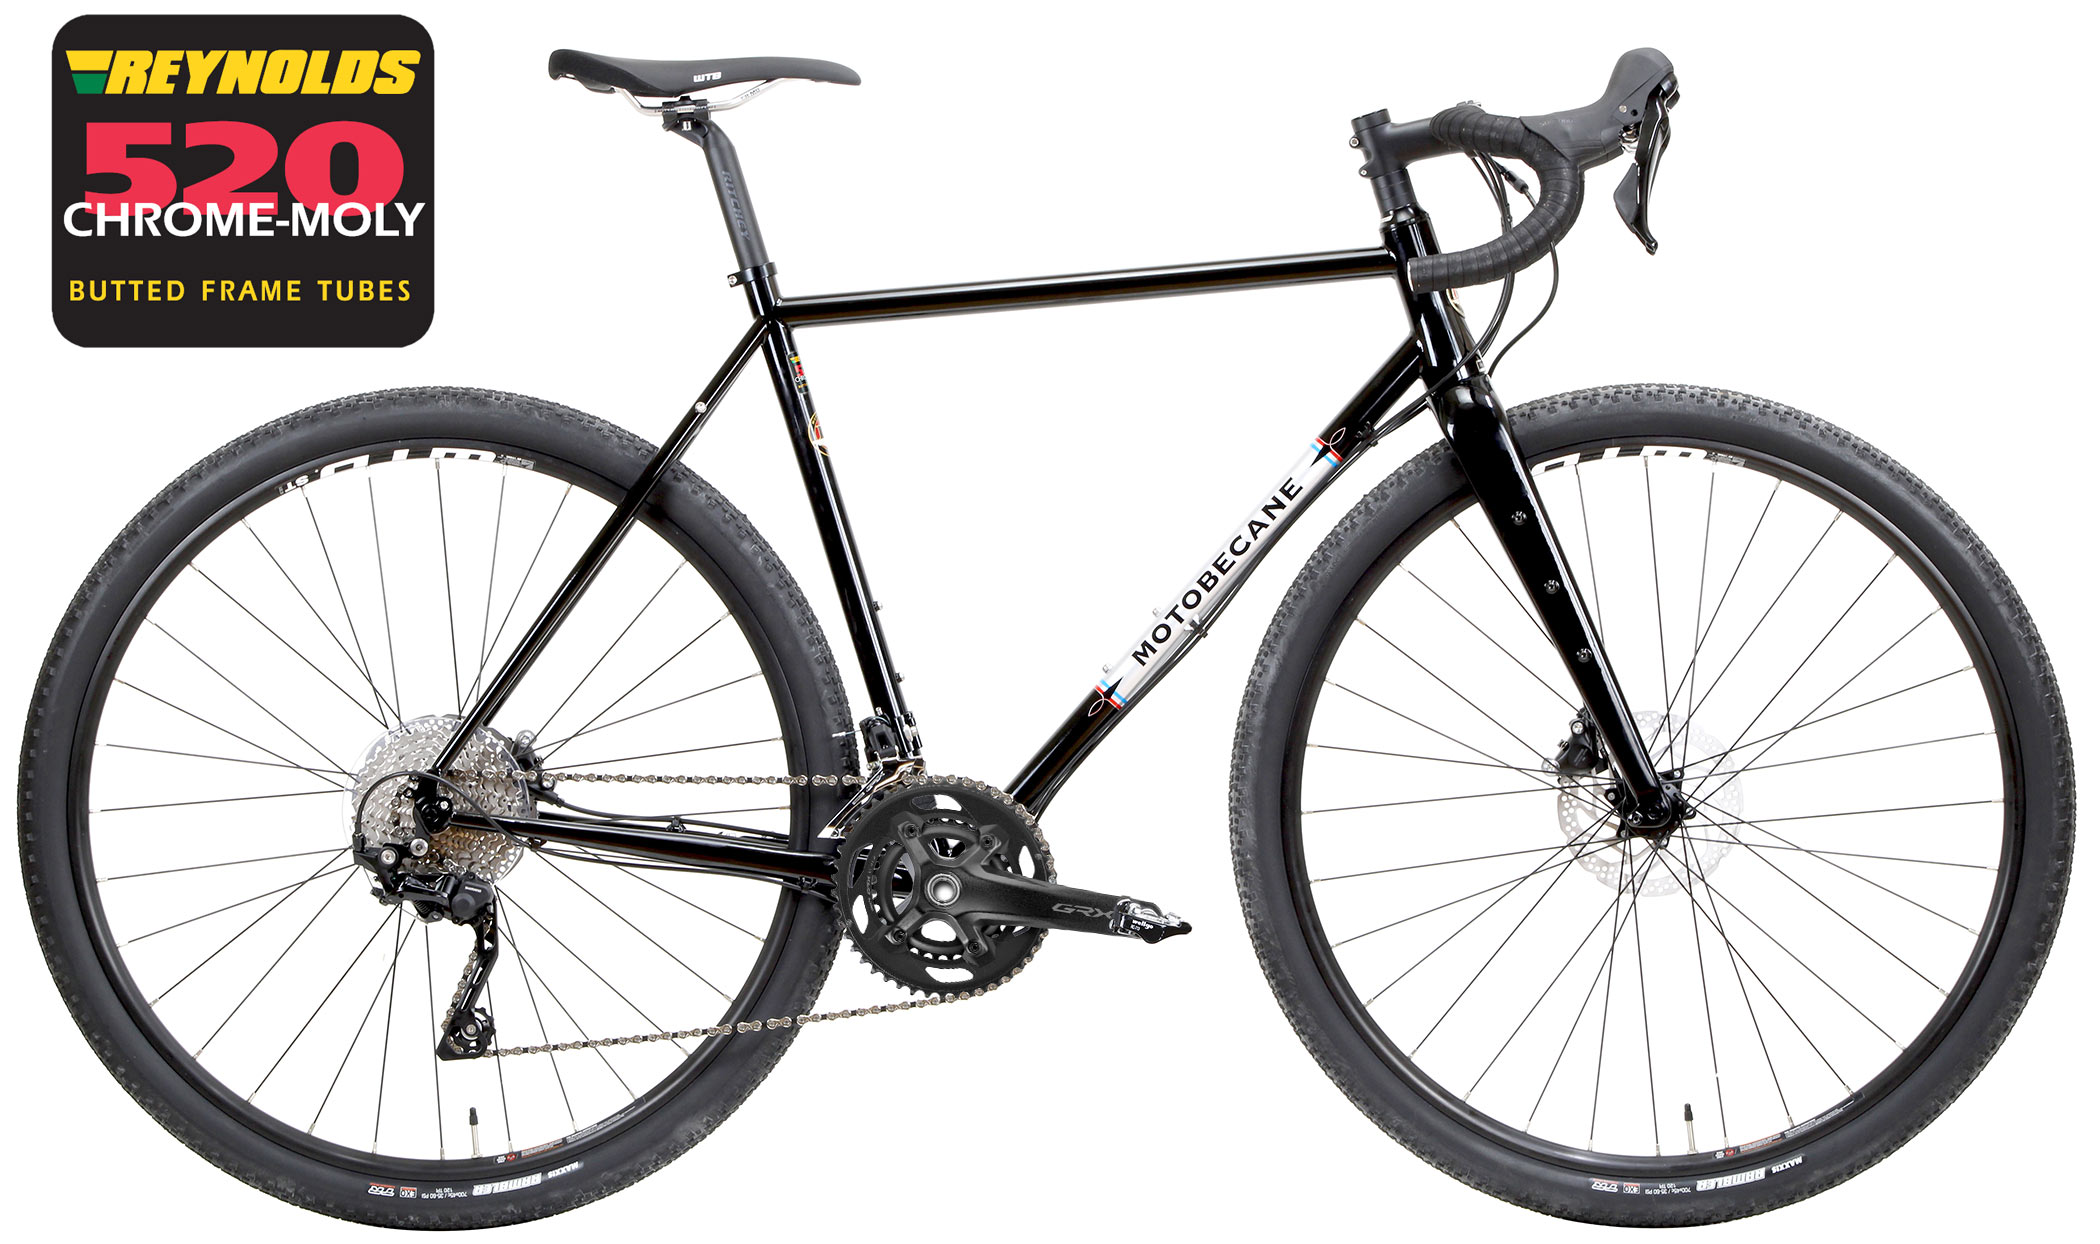
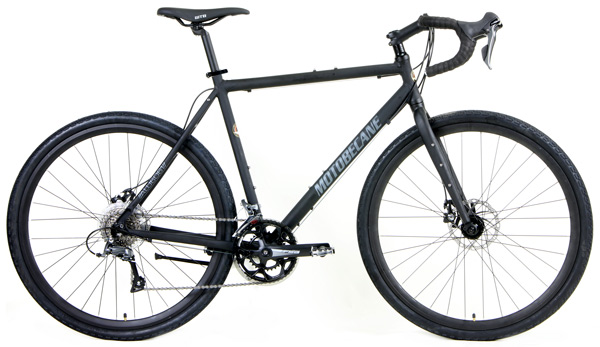
- All-road/gravel: Motobecane Gravel X3 Disc
The new fit priorities: posture, pressure, and predictability
Feel-first fit asks three questions. First, posture: can you see the road easily and breathe without shrugging your shoulders? Second, pressure: are weight and contact pressures spread so hands, sit bones, and feet feel supported rather than pinched? Third, predictability: does the bike steer where your eyes go, without micro-corrections?
On the Le Champion CF LTD, a taller stack and modest reach encourage a chest-open posture with soft elbows. That keeps breathing deep and core engaged on long road rides. The Avenue FXD Disc supports an upright stance for traffic awareness and lower-back ease, ideal for commutes and fitness loops. The Gravel X3 Disc adds tire volume and a slightly longer wheelbase, helping you stay relaxed as surfaces change. Different bikes, same goal: a stable torso with relaxed hands and a pelvis that’s supported—not hunting around the saddle every minute.
Saddle position: where comfort starts (and injury prevention, too)
Classic advice set saddle height by heel-on-pedal or fixed knee angles. Modern bike fit still respects those ranges but refines them by feel. You want a smooth knee path with no hip rock and power that arrives early in the downstroke, not awkwardly late. Most riders land near a 25–40° knee angle at the bottom of the stroke, but adaptation comes first: if your hamstrings or lower back are tight, slightly lowering the saddle (or moving it a touch forward) can stabilize your pelvis and unlock comfortable cadence.
On the Le Champion CF LTD, a millimeter or two can be the difference between all-day calm and creeping hamstring tug. On the Avenue FXD Disc, a hair lower position paired with a slightly more forward saddle often helps starts and stops feel confident in traffic. On the Gravel X3 Disc, keep height conservative to preserve traction when seated over rough patches; stability equals speed on chattery gravel.
Saddle tilt follows the same rule: level is the starting point; micro-tilt by half-degree steps. Numb hands? Your pelvis may be sliding forward—lift the nose a whisper. Pressure at the front? Drop the nose slightly so pelvic tilt is neutral. Small changes, big relief.
Bars and cockpit: breathing room over bravado
A generation ago, “slammed and long” signaled speed. Today, fit prioritizes breathing room and light hands. For drop bars, look for a position where you can spend most time on the hoods with a soft elbow bend and a neutral wrist. If you need to shrug or lock your elbows to reach, the cockpit is too long or too low. On Le Champion CF LTD, adding a spacer or choosing a compact-reach bar can transform comfort without sacrificing pace. On Gravel X3 Disc, shallow-flare bars improve control on loose surfaces while maintaining neutral wrists. The Avenue FXD Disc’s flat bar benefits from a modest rise and gentle backsweep; those few degrees take strain out of wrists and shoulders in start-stop city flow.
Bar width has evolved, too. For road and all-road, many riders now prefer slightly narrower bars to reduce frontal area and shoulder strain, provided the chest still feels open. For flat-bars, avoid overly wide stances that load the wrists; let steering come from the core, not tension in your hands.
Cranks, cleats, and the quiet lower body
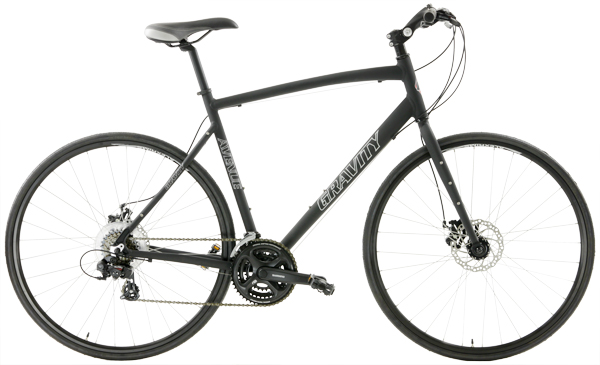
Shorter crank trends aren’t fashion—they reduce hip closure at the top of the stroke, improve breathing, and cut knee shear for many riders. If you’ve felt pinched at the top or struggle to spin smoothly, a 2.5–5 mm shorter crank can be a revelation, especially on endurance frames like Le Champion CF LTD. Cleat placement follows comfort and stability: start a bit farther back (toward mid-foot) than you think, align with your natural foot angle, and let your knees track without forcing them “straight.” The goal is quiet knees under load. On the Gravel X3 Disc, a forgiving cleat float helps as terrain tilts and cadence varies. On the Avenue FXD Disc, if you ride in everyday shoes, choose pedals with a broad, grippy platform and set saddle a shade lower for stable starts.
Tire volume and pressure: fit’s secret ally
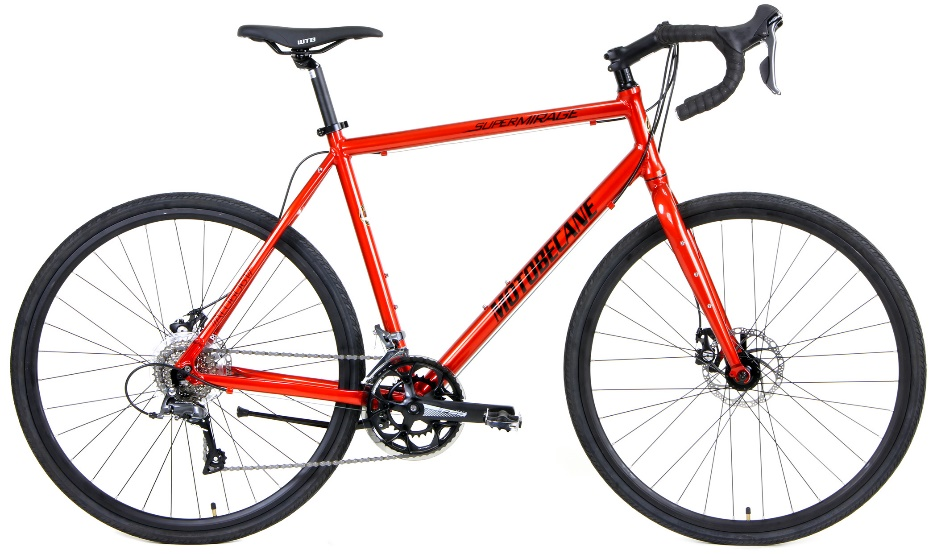
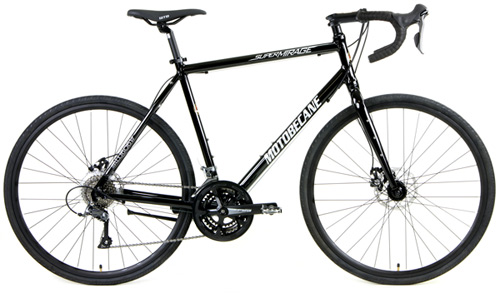
Fit isn’t only contact points. Tire volume and pressure shape how your body experiences the bike. The Le Champion CF LTD shines with 28–32 mm tires at realistic pressures; that “quiet road” sensation reduces hand clench and shoulder fatigue, which keeps posture tidy. The Avenue FXD Disc thrives on 32–38 mm; calmer feedback lets you steer from your core instead of white-knuckling over cracks and paint. The Gravel X3 Disc is built for 38–45 mm tubeless; lower pressures smooth washboard and let your hips stay still, which stabilizes knee tracking and power.
If a fit feels almost right but not quite, check pressures. Over-inflated tires masquerade as a “cockpit problem” by putting buzz into your hands and lower back. Drop a few PSI and re-assess before chasing stems and spacers.
A feel-first setup plan for each platform
On Le Champion CF LTD, begin with a comfort-endurance posture: hoods as the home base, bar drop that keeps your chest open, and a saddle height that favors a smooth knee path over a maximal extension. Test on real roads with light surges. If hands load up late in rides, raise the bars a touch or rotate them slightly to bring the hoods higher.
On Avenue FXD Disc, aim for heads-up control: a modest bar rise and backsweep, levers set close for easy one-finger braking, and a saddle position that enables calm, seated starts. Keep the reach short enough that shoulder checks are second nature.
On Gravel X3 Disc, bias toward stability: a slightly shorter reach and a hair higher bar than your road position, shallow-flare drops for leverage, and saddle height set for traction and cadence on uneven surfaces. Let the bike absorb chatter so your hips stay quiet.
The ten-minute parking-lot test (modern bike fit in action)
Take an Allen key set and do three short loops. First loop: note any hand pressure or neck craning—if present, raise the bars 5–10 mm or shorten reach 5 mm and ride again. Second loop: watch your knees from above; if they sweep out or you’re rocking, lower the saddle 2–3 mm or slide it slightly forward. Third loop: add a handful of hard efforts; if you scoot on the saddle, fine-tune tilt by half-degree. Lock in the changes, then ride 30–40 minutes on familiar roads and re-check only what still talks back. This is modern bike fit: iterative, simple, guided by feel, with numbers validating comfort rather than dictating it.
When to consider a different size (or bike)
If your fit requires extreme stems, maximum spacers, or saddle rails slammed to one end, the frame-rider match is off. An endurance frame like Le Champion CF LTD will usually accommodate a wide range of riders who want comfort and speed. If traffic visibility and everyday clothes matter more, the Avenue FXD Disc’s geometry may suit your lifestyle better than forcing a road bike upright. If your favorite routes keep detouring onto dirt, the Gravel X3 Disc’s stability will feel “right” with fewer cockpit contortions.
Fit the rider first, then the numbers—BikesDirect can help
The future of road bike fitting isn’t anti-data; it’s pro-rider. Start with how you breathe, steer, and support your weight. Use numbers as sanity checks, not shackles. The Le Champion CF LTD, Gravity Avenue FXD Disc, and gravel bike X3 Disc each make that approach easy in their own way: endurance calm for long road days, upright control for daily miles, and stable versatility for mixed terrain. Tell BikesDirect about your mobility, routes, and ride goals, and they’ll translate “modern bike fit” into a setup you can hold for hours—without numb hands, tight hips, or wandering knees. If you’d like a short list of sizes, stems, bars, saddles, and tire pressures tailored to your body and terrain, contact BikesDirect and get a feel-first configuration that’s fast because it’s comfortable—and comfortable because it fits you.