
Parents don’t need a warehouse of bikes to cover three years of growth. With smart kids bike sizing, you can choose a bike that’s easy to ride now, leaves measured room to grow, and passes down safely when the next rider is ready. This guide explains wheel sizes in plain language, how to check standover and reach without a fitting rig, why gearing and weight matter more than paint, and the simple growth-room rules that keep confidence high. We’ll point to a few real models so you can see what “right-sized” looks like—not just on paper, but on your driveway.
Wheel Sizes, Demystified
Children’s bikes are typically named by wheel diameter—12″, 14″, 16″, 18″, 20″, 24″, then junior 26″. But the number doesn’t tell the whole story, because frame design, standover, and handlebar height can vary wildly between brands. Two 20″ bikes can feel completely different to the same child.
Here’s the practical view. Balance bikes and 12–14″ wheels suit toddlers learning to glide, with low saddles and simple coaster brakes. At 16–18″, kids start pedaling real rides. The sweet spot for many grade-schoolers is 20″, where you can pick purpose—trail, cruiser, or all-rounder—without condemning them to a heavy, hard-to-ride chassis. For adventurous riders who are stretching into real trail distance, 24″ adds stability and rollover without feeling like a shrunken adult bike.
What you’re looking for is the smallest wheel that gives enough stability without forcing a long reach or tall standover. Smaller wheels keep the weight lower and make starting and stopping less intimidating. Larger wheels smooth bumps and carry speed. When in doubt between two sizes, choose the one where your child can start and stop by themselves with relaxed shoulders and a smile. That independence is the best fit test of all.
Standover, Saddle Height, and Reach
Standover is the distance from the ground to the top of the top tube, measured where a child would straddle the bike. A safe rule: when the saddle is at the right pedaling height, your child should have an inch or more of clearance between the top tube and their inseam while standing flat-footed. If the top tube touches or they have to tip-toe to stop, the bike is too big.
Saddle height should allow a slight bend in the knee at the bottom of the pedal stroke, not a locked knee and not a deep crouch. If your child rides mostly off-road or is still gaining confidence, start a little lower so they can dab a foot quickly, then raise the saddle a few millimeters each week as skills grow.
Reach is how far they have to stretch to the bars. Watch the shoulders: if they shrug toward the ears or slump forward to grab the grips, the cockpit is too long or too low. A neutral, soft-elbow stance with eyes up is your green light. Shorter stems and riser bars can improve reach, but if the basic frame is long, choose a different size.
Gearing and Weight: Why “Lighter and Simpler” Wins
A kid’s engine is smaller than an adult’s; heavy frames, stiff cranks, and draggy tires punish enthusiasm. Prioritize low overall weight and functional parts over suspension frills. On 20″ and 24″, a 1x drivetrain (single front chainring) with sensible rear gearing is ideal: fewer levers to manage, fewer dropped chains, and easy hill starts. If you live in flat neighborhoods, a simple single speed works beautifully; hills call for 6–8 rear gears or a wide-range 1x.
Brakes should fit small hands. Short-reach levers with cable or hydraulic discs give gentle, controlled stops and build confidence. Coaster-only bikes can be fine for first pedals, but hand brakes teach real control sooner.
Growth-Room Rules That Keep Confidence High
The temptation to “buy big so it lasts” is strong. Don’t. Oversized bikes feel vague and top-heavy, and the “you’ll grow into it” period is when kids decide they don’t like riding. Instead:
- Leave one season of growth in standover and saddle height, not three.
- Choose bars that can rise a little and a seatpost with room to extend; that’s your built-in growth.
- Re-check fit every couple of months; a 5 mm saddle change can restore perfect feel.
If they’re between sizes, think about terrain. For smooth paths and beach boardwalks, the larger wheel may roll nicer. For neighborhood turns, short driveways, and trail learning, the smaller frame helps balance and low-speed control.
Passing Bikes Down Safely
Hand-me-downs are great for budgets and memories, but safety first. Inspect the frame for dents or cracks, especially at the head tube and around the seat tube clamp. Replace tires that are dry, cracked, or squared off. Fit new brake pads and adjust cables so levers bite early with a light squeeze. Swap grips if the ends are torn; bar-end plugs protect little hands in a tip-over. Set saddle height and reach for the new rider; don’t assume last year’s marks are right. Finally, check chain wear—a cheap replacement saves sprockets and improves shifting.
Real-World Examples That Fit and Roll
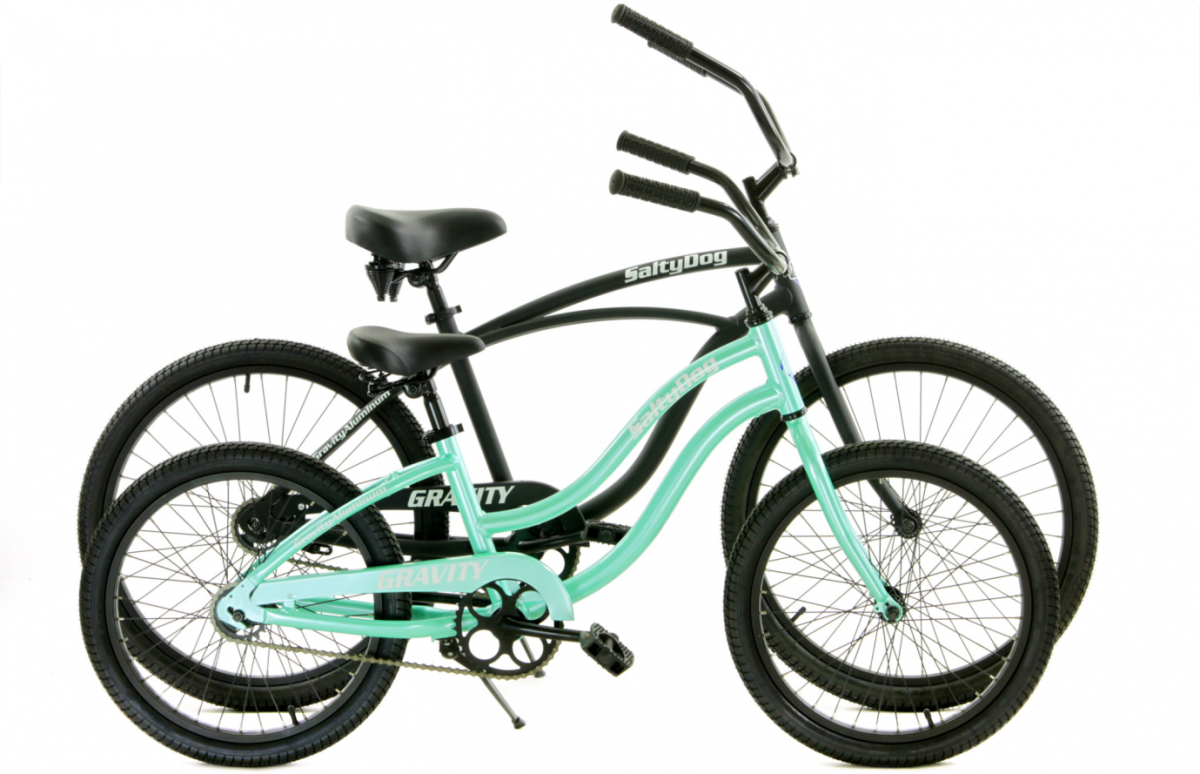
For a light, trail-ready 20″ that doesn’t overwhelm small riders, explore the Gravity Nugget 20″ kids’ mountain bike. It pairs kid-correct geometry with gears they can actually turn, so neighborhood laps and park paths turn into real adventures. If your crew rides sand, snow days, or loose gravel, the Gravity Monster 3 kids’ fat bike brings mega-traction at low pressures that boosts balance and fun—fat-tire confidence is magic for wobbly first trail attempts. For seaside towns and mellow paths, a simple, durable cruiser like the Salty Dog 20″ kids’ beach cruiser keeps posture upright and steering calm while resisting salt-air corrosion with easy-care parts.
How to Do a Five-Minute Driveway Fit
Have your child stand over the bike in flat shoes. Confirm standover clearance. Set the saddle so their heel on the pedal gives a straight knee at the bottom; when they ride on the ball of the foot, that becomes a slight bend—perfect. Adjust brake levers inboard so their first finger naturally lands on the tip; angle the levers in line with the forearm and hand. Roll, coast, and practice three gentle stops: rear brake only, front only, then both together. If they brace hard on the bars when stopping, lower the saddle a touch. If steering wobbles at start, point the saddle slightly nose-down (one or two degrees) to make sit-downs easier, then re-level once they start feeling natural.
Signs It’s Time to Size Up
Frequent knee-to-elbow collisions in turns, saddle at its maximum mark with toes stretching at stops, or a cramped look with shoulders hunched are your cues. If they’re clearing curbs easily and asking for longer rides, consider moving from 20″ to 24″ before boredom sets in. Keep the older bike road-worthy for younger siblings; a familiar, well-fitting bike builds skills quickly when it’s their turn.
Keep It Fun, Keep It Rolling
Add a bell and a kickstand if your neighborhood riding includes lots of start-stop moments—small conveniences make kids proud caretakers of their bikes. In dusty or sandy areas, teach a two-minute post-ride wipe-down of the chain and rims. Celebrate little milestones: first no-wobble start, first hill, first lap without a foot down. Fit and confidence grow together.
Ready to Pick a Bike That Fits Today—and Tomorrow?

We’re parents and riders too, and our sizing advice always starts with control and smiles. Tell us your child’s height, inseam, riding surfaces, and whether you want gears now or later. We’ll point you to the right wheel size and frame shape, from a trail-happy 20″ like the Gravity Nugget to the confidence-boosting Monster 3 kids’ fat bike or a beach-friendly Salty Dog 20″. Our goal is simple: a light, right-sized bike that invites “one more block!” instead of excuses. When you’re ready, contact our team and we’ll help you choose a bike that fits today, grows sensibly for tomorrow, and passes down safely when it’s time.