Bikepacking on a Budget: Affordable Ways to Explore Trails and Camp Overnight

Most riders remember the exact moment they realized a bicycle could take them farther than expected. For me, it happened on a quiet dirt road at sunset, when a short afternoon ride stretched into an unplanned overnight adventure. With nothing more than a packed lunch, a basic sleeping bag, and my everyday bike, I discovered the simple joy of carrying everything I needed on two wheels.

That experience is what makes bikepacking so powerful—and so accessible. You don’t need a high-end touring setup or a suitcase full of exotic gear. With the right budget bikepacking tips, even a modest bicycle and a few smart packing choices can open the door to multi-day rides through forests, deserts, parks, and backroads.

Bikepacking is for anyone curious enough to roll down a gravel path and see where it leads. And when you approach it with creativity instead of overspending, it becomes one of the most affordable outdoor hobbies you can start.

Starting With the Bike You Already Have

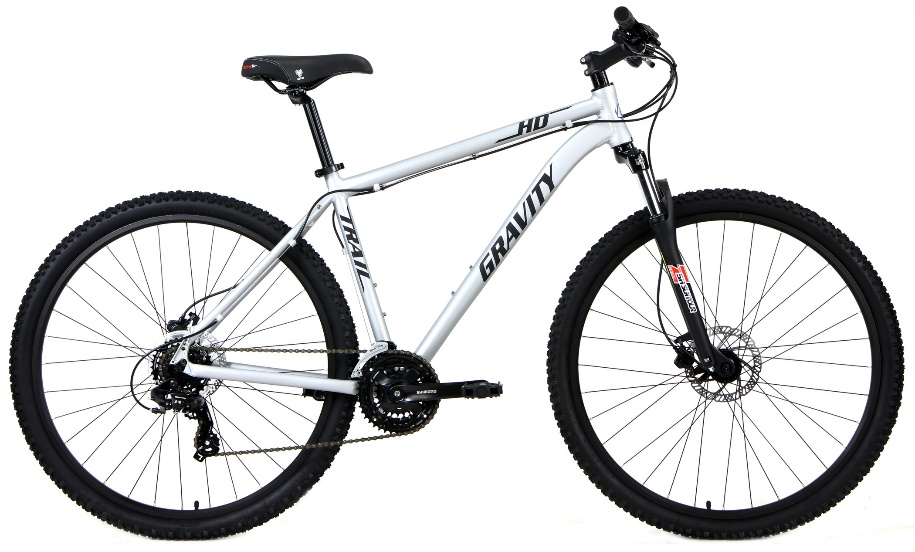
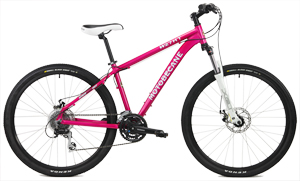
Many new riders assume bikepacking requires a purpose-built adventure machine, but that’s simply not true. Whether you ride a hybrid bike, a rugged mountain bike, or a capable gravel bike, the bike you already own can likely handle your first overnight trip.

What matters most isn’t having the perfect machine—it’s getting your bike into reliable condition. Before heading out, check your tires, brakes, drivetrain health, and fit. Even small adjustments, like fine-tuning your saddle height or replacing worn brake pads, can make long hours in the saddle far more comfortable.

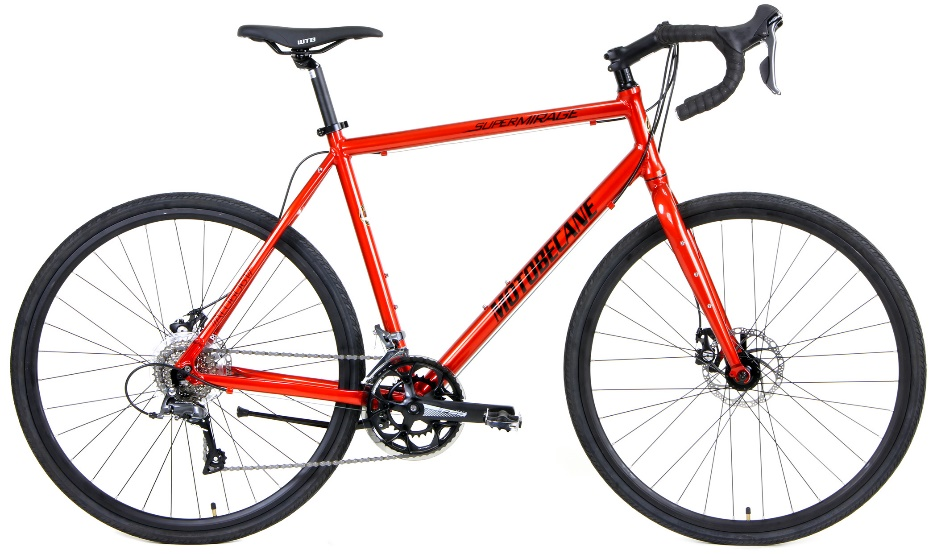
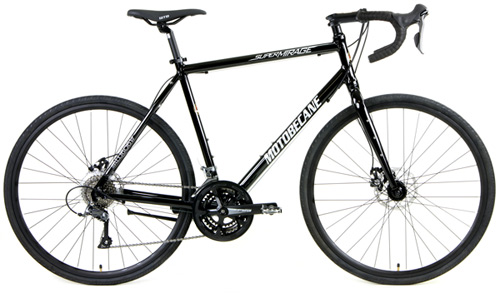
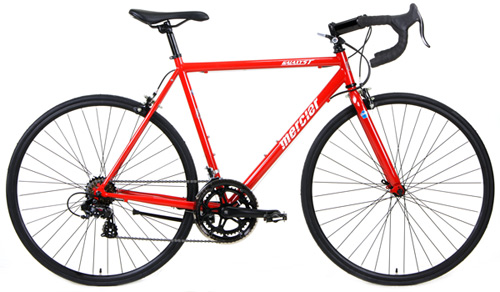
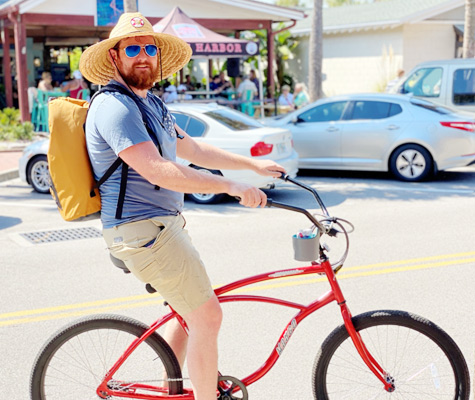
And yes, even a standard road bike can be adapted for light touring when paired with wider tires and a thoughtful route choice. As for softer or sandy terrain, a fat bike can transform loose surfaces into a smooth, confidence-building ride. And if you prefer laid-back coastal routes with overnight stops, a beach cruiser can offer a surprisingly enjoyable bikepacking experience, especially on beachfront campgrounds and boardwalk-accessible paths.

Your bike is your companion, but it doesn’t need to be expensive to be capable.

Silver Gravity hybrid bike shown as a versatile and comfortable choice for riders planning their first budget bikepacking trip.

Budget-Friendly Gear That Works for Real Adventures

One of the biggest misconceptions about bikepacking is that you need sleek, premium bikepacking bags to get started. In reality, riders have been creatively carrying supplies long before those products existed.

Dry bags, small duffel bags, and even repurposed backpacks can be strapped securely to a rear rack or handlebars using simple Voile-style straps. These low-cost solutions are waterproof, lightweight, and extremely durable. The key is balancing your load so the bike feels stable—front-heavy setups may feel twitchy, while rear-heavy loads can affect climbing efficiency.

Sleeping gear doesn’t need to be expensive either. Foam sleeping pads weigh almost nothing and provide invaluable insulation. Affordable synthetic sleeping bags work well in unpredictable conditions. And if you’re camping during warm-season trips, even a lightweight blanket or emergency bivy can get you through the night comfortably.

Navigation also doesn’t require pricey GPS devices. Free route-planning apps and downloadable offline maps work perfectly for most beginner routes. The most important part is knowing your path, understanding bailout options, and planning realistic distances for each day.

With these budget bikepacking tips, beginners save money while learning their preferences before investing in premium gear later on.

Preparing Your Bike for Multi-Day Riding

Before heading out, take time to understand how your bike behaves under load. A few short test rides with packed gear can tell you a lot—how the bike balances, how your steering feels, and whether adjustments are needed.

Tire choice makes a massive difference in comfort and control. A gravel bike with 40mm rubber soaks up bumps better than narrow tires. A mountain bike makes technical terrain easier. And even a hybrid bike with semi-slick tires can carry you smoothly along mixed paths.

Lower gearing is helpful when climbing with a loaded bike. If your bike has a wide-range cassette, you’ll appreciate those easier gears on long fire roads or steep stretches. Ensure your brakes are responsive, especially if your route includes descents while carrying gear weight.

A comfortable fit is essential. No amount of gear can make up for numb hands, back soreness, or knee pain. Small changes—tilting the saddle slightly, adjusting bar height, or changing grips—can improve comfort dramatically.

The goal is to feel confident and relaxed on your bike before the trip begins.

Planning a Route Without Overcomplicating It

When starting out, keep your routes simple and enjoyable. Bikepacking is not about speed or performance—it’s about exploration. Forest service roads, state parks, gravel paths, canal trails, and low-traffic rural roads make ideal beginner terrain.

Always consider daily mileage carefully. Carrying gear will slow your pace, especially on climbs or rough surfaces. Your first overnight trip may only be 15–25 miles each way, and that’s more than enough to create an unforgettable experience.

Campsites are abundant and affordable, from public lands to established campgrounds. Reserving sites in advance is wise, but spontaneous riders can often rely on primitive campsites or dispersed camping areas.

Route planning is where budget bikepacking tips matter most—free campsites, public water sources, and easy access points reduce costs while providing a safe, manageable adventure.

Rider on a red beach cruiser enjoying a relaxed urban-to-coastal ride, illustrating how casual bikes can be part of budget-friendly micro-adventures.

Why Bikepacking Is More Accessible Than Ever

Today’s cycling culture embraces creativity, inclusiveness, and adventure over perfection. Riders are redefining what bikepacking looks like—some carry ultralight setups and cover huge distances, while others pack casual gear and wander through local parks.

The barrier to entry has never been lower, and riders are beginning to realize that the experience—not the equipment—creates the memories that last.

When you approach bikepacking with an open mind rather than an open wallet, even the simplest overnight journey feels meaningful.

Ready to Start Your First Adventure?

If you’ve been dreaming about taking your bike farther, bikepacking is your invitation to explore in a new way. Whether you’re riding forest trails, backroads, or sunrise-lit coastal paths, Bikesdirect.com offers the affordable bikes and gear that make your first adventure possible. We encourage you to browse our selection of hybrids, gravel bikes, mountain bikes, and more, so you can begin planning your next overnight escape with confidence and excitement.

Bikepacking Starter Kit: Pack Light, Sleep Better, Ride Farther

There’s something liberating about hitting the open road (or trail) with nothing but your bike, a map, and a well-packed set of bags. Bikepacking combines the best of cycling and camping — the freedom of the ride with the calm of sleeping under the stars. But if you’ve ever tried to pack for an overnight trip, you know the line between “prepared” and “overpacked” can get blurry fast.

Whether you’re planning a two-day adventure or just starting your journey into bikepacking, the secret lies in packing smart — not heavy. Let’s dive into how to distribute weight on your bike, what to skip, and what essentials to always keep.

1. Finding Your Balance: Where to Pack the Weight

Bikepacking isn’t about stuffing everything you own into a backpack and pedaling off. It’s about strategic packing that keeps your bike balanced, your ride smooth, and your body comfortable. Here’s how to map out where each item should go.

2. Frame Bag – The Core Zone

Your frame bag is the heart of your setup. This is where you’ll store dense, heavy items like tools, spare tubes, a mini-pump, snacks, or even a hydration bladder.

Why? Because this central position keeps the weight low and evenly distributed, it maintains your balance when climbing or cornering.

Pro Tip: If you’re using a full-suspension mountain bike, make sure the bag doesn’t interfere with the shock or cables.

An image of a road bike

3. Handlebar Bag – The Comfort Compartment

This is your spot for light but bulky gear — think your sleeping bag, inflatable pillow, or clothing layers. Since it’s on the front of your bike, adding too much weight can make steering sluggish.

Keep it compact and soft. Roll items tightly and balance both sides if you’re using double pouches.

Pro Tip: Use waterproof stuff sacks or compression bags — there’s nothing worse than a soggy sleeping bag after a rain shower.

4. Seat Pack – The Trunk of the Trail

Behind you sits the seat pack, which is ideal for medium-weight items such as your sleeping pad, lightweight tent, or spare clothes.

Make sure it’s tightly secured to prevent the dreaded “seat waggle” that throws off your rhythm on climbs.

Pro Tip: Use straps or tension cords to eliminate sway and ensure nothing shifts when you’re pedaling uphill.

5. Backpack or Hip Pack – The Overflow Zone

If you must carry a backpack, keep it light — hydration, a camera, or quick-access snacks only. Remember, every ounce on your back impacts comfort over long miles. A small hip pack can be a great compromise.

6. What to Skip: Because Less is More

Packing light isn’t about cutting corners — it’s about trimming the excess. Every item should earn its place.

Here’s what you don’t need on a two-day ride:

Multiple outfits: You’ll survive with one riding kit and one camp outfit.

Bulky cooking gear: A small stove or cold meals work just fine.

Extra shoes: One pair for biking, one for camp — done.

Too much food: Plan meals carefully; pack just enough for your route plus a small buffer.

Full-size toiletries: You’re in nature — a toothbrush and wet wipes will do.

Remember: the lighter the load, the farther you’ll go — and the better you’ll sleep.

An image of a mountain bike

7. Your Two-Day Bikepacking Checklist

Before you roll out, check your gear. Here’s a practical checklist for a weekend adventure:

Bike Essentials

  • A well-tuned bike (check brakes, gears, and tires)
  • Spare tube, tire levers, multi-tool, and mini pump
  • Chain lube and patch kit
  • Lights and reflective gear
  • Bike lock

Camping Gear

  • Lightweight tent or bivy sack
  • Sleeping bag (compact, rated for expected temps)
  • Sleeping pad
  • Compact pillow or inflatable neck pillow

Clothing

  • 1 cycling outfit (jersey, shorts, socks)
  • 1 camp outfit (light pants, shirt, fleece or jacket)
  • Lightweight rain gear
  • Gloves and hat (weather-dependent)

Food & Hydration

  • Two water bottles or a hydration bladder
  • Compact stove and fuel (optional)
  • Instant or dehydrated meals
  • Protein bars, nuts, and easy snacks
  • Lightweight utensils

Navigation & Safety

  • GPS device or printed map
  • Power bank or spare batteries
  • First-aid kit
  • Sunscreen and bug repellent
  • ID, cash, and emergency contact info

Final Check: Shake your bike once packed — if you hear rattling, secure your gear tighter.

An image of a mountain bike

8. Route Planning Template: Map Out Your Adventure

Planning your route is as important as your packing list. A well-thought-out path ensures you don’t burn out halfway or end up sleeping under a “closed for maintenance” sign.

Here’s a simple route-planning template to get you started:

Day 1: Outbound

  • Start Point: (e.g., home or trailhead)
  • Destination: (e.g., campsite, hostel, or landmark)
  • Mileage Goal: ___ miles/km
  • Terrain Type: (gravel, pavement, mixed)
  • Water Stops: (list 2–3 refill points)
  • Estimated Ride Time: ___ hours
  • Planned Breaks: ___ minutes every ___ miles

Day 2: Return

  • Departure Time: ___ AM
  • Alternate Route: (optional scenic loop back)
  • Emergency Exit Points: (in case of fatigue or bad weather)
  • Estimated Arrival: ___ PM

Pro Tip: Apps like Komoot, Ride with GPS, or Gaia GPS are great for offline navigation — just remember to download maps before heading out.

9. Sleep Better, Ride Farther

A good night’s rest transforms your ride the next day. So don’t compromise on your sleep setup.

  • Choose a flat, dry spot with natural wind protection.
  • Store food away from your tent (trust us, curious critters exist everywhere).
  • Stretch lightly before bed to loosen your legs.
  • Keep your shoes inside your tent — nothing says “good morning” like discovering a spider made itself at home overnight.

The Joy of Traveling Light

Bikepacking is about freedom — not perfection. You’ll make mistakes (we all overpack on the first trip), but each adventure teaches you what truly matters: simplicity, balance, and the sheer joy of the open road.

Ready to ride farther and lighter? At BikesDirect, we’re here to fuel your next adventure with high-performance hybrid bikes, mountain bikes, road bikes, gravel bikes, and fat bikes designed for comfort, endurance, and exploration. Whether it’s your first bikepacking trip or your tenth, the right ride makes all the difference. Reach out now.