
A great trail day starts before the first berm. When fork and shock are tuned to your body and terrain, your bike tracks straight, grips off-camber roots, and pops without bucking. The good news: you don’t need a lab. With a floor pump, a shock pump, and ten minutes of focused testing, you can nail a mountain bike suspension setup that feels planted and fast. This guide gives clear starting points for sag by rider weight, explains rebound and low-speed compression in plain language, and shows a quick parking-lot checklist that locks it in. We’ll also point to a few Bikes Direct models that make dialing suspension straightforward, whether you’re building confidence on your first trails or refining a well-ridden rig.
Sag: Your Personal Ride Height
Sag is how much your suspension settles under your normal riding weight. It puts you in the middle of usable travel so the fork and shock can absorb bumps and still extend to follow dips. Too little sag and the bike rides tall, skipping across chatter; too much and it wallows and bottoms easily.
Targets and a Fast Method
For trail riding, aim for 25–30% sag on the rear shock and 20–25% on the fork. Put on shoes, pack, and water—everything you’ll ride with. Slide the o-ring down each stanchion. Gently mount the bike, stand in a neutral attack position, and bounce lightly once or twice to overcome stiction. Settle still, then step off without compressing further and check o-ring position against total stroke.
If the fork shows 15% and you want 22%, bleed a little air. If the shock shows 35% and you want 28%, add air. Work in small increments of 5–10 PSI on air units and re-check. Coil shocks use preload collars; add or remove a single turn at a time until you hit target without crushing coil bind spacers. Don’t chase a perfect number at the expense of feel; you’re establishing a comfortable ride height, not passing an exam.
Weight-Based Starting Pressures
Every air spring is different, but you can get close by matching PSI to body weight in pounds for the shock, and using a slightly lower ratio for the fork. For many trail shocks, rider weight ≈ shock PSI is a decent first guess; forks often land around rider weight minus 10–15%. For example, at 170 lb in full kit, try ~170 PSI in the shock and ~155 PSI in the fork, then refine to your sag targets. If your frame kinematics are very progressive or very linear, you’ll fine-tune with volume spacers after the first shakedown.
Rebound: The Speed Your Suspension Returns
Rebound controls how fast a compressed spring extends. Too fast and the bike feels nervous, like it’s pogo-sticking; too slow and it packs down, riding lower with each bump and losing travel.
A Simple Baseline
Count total rebound clicks from fully closed (all the way clockwise, gently) to fully open. Start near the middle. For a fork with 14 clicks, that’s about 7 out from closed. For a shock with 12 clicks, start 6 out. Bigger riders or higher air pressures need more rebound damping (closer to closed), since the spring pushes back harder; lighter riders need less.
What to Feel For
Find a curb or parking-lot speed bump. Roll front wheel squarely into it at jogging speed, seated or standing neutrally. If the fork springs back and the front feels “pingy,” add a click or two of rebound damping. If it rebounds so slowly that it stays down over a quick second hit, open a click or two. Repeat for the rear by rolling your back wheel squarely into the bump. The right setting feels calm: one clean compression, a controlled return, and the bike resets before the next feature.
Low-Speed Compression: Poise and Pedaling Support
Low-speed compression (LSC) resists chassis motions that happen slowly—brake dive, body weight shifts, pedaling bob—not the fast spikes from square-edge hits. Think of it as posture, not protection. Adding a few clicks of LSC on the fork keeps your hands higher under braking; adding a few on the shock supports the mid-stroke when you’re climbing seated.
Good Starting Points
If your damper has an open-to-firm dial with numbered clicks, begin two to four clicks from fully open on both fork and shock for typical trail use. On frames prone to bobbing, try one more click of LSC at the shock; on steeper trails with heavy braking, try one more up front. If your bike has only a climb switch, leave it off for descending and flip it on for long pavement or smooth fire-road climbs.
Volume Spacers: Shaping the Last Third of Travel
Air springs can be tuned for “ramp-up” with small plastic tokens. If you’re hitting full travel too often even with correct sag and rebound, add a spacer to increase progression so big hits resist bottom-out. If you never reach near-full travel and the bike feels harsh late in the stroke, remove a spacer. Make one change at a time and record it. Forks are sensitive—move cautiously.
The Ten-Minute Parking-Lot Test
Before hitting dirt, validate your numbers where you can repeat inputs.
Step One: Balance Check
Stand next to a wall. Push down on the handlebar to compress the fork and let go; then do the same on the saddle to compress the shock. Both ends should return at similar speeds. If the fork “snaps” up while the rear is sluggish, add a click of rebound at the shock or open the fork a click; you want symmetry so the bike doesn’t pitch.
Step Two: Slow-Speed Compression Feel
Brake hard from a roll. If the fork dives excessively, add a click of LSC. If it stays high but feels skittery on small chatter later, remove a click. Sit and pedal across a rough patch or a painted lot line. If the shock wallows, add a click of LSC; if traction is nervous on tiny bumps, open a click.
Step Three: Two-Bump Rebound Test
Ride straight over two small bumps spaced a bike length apart. If the rear feels lower or “stuck down” at the second bump, rebound is too slow—open one click. If it bucks off the second, it’s too fast—close one click.
Lock these settings into your notes app with date, PSI, clicks, and temperature. Air pressures drift with big temperature swings, so a cold-morning ride may require a few PSI more than a hot afternoon.
On-Trail Refinement: Translate Sensations to Changes
If the front end chatters on small roots while your hands feel harsh, open the fork’s rebound one click or lower fork pressure by 2–3 PSI to increase sag slightly; if it then dives too much, add a click of LSC. If the rear kicks on square edges, close shock rebound one click; if it still bucks, consider one more volume spacer. If the bike feels vague in berms, add a click of LSC to the shock for mid-stroke hold. Make only one change at a time and give it a few minutes of riding before judging.
Example Platforms That Make Tuning Straightforward
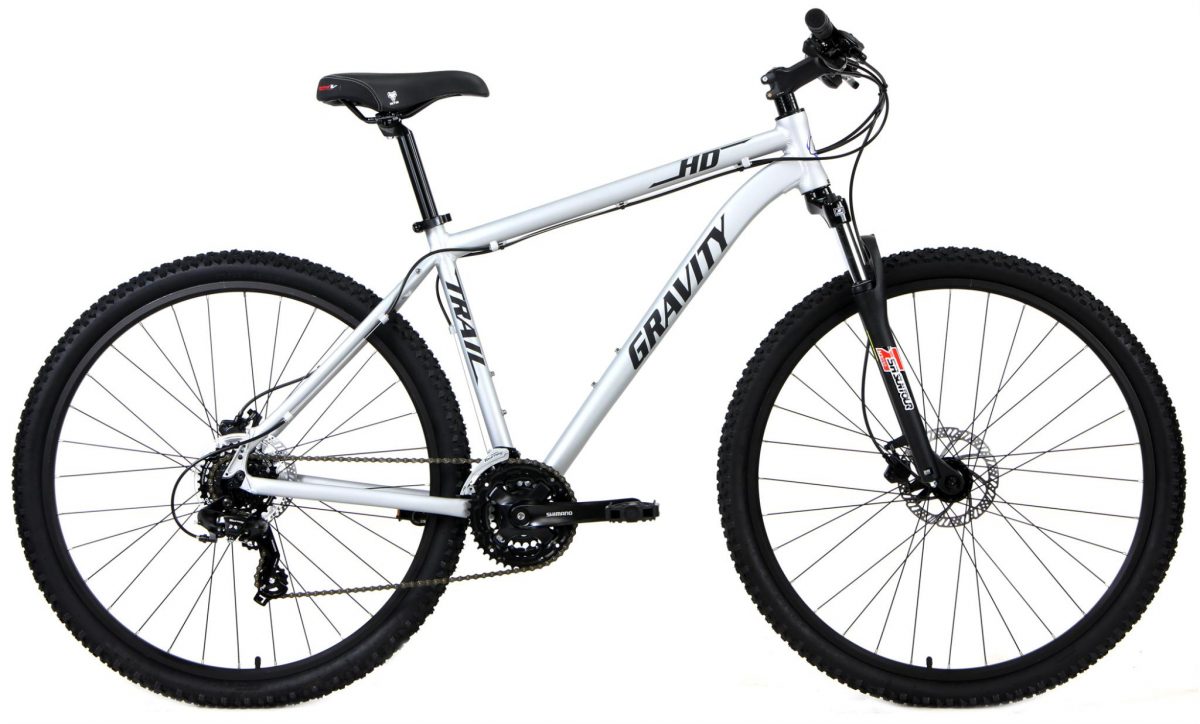
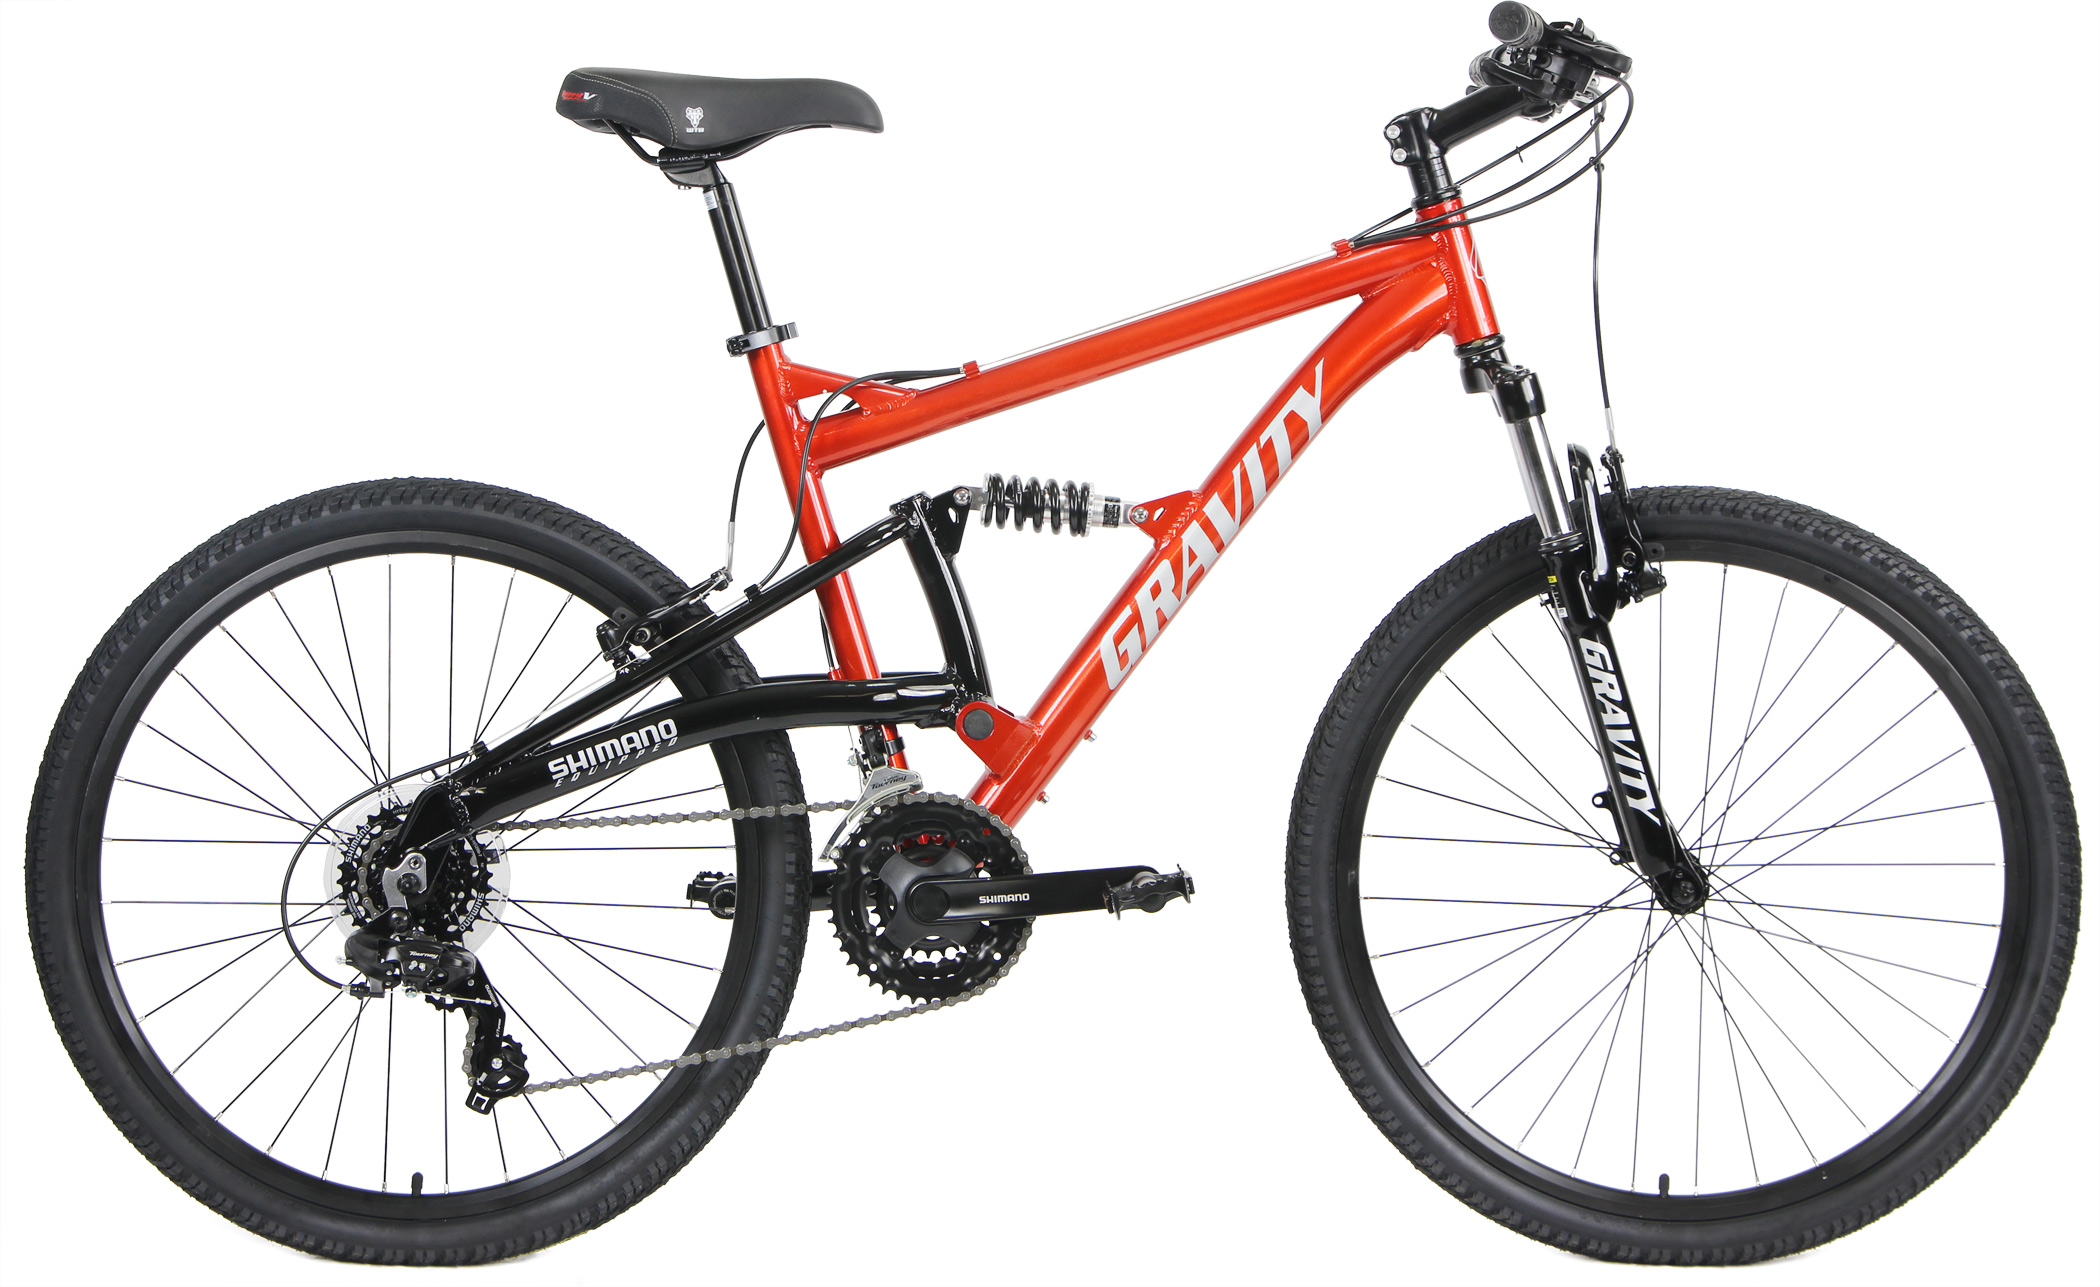
If you’re building a first trail bike and want dependable, predictable adjustments, the Gravity BaseCamp V7 offers stable geometry with components that respond clearly to psi and click changes. For riders wanting full-suspension confidence with an approachable setup window, the long-loved Gravity FSX remains a standout value, easy to dial for local singletrack. If you prefer the agility of smaller wheels with stout control and hydraulic discs, the Gravity HD Trail 27.5 gives direct feedback to suspension adjustments so you learn quickly what each click does.
Common Pitfalls, Quick Fixes
A fork that feels harsh and sits high often has too much air and too little rebound damping; drop 3–5 PSI, then add one rebound click if it chatters back. A shock that blows through travel may be under-pressurized; add 10 PSI, re-check sag, and add a volume spacer if bottom-outs persist on single big hits. If both ends feel fine alone but the bike porpoises while pumping, slow the fork rebound one click and add a touch of LSC at the shock to stabilize the chassis.
Keep It Fresh, Keep It Safe
Suspension needs occasional service. If you’re adding air every ride, seals may be tired. If the damper loses clicks or changes feel as it heats, it’s due for a refresh. Wipe stanchions after every ride so dust doesn’t grind into seals, and keep shock mounting hardware snug and quiet. Small habits preserve performance and keep your mountain bike suspension setup consistent month to month.
Want Personal Help?
At Bikes Direct, we love turning “I think?” into “that’s it.” Tell us your weight in full kit, the trails you ride, and whether you want more pop or more calm, and we’ll suggest starting pressures, click counts, and spacer choices that match your bike. If you’re choosing your first trail machine or upgrading from a rigid or hardtail, we can also steer you toward the right platform—something like the BaseCamp V7, the proven FSX, or the agile HD Trail 27.5—and ship it ready for a quick sag set and trail shakedown. We ride and test because setup is where value turns into speed and confidence. When you’re ready, contact our team and we’ll get your suspension—and your season—dialed.