v
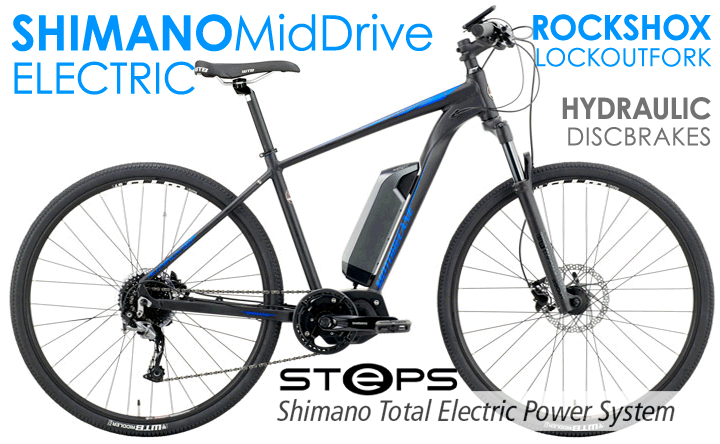
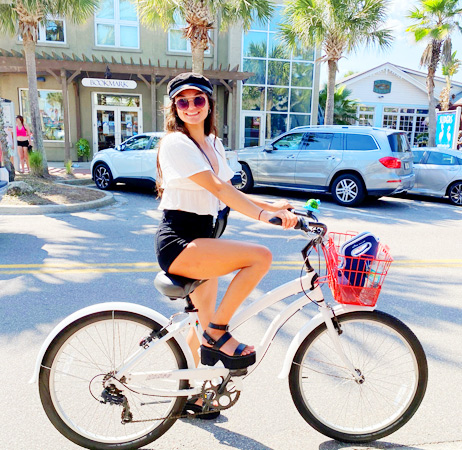
On a sunny Saturday morning, before the neighborhood wakes up, you see them everywhere — riders cruising along quiet streets, rolling onto wooded paths, looping around lakes, and pedaling toward weekend coffee spots. Some wear athletic gear, others ride in jeans, and a few have kids in tow. Despite their different styles, they often share the same type of ride: a hybrid bike. That variety of settings tells a clear story. In 2025, the hybrid has become the suburban cyclist’s most trusted companion, blending comfort, versatility, and everyday practicality into one bike built for nearly anything.
As more people look for ways to stay active, reduce driving, and explore their local communities, the appeal of hybrid bikes continues to grow. And with so many hybrid bike benefits, suburban riders now find fewer reasons to own multiple bikes for different uses. One ride can do it all — from weekday commutes to weekend adventures.
Why Hybrid Bikes Fit the Rhythm of Suburban Living
Suburban life creates a unique blend of needs for cyclists. Riders may travel smooth pavement one moment, then hit gravel shortcuts, park trails, or uneven sidewalks the next. A traditional road bike handles pavement brilliantly but struggles with rough surfaces. A mountain bike is great for dirt paths but feels sluggish on long stretches of asphalt. And while a relaxed beach cruiser offers comfort, it is not built for varied terrain or quick acceleration.
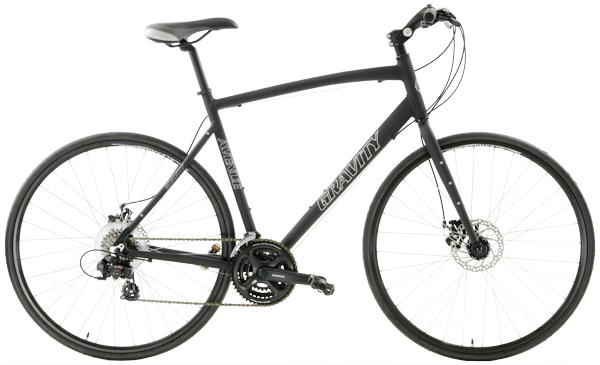
A hybrid bike sits perfectly in the middle, which is exactly why it thrives in suburban neighborhoods. Riders experience an upright, comfortable posture that supports relaxed daily movement, but they also enjoy efficient rolling, predictable steering, and stability across mixed surfaces. This balance makes hybrids ideal for everyday errands, casual exercise, family rides, and even occasional commuting.
The bike adapts seamlessly to the rider’s lifestyle, not the other way around. That flexibility is one of the most powerful hybrid bike benefits in 2025.

Comfort That Encourages More Riding
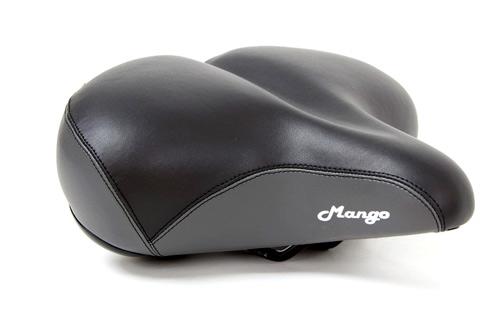
One of the biggest reasons suburban cyclists love hybrids is comfort. Riders want to enjoy the journey, not just arrive at the destination. The upright positioning of a quality hybrid reduces strain on the neck, wrists, and lower back. Meanwhile, slightly wider tires create a smooth and forgiving ride, even when navigating bumps, cracks, or gravel transition zones.
Compared to the aerodynamic posture of a road bike, hybrids feel approachable. They invite new riders into the sport and allow experienced cyclists to enjoy longer outings without fatigue. For anyone combining fitness with relaxation, the hybrid checks all the right boxes.
Comfort also supports consistency. When a bike feels good, riders naturally reach for it more often — whether for a morning loop or an after-dinner cruise around the subdivision.
Versatility Across Pavement, Paths, and Light Trails
Most cyclists do not stick to one type of terrain. Suburban environments include everything from paved roads and neighborhood sidewalks to greenway connectors, school paths, and lightly wooded trails. A hybrid’s blend of efficient wheels and stable geometry makes it one of the few bikes capable of handling all these surfaces confidently.
A gravel bike offers exceptional performance on dirt and loose surfaces, but its drop-bar design may feel technical for beginners. A mountain bike adds tackling power for rougher terrain, but it sacrifices speed on pavement. The hybrid delivers a sweet spot — fast enough for suburban streets, stable enough for park trails.
This versatility is especially helpful for families who share bikes or groups of friends with mixed riding preferences. Everyone can enjoy the same routes without worrying about terrain limitations.
A Practical Choice for Everyday Transportation
Many suburban riders choose hybrids not only for recreation but also for transportation. With traffic congestion rising and parking becoming more limited in suburban town centers, cycling has become a practical replacement for short car trips.
A hybrid bike provides predictable handling for stop-and-go riding, easy mounting and dismounting, and enough gearing range to handle hills and longer distances. Riders can comfortably carry backpacks, groceries, or work essentials with the right rack or basket setup.
For environments where dedicated bike lanes are still developing, the balanced ride of a hybrid offers confidence. Riders can maneuver around parked cars, navigate neighborhood intersections, and transition onto multi-use paths with ease.
In 2025, more cities and suburbs are building cycling infrastructure to support active transportation. Hybrids fit perfectly into this evolving landscape.
Comparing Hybrids to Other Popular Bike Types
Understanding how hybrids stack up against other categories helps riders make confident decisions.
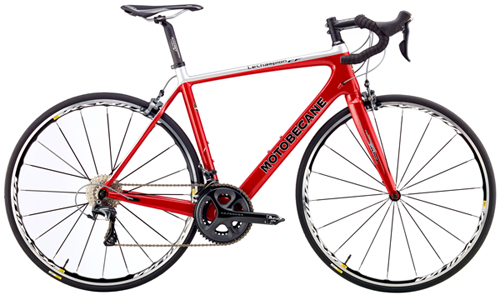
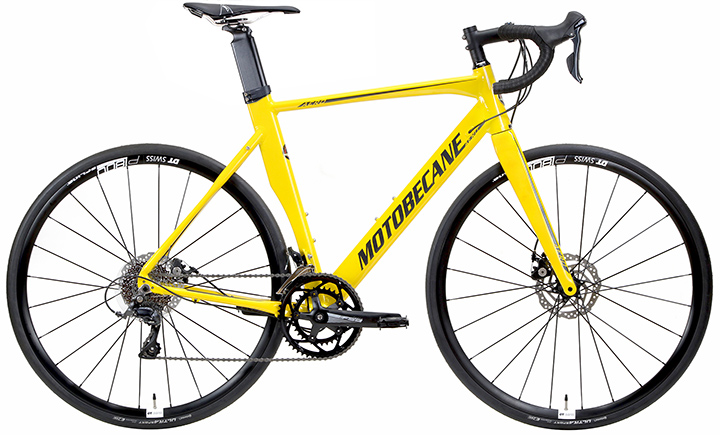
- A road bike offers unmatched efficiency and speed, but its narrow tires and aggressive posture make it less forgiving for riders who prefer comfort or varied terrain. A hybrid, with its upright stance and adaptable tires, bridges the gap between performance and everyday usability.
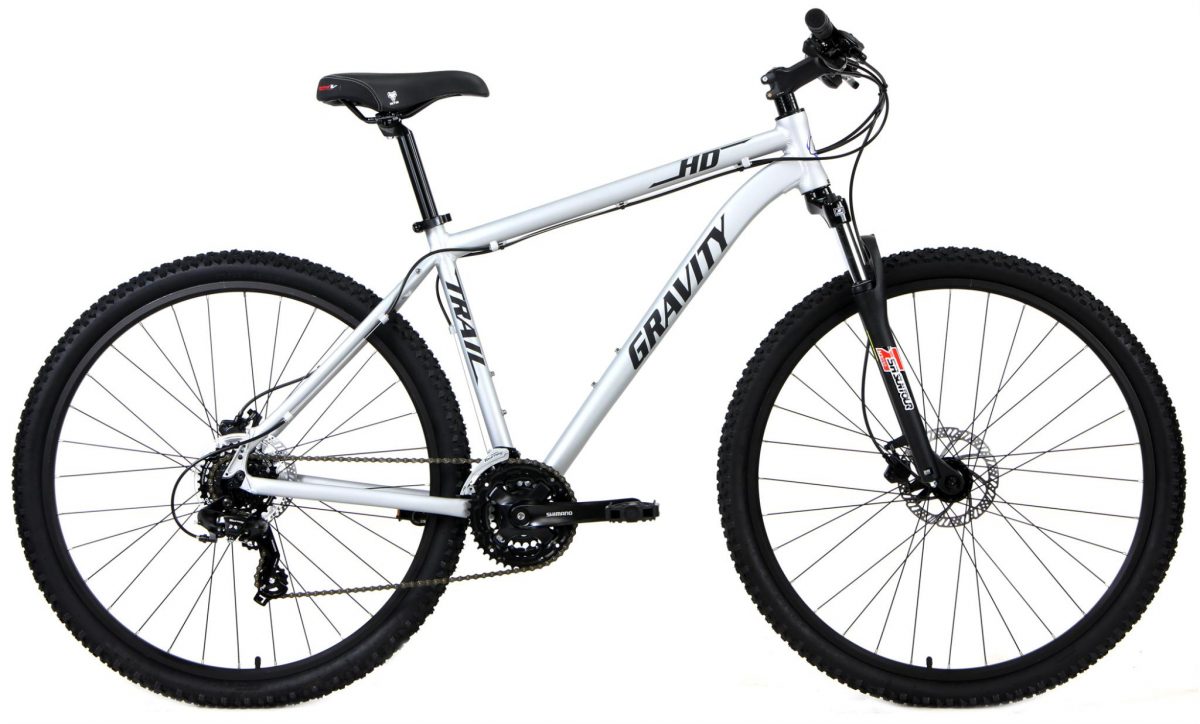
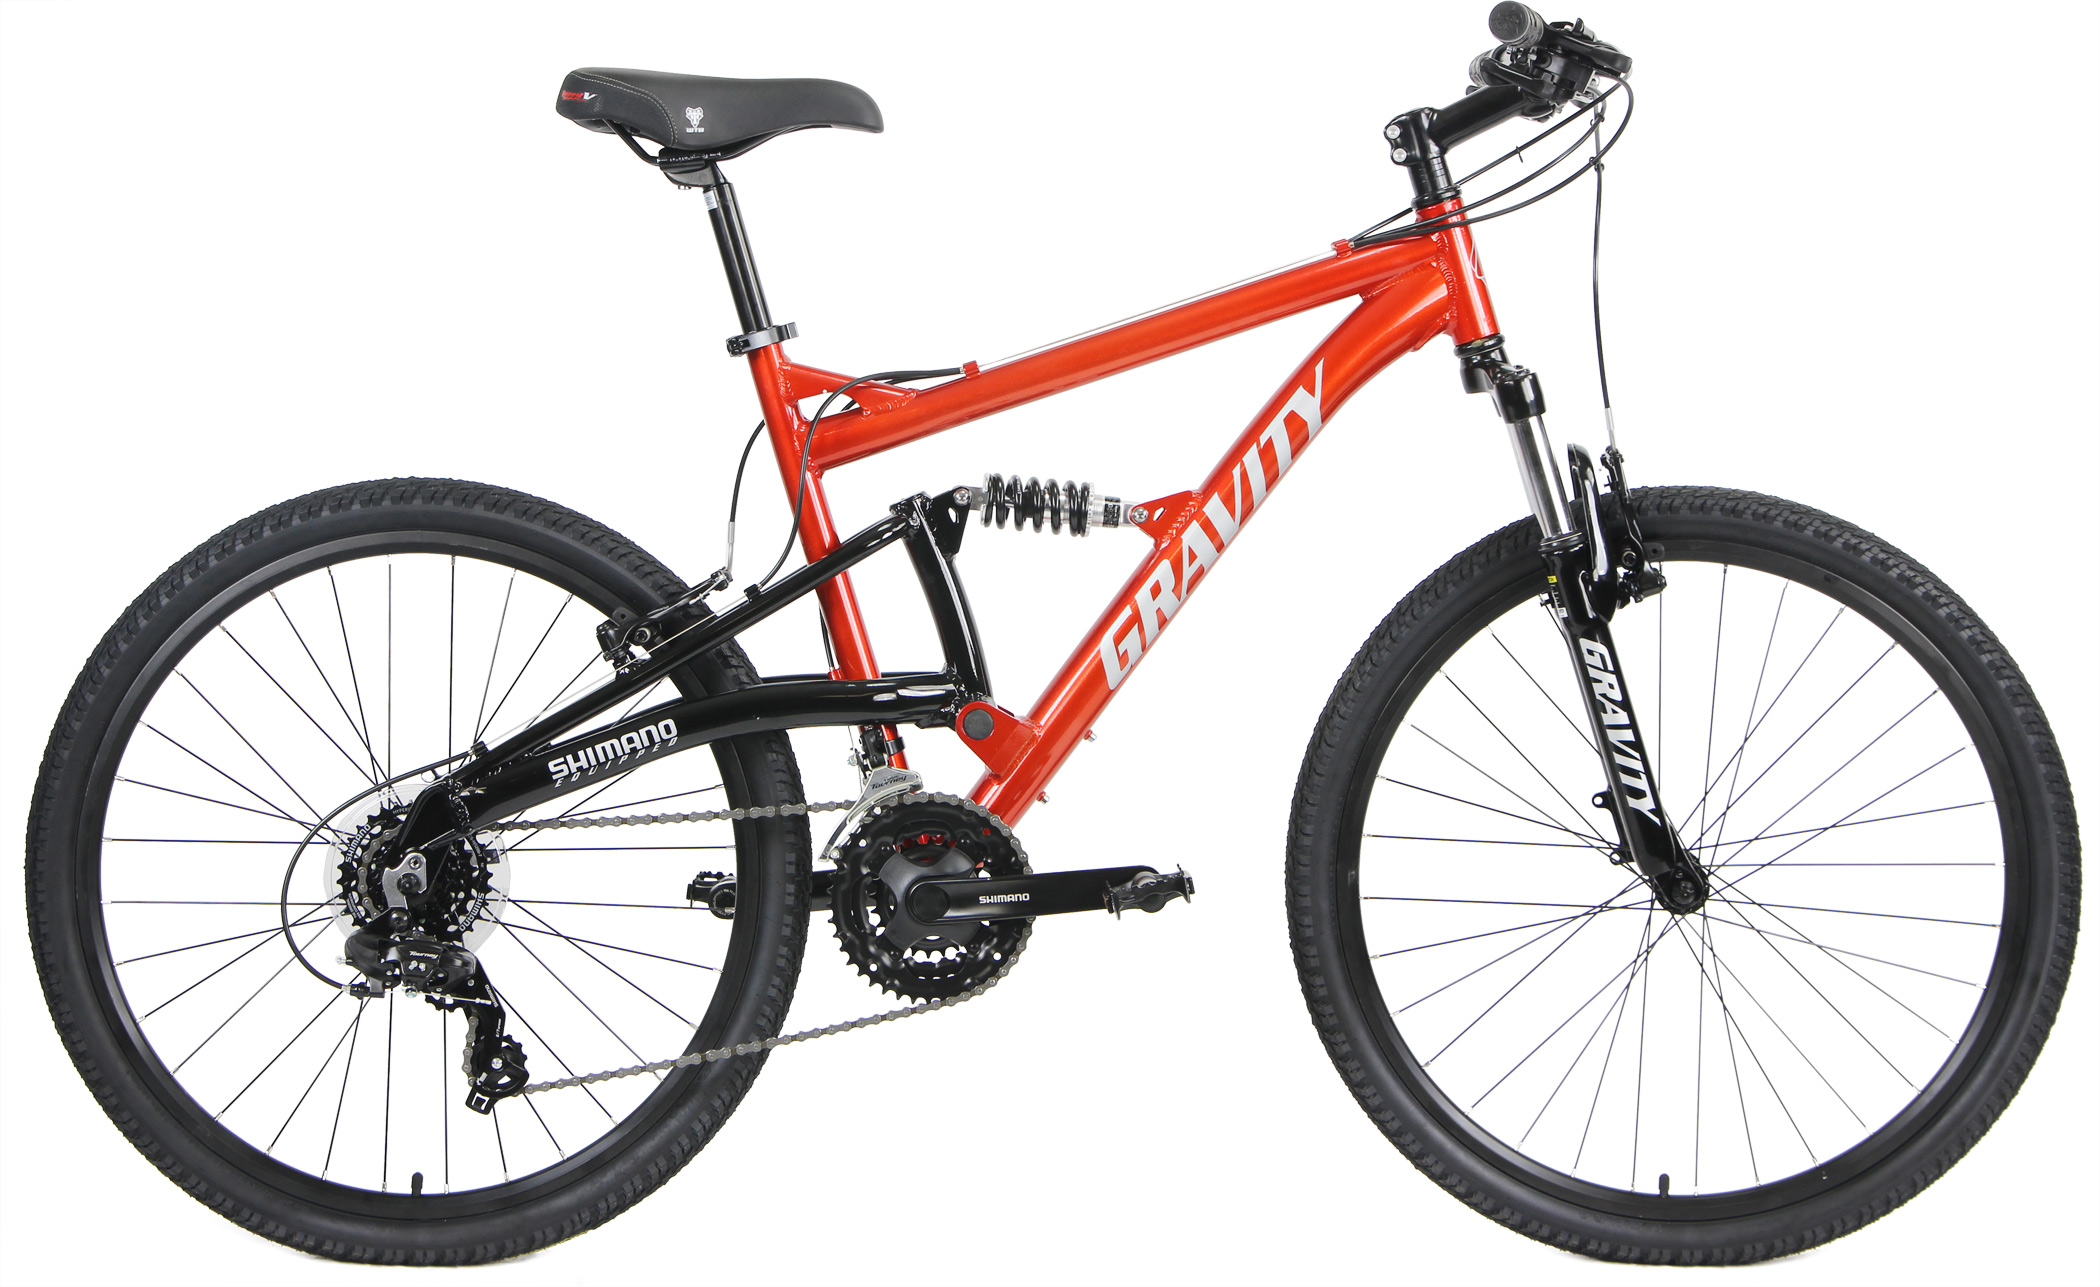
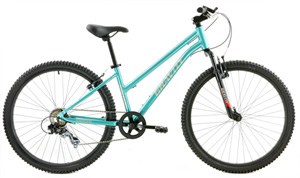
- A mountain bike excels in rough terrain but can feel heavy on long suburban rides. Hybrids keep some of the stability of a mountain setup without the extra suspension or weight.
- A gravel bike is a strong contender for riders seeking adventure, offering drop bars and tons of capability on dirt roads. However, hybrids often feel more intuitive for beginners or casual riders due to their straightforward handling.
- A classic beach cruiser remains a fun, laid-back option, but its single-speed or limited gearing makes it challenging on hills or long loops. Hybrids offer that same casual comfort but with far greater range and adaptability.
- Even the eye-catching fat bike has its niche — snow, sand, and rugged trails — but it is not designed for everyday suburban rides. Hybrids remain the most practical day-to-day solution for most riders.
These comparisons show just how many hybrid bike benefits extend beyond versatility: they simplify decision-making for riders who want one reliable bike for nearly any scenario.
Fitness, Fun, and Family-Friendly Freedom
Suburban riders frequently use hybrid bikes for fitness and recreation. The upright posture engages the body in a natural, sustainable way, making cycling a gentle but effective workout. Riders often report improved cardiovascular endurance, stronger leg muscles, and lower stress levels thanks to consistent riding.
Hybrids are also incredibly family-friendly. Parents can tow child trailers or ride alongside kids learning to balance. Weekend loop rides become shared memories instead of solitary training sessions.
For social riders, hybrids create an equal playing field. Friends with different fitness levels or experience can all enjoy the same pace without pressure.
This ease of use builds confidence, which in turn builds community.
The Ideal Bike for New Riders and Returning Cyclists
Many adults who have not ridden in years — or since childhood — choose hybrids as their reentry into cycling. The familiar upright stance, simple controls, and intuitive handling help riders feel comfortable immediately.
At the same time, experienced riders who want a break from aggressive training or who need a second bike for errands often select a hybrid as their go-to option.
When a bike feels inviting, riders find more opportunities to use it, unlocking both physical and mental benefits. Hybrid bikes create that invitation effortlessly.
Why 2025 Is the Perfect Time to Choose a Hybrid
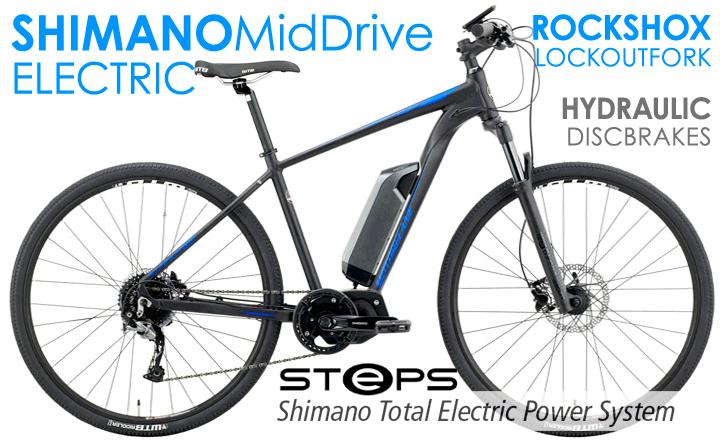
Suburban cycling is growing quickly, and manufacturers are improving hybrids with better frame materials, upgraded drivetrains, and enhanced comfort features. Riders now enjoy lighter frames, better brakes, smoother gear shifts, and modern styling that competes with higher-tier categories.
In 2025, a hybrid is not just a compromise between categories — it is a deliberate choice for riders who want practicality, comfort, and value without sacrificing performance.
Ready to Experience the Freedom of a Hybrid
If you want a bike that adapts to your lifestyle, matches your environment, and makes every ride enjoyable, a hybrid might be your perfect fit. Explore the selection at Bikesdirect.com and discover the versatility, comfort, and all-purpose freedom a hybrid brings to suburban life.
Your next great ride starts the moment you choose versatility.