
Most cyclists have a story about a bike that worked beautifully for the first year, then gradually started feeling noisier, less precise, and harder to push. In the majority of cases, that decline is not inevitable. It is the result of deferred maintenance. Following a few reliable bicycle maintenance tips consistently keeps your bike in close to factory condition, extends the life of every component, and saves you significantly more than the cost of a tube of chain lubricant.
We put this guide together for riders at every level, whether you commute daily on a road bike or pull your bike out for weekend rides. None of this requires professional tools or a certification. It requires about twenty minutes a month, a couple of basics, and the habit of paying attention before something breaks rather than after. Start with these four areas, and the difference will show up on your very next ride.
The drivetrain is the most mechanically complex and wear-prone part of your bike, and it is the area where deferred maintenance costs the most. A dirty chain does not just create noise. It accelerates wear on the cassette and chainrings, which cost considerably more to replace than a chain. Getting into the habit of keeping the drivetrain clean is the single highest-return maintenance habit any cyclist can develop, regardless of how much the bike costs.
A Clean Drivetrain Means a Longer-Lasting Bike
Clean the chain after every wet ride and roughly every 150 to 200 miles in dry conditions. Use a biodegradable degreaser on a rag, run the chain through it several times, and let it dry fully before applying fresh lubricant. Dry or wax-based lubricants work best in dry conditions, while wet lubes hold up better through rain and mud. Apply only to the chain links, not the cassette or derailleur pulleys, and wipe away all external excess. Lubricant only works inside the chain; anything on the outside collects grit.
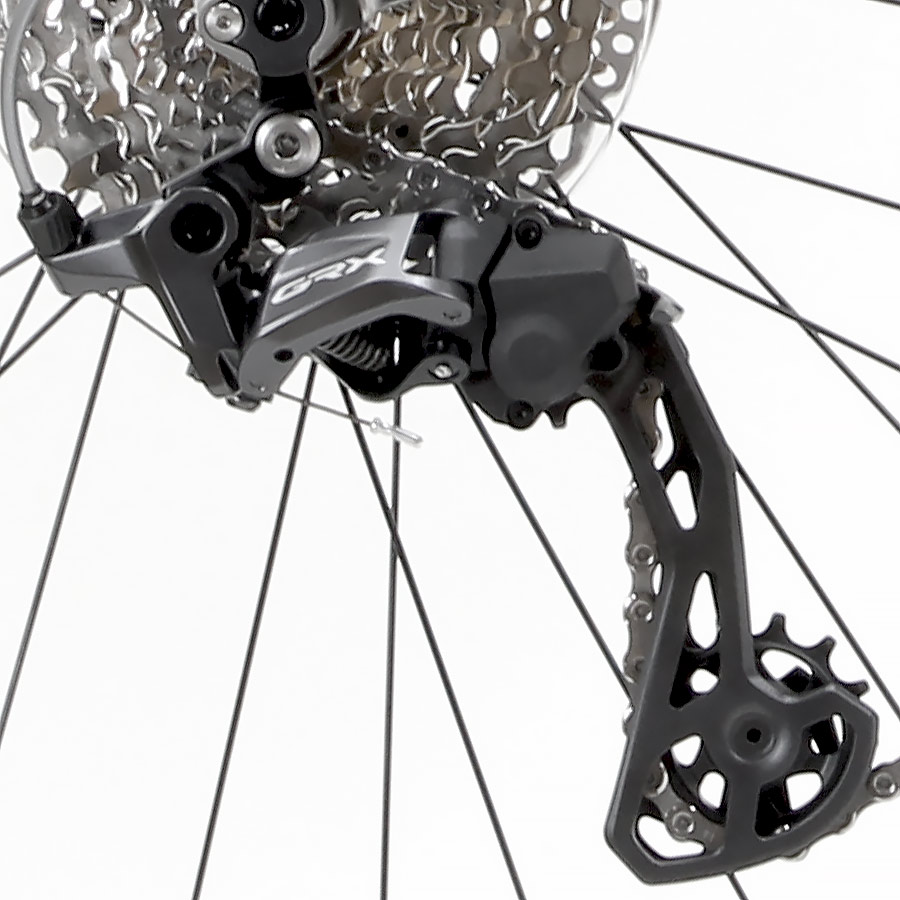
Inspect the cassette and chainrings visually every time you clean. Worn cassette teeth take on a hooked or asymmetric shape rather than a uniform, rounded profile. A worn chain left in place too long accelerates this wear and can begin skipping under load, which is a particularly unpleasant surprise mid-ride. Most bike shops can measure chain stretch with a simple tool. Replacing a chain before it is fully worn saves the cassette. Replacing both together if the cassette is already compromised protects the chainrings and keeps your shifting crisp.
Tire Pressure Is the Easiest Win in Cycling
Correct tire pressure is one of the cheapest performance upgrades available to any rider, and it costs nothing but two minutes and a floor pump. Running tires significantly underinflated increases rolling resistance, makes handling feel sluggish, and dramatically raises the risk of pinch flats. Overinflated tires sacrifice traction and comfort without any meaningful speed benefit, and they are harder on your wrists and lower back over longer distances.
A gravel bike with wider tires generally runs between 40 and 60 PSI, with the lower end providing a more comfortable and traction-friendly ride on loose or mixed surfaces. Road bikes typically require 80 to 120 PSI, depending on tire width and rider weight. Mountain bikes and fat bikes run much lower pressures, sometimes as low as 10 to 20 PSI, which is part of what makes them effective in soft terrain. Check pressure before every ride using a floor pump with a built-in gauge. Eyeballing is unreliable and becomes less accurate as your eyes adjust to what you are used to seeing.
While you have the wheel in hand, run your thumb along the sidewall and tread looking for small cuts, embedded glass, or cracking. Sidewall cracks and deep cuts are signs the tire needs replacement regardless of tread depth. Catching these before they become a flat on a remote trail or a busy road is exactly what consistent tire inspection is designed to prevent.
Brakes That You Can Rely On Every Single Ride

Brake maintenance is a safety issue, not just a performance consideration. A brake that feels a little soft or pulls a bit further than it used to is a brake that may not stop you reliably when you need it most. Checking your brakes takes less than five minutes and should happen at least monthly, or after any ride in heavy mud or rain.
For rim brakes, inspect the pads for wear indicators, usually a groove or line molded into the pad surface. If the pad material is worn below that line, replace it before your next ride. Check that the pads make contact squarely with the rim braking surface, not the tire sidewall, and that contact is even across the full pad width. For disc brakes, look at pad thickness through the caliper window. Pads thinner than 1mm need replacing immediately. Also, inspect the rotor for deep grooves or a concave profile, which indicates the rotor has worn past its service limit.
Brake cable tension is the most common cause of a soft or inconsistent lever feel. A barrel adjuster at the brake lever or caliper lets you take up slack without tools in under a minute. If the cable feels frayed or the housing is cracked near either end, replace the full cable set before your next ride. This is not a repair to defer.
Lubrication, Bolt Checks, and Off-Season Storage
Lubrication errors fall into two categories: too little and too much. A dry chain skips and wears quickly. An over-lubricated chain acts as a grit magnet, turning road dust into an abrasive paste that accelerates wear just as effectively as running dry. Apply lubricant to the chain while turning the pedal backward, link by link, then wipe all external excess completely off. The lubricant works inside the link joints, not on the outer plates or side surfaces.
Beyond the chain, apply a small amount of grease to pedal threads and the seatpost before fitting them to prevent corrosion-related seizure, which can become nearly impossible to reverse. Wipe down the stanchions of a suspension fork after muddy rides. Check bolt torque on the stem, handlebars, and seatpost clamp monthly. Loose bolts in these locations are a safety concern that takes thirty seconds to prevent and considerably longer to recover from if ignored.
For off-season storage, clean the bike thoroughly, lubricate the chain, and hang it in a dry space away from moisture and temperature extremes. Remove batteries from lights and cycle computers. Store tires away from direct sunlight, which degrades rubber faster than mileage ever will. A clean, properly stored bike is ready to ride the moment the season opens again, without the frustrating reminder that maintenance was skipped.
Spend Twenty Minutes a Month, Save Hundreds a Year
The return on regular maintenance is not purely mechanical. A well-maintained bike rides more precisely, shifts more reliably, and stops more confidently. These bicycle maintenance tips are not about perfection. They are about developing a short, consistent routine that keeps small issues from compounding into expensive ones over time.
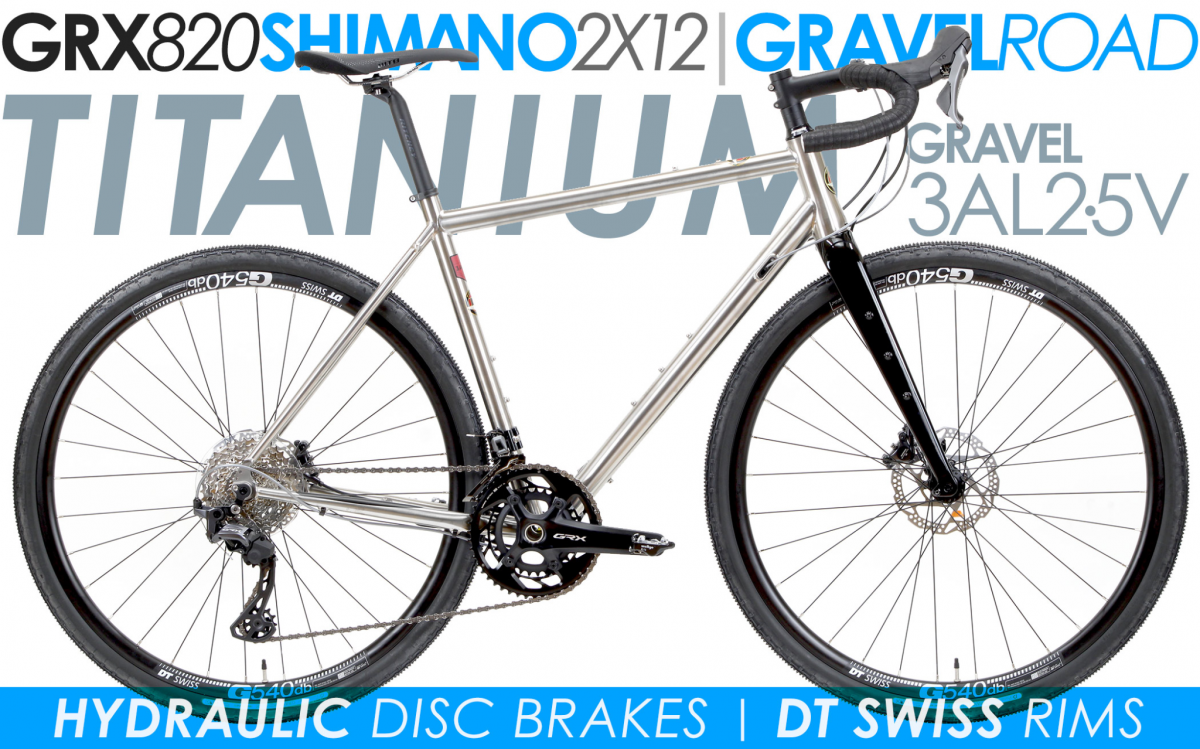
At BikesDirect, our lineup includes road bikes, mountain bikes, gravel bikes, hybrid bikes, beach cruisers, and fat bikes, and every one of them rewards consistent care with years of strong performance. For a premium adventure option that returns exceptional results from careful maintenance, the Motobecane Mulekick Ti PRO is worth a close look. Browse our full hybrid bike selection if you are looking for a versatile everyday ride built around reliability from the start.
If you have questions about maintenance schedules for a specific model or need guidance choosing a bike that fits your habits and terrain, contact our team at BikesDirect.