Walking into cycling clothing can feel like entering a tiny universe of padded shorts, jerseys, gloves, glasses, jackets, socks, and shoe systems. For a new rider, that can be overwhelming and expensive. The truth is simpler: good cycling apparel for beginners should solve comfort, safety, and weather problems without turning your first rides into a shopping project.
Here’s what cycling apparel for beginners is actually worth buying first and what can wait until you ride more often.
The Helmet Comes First
A helmet is not technically apparel, but it belongs at the top of any beginner list. Choose one that meets current safety standards, fits snugly, and sits level on your head. It should not rock forward, slide backward, or pinch. Adjustable retention systems make fit easier, and good ventilation helps during warm rides.
Do not buy a used helmet unless you know its full history. A helmet can be damaged in a crash even when it looks fine. If your budget is limited, buy a simple new helmet before spending money on specialized clothing.
A useful drivetrain wear replacement guide starts with the chain because it is normally the least expensive wear component and the one that can damage everything around it. As the chain’s pins and rollers wear, its effective pitch increases. The worn chain then loads cassette and chainring teeth unevenly.
A high-mileage road bikemay accumulate wear quickly even in clean conditions, while a muddy trail bike can damage parts in far fewer miles. Distance alone is therefore a poor replacement schedule. Measurement, shifting behavior, and maintenance history provide better evidence.
Measure Chain Wear Before Shifting Fails
A chain-checker tool gives a fast indication of elongation. Different drivetrain speeds and manufacturers use different replacement guidance, so follow the tool and component instructions. A ruler can provide a second check, but a dedicated gauge is easier for regular use.
The Park Tool chain replacement guide explains how early chain replacement protects the cassette and chainrings. Waiting for visible tooth damage usually costs more.
Measure at several points because contamination and stiff links can affect the reading. Clean the chain before making a final decision, and replace any chain with damaged plates, severe rust, or a compromised connecting pin regardless of elongation.
The phrase “mountain bike geometry trends 2026” can sound like a list of fashionable angles, but geometry is simply the relationship between the rider, wheels, and ground. Longer reach, slacker head angles, steeper seat tubes, and changing wheelbases have developed because riders descend faster, use wider handlebars, and expect one bike to climb and descend with control.
A gravel bike may borrow stable handling ideas, but mountain-bike geometry must also account for suspension sag, large tires, standing movement, and steep obstacles. Numbers only make sense within the complete design.
Longer Reach Creates More Standing Room
Reach measures the horizontal distance from the bottom bracket to the top of the head tube. Modern trail bikes often use longer reach with shorter stems. The rider gains room to move while the handlebar remains close enough for active steering.
A longer front center can improve stability on descents because the front wheel sits farther ahead of the rider. The trade-off is that an overly long frame can feel difficult to weight in flat corners and uncomfortable during seated riding.
Frame size matters. A geometry trend is not permission to choose a bike that is too large. Compare reach with stack, seat-tube length, and intended stem length.
The endurance vs race road bike debate isn’t a contest between slow comfort and serious speed. Both categories can be fast. The difference is how they position the rider, respond to steering, manage rough pavement, and sustain effort across the type of ride that fills the calendar.
A gravel bike may appear similar because it also uses drop bars, but wider tires, lower gearing, and off-road stability move it farther from a pure race design. Road buyers should first decide whether pavement efficiency or mixed-surface capability is the real goal.
Geometry Creates the Main Difference
Endurance frames generally provide more stack and less aggressive reach, placing the handlebars higher relative to the saddle. They may use a longer wheelbase and slightly calmer steering. The rider gains a posture that is easier to hold for hours.
Race frames typically position the front end lower and encourage a longer, flatter body shape. Shorter wheelbases and sharper steering can make direction changes feel immediate. These traits reward flexibility and control but can increase strain when the fit is too aggressive.
The REI road-bike guide recommends comparing geometry and intended use rather than relying on marketing categories alone.
Comfort Can Produce More Speed
Aerodynamics matter, especially above moderate speeds, but a position only works if the rider can maintain it. A low front end that causes neck pain or closed hips may reduce power and force frequent breaks.
Endurance geometry can keep the rider fresher, making it faster over a long event even if the position is slightly less aerodynamic. Wider tires at suitable pressure also reduce vibration and improve control on rough pavement.
A strong bike theft prevention strategy is built around layers. No lock makes a bicycle impossible to steal, but a quality primary lock, correct technique, visible parking, component protection, registration, and records can make theft harder and recovery more likely.
A daily-use hybrid bike may spend more time exposed than a weekend bicycle, so security belongs in the purchase budget. A rider who spends everything on the bike and uses a thin cable creates an avoidable risk.
Match the Lock to the Exposure
U-locks resist cutting and prying better than basic cables. Heavy chains can secure unusual frames or fixed objects, while folding locks balance portability and reach. Cables are best used as secondary protection for a wheel or saddle, not as the only barrier in a high-risk area.
Buy the smallest lock that fits the normal parking setup. Less empty space gives a thief less room for tools. High-security locks are heavier, but leaving one at a regular workplace can reduce the daily carrying burden.
An indoor cycling smart trainer guide should explain the setup before recommending expensive electronics. Indoor riding can support structured fitness, bad-weather consistency, and safe evening training, but the bicycle must fit, the trainer must be compatible, and the room must manage heat and noise.
A drop-bar road bike is common indoors because it offers several hand positions and efficient pedaling. Flat-bar and gravel bikes can work too. The trainer does not require a racing bike, only secure attachment and compatible dimensions.
Understand the Main Trainer Types
Rollers support both wheels and require the rider to balance. They improve smooth pedaling and handling but provide less stability for hard intervals. Basic wheel-on trainers clamp the rear axle and press a resistance unit against the tire.
Smart wheel-on trainers measure or estimate power and can change resistance through an app. Direct-drive trainers replace the rear wheel, attaching the chain to a cassette on the trainer. They usually provide better power accuracy, stronger resistance, and less tire noise.
A dedicated smart bike offers integrated controls and adjustment without mounting a road bicycle. It saves setup time but costs more and occupies permanent space.
The TrainerRoad beginner guide explains how smart resistance can follow a workout automatically and why consistency matters more than entertainment features.
Smart Resistance, Power, and ERG Mode
A smart trainer communicates through Bluetooth or ANT+ and changes resistance based on a virtual gradient or workout target. ERG mode holds a selected power level by increasing resistance when cadence drops and reducing it when cadence rises.
ERG mode is useful for structured intervals, but it can feel restrictive if the rider stops pedaling. Simulation mode allows more natural shifting and responds to virtual hills. Neither mode fixes poor fit or an unrealistic training plan.
Power data helps riders compare effort across sessions. Accuracy varies by trainer, calibration, temperature, and drivetrain condition. Use the same setup consistently before worrying about small differences between devices.
Confirm Compatibility Before Ordering
Check rear axle type, dropout spacing, wheel diameter, cassette speed, freehub standard, and brake format. A quick-release bike may need the trainer’s supplied skewer. A thru-axle frame may require an adapter with the correct thread pitch and length.
Direct-drive trainers need a compatible cassette. A bike with eight rear gears can often use a spacer on an 11-speed freehub, but the manufacturer instructions should decide the setup. Electronic shifting and unusual frames may introduce additional requirements.
Disc-brake bikes should use a pad spacer if the rear wheel is removed and the lever could be squeezed. Wheel-on trainers need a tire with sufficient pressure and roller tension. A dedicated trainer tire can reduce wear and noise.
The Wahoo trainer compatibility guide provides an example of the checks manufacturers publish. Always use the guide for the actual trainer being considered.
Build a Room That Controls Heat
Indoor riding removes natural airflow, so a powerful fan is essential. Place it before starting rather than waiting until overheating. Use a mat to protect the floor, catch sweat, and reduce vibration.
Keep water, a towel, and controls within reach. Sweat can corrode headset, handlebar, and frame hardware, so wipe the bike after every session. A front-wheel block can level a wheel-on setup.
Noise travels through floors. Direct-drive trainers may reduce tire sound, but drivetrain noise and vibration remain. Place the setup away from shared walls and use a dense mat in apartments.
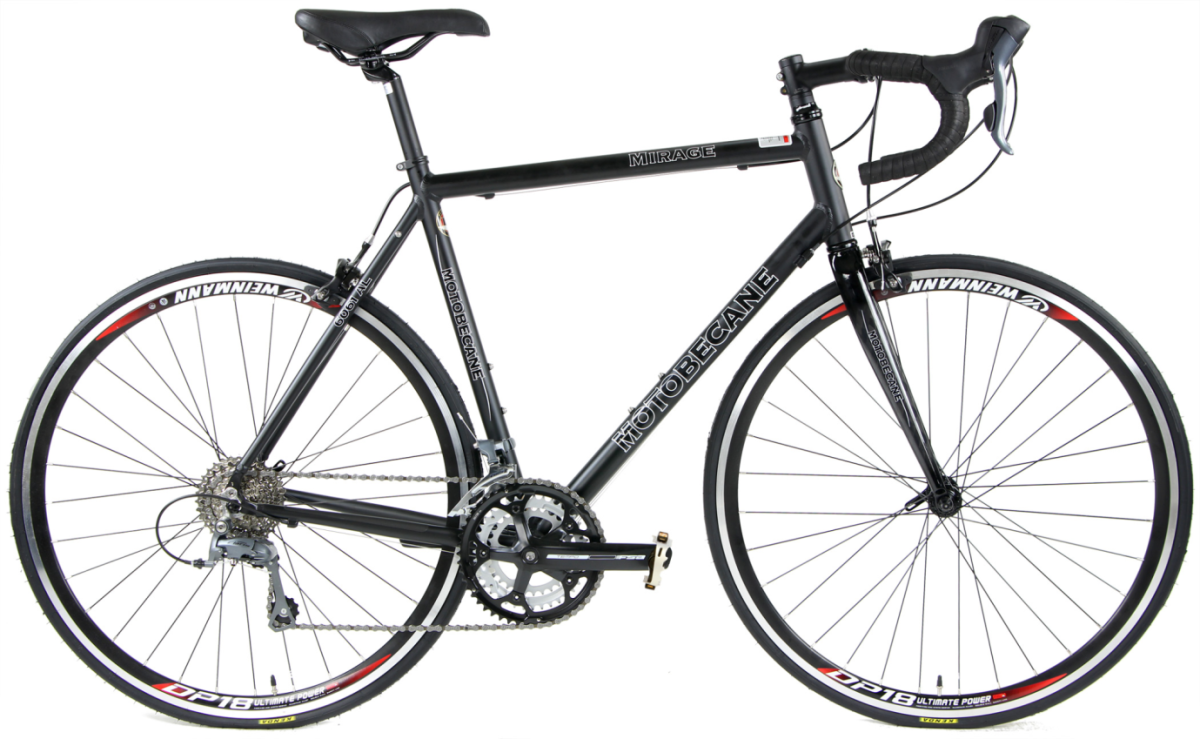
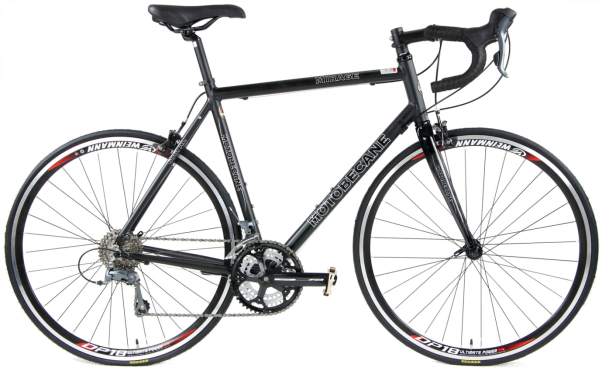
The Motobecane Mirage SLX-XTL uses a conventional quick-release road layout and an eight-speed cassette, which can suit many trainers with the correct skewer or cassette spacer.
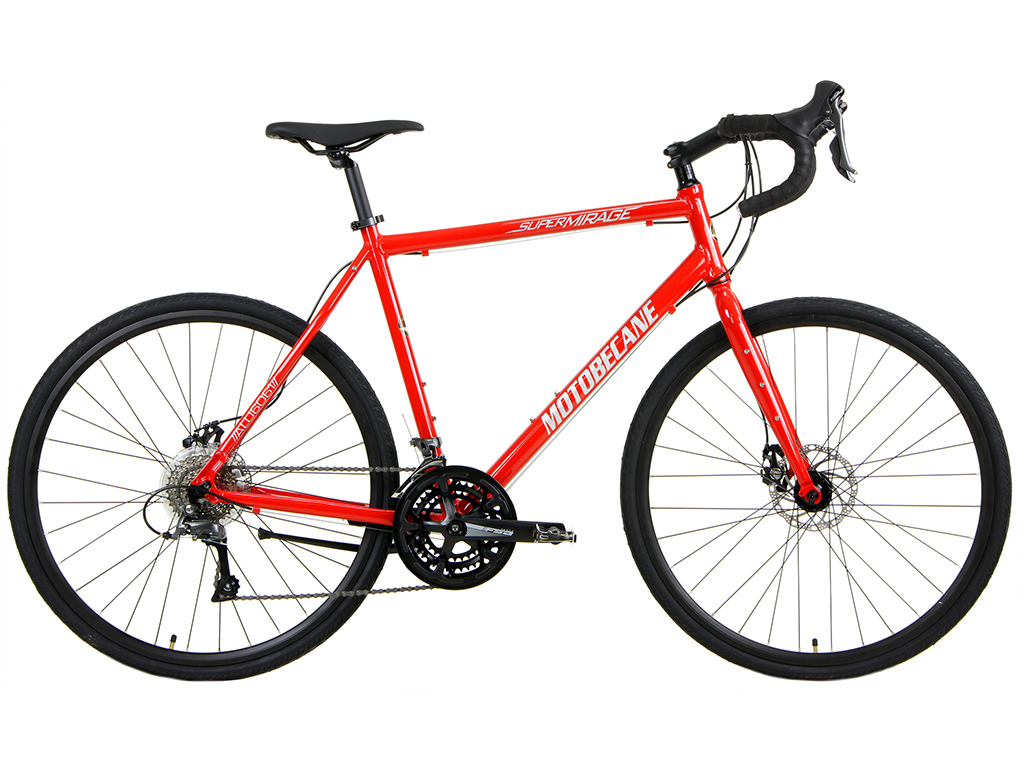
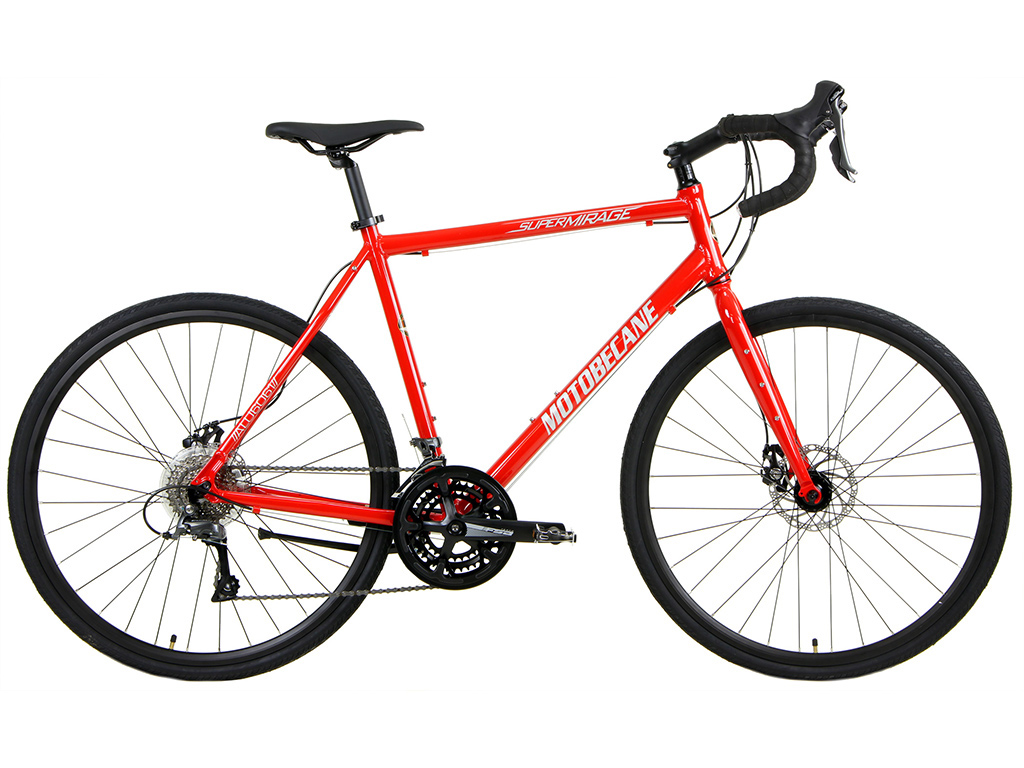
The Motobecane Super Mirage SLX XTL also uses quick-release wheels but adds disc brakes and wider gearing. Disc format matters less on the trainer than axle fit and cassette compatibility.
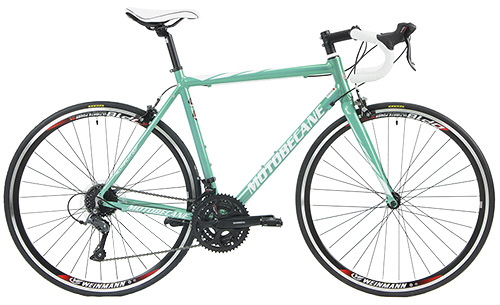
The Motobecane Gigi Sport XTL can serve riders whose geometry and size align better with its design. Indoor training magnifies fit problems because the bike remains fixed and the rider cannot move it underneath the body.
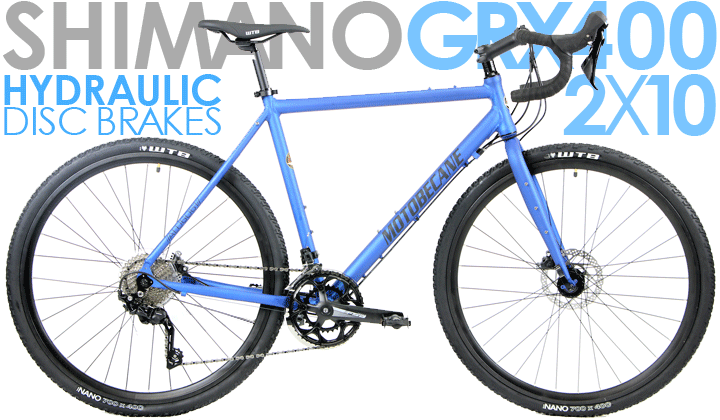
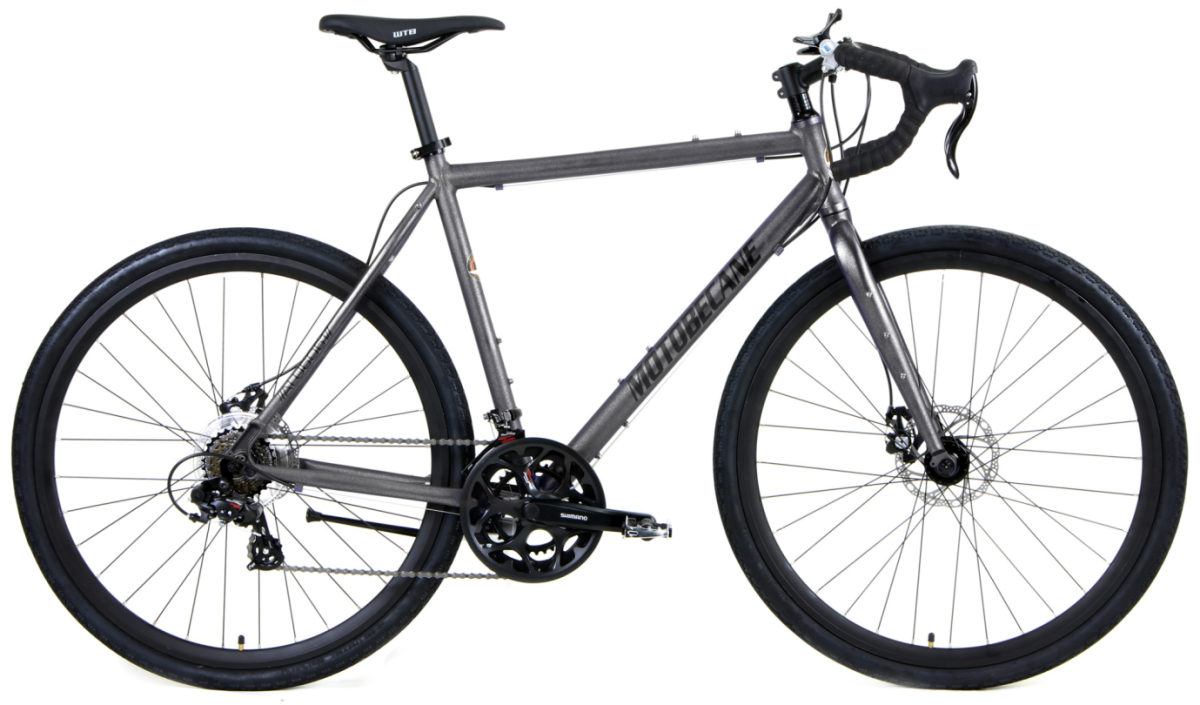
The Motobecane Gravel X Pro represents a gravel bike with a different drivetrain and wheel interface. Buyers must confirm trainer adapters and cassette support rather than assuming every drop-bar bicycle attaches the same way.
Use Apps as Tools, Not Obligations
Virtual platforms can provide routes, races, group rides, and social motivation. Training apps offer structured plans and analysis. Simple videos or a written workout can be equally effective for riders who do not want another subscription.
Start with two or three weekly sessions and leave recovery between hard efforts. Indoor workouts often feel harder because cooling is limited and there are no coasting breaks. Increase volume gradually.
Budget for the Complete Setup
The trainer price is only part of the cost. A cassette, axle adapter, mat, fan, riser block, device stand, and app subscription can change the total substantially. List every required item before choosing between wheel-on and direct-drive systems.
A basic trainer with a speed sensor can support effective workouts at lower cost. Smart features are most valuable for riders who will use structured resistance or virtual group riding consistently, not for someone who prefers occasional easy spinning indoors only.
A Trainer Works Best When the Bike Fits
A hybrid bike can support comfortable indoor fitness even without racing geometry. The rider should prioritize sustainable posture and compatible hardware.
BikesDirect offers road, gravel, hybrid, and mountain models with detailed drivetrain and wheel specifications. Those details help buyers compare cassette speeds, axle formats, and fit before adding indoor equipment.
The right first kids bike choice begins with the child standing over the bicycle, not with an age printed on a box. Children of the same age can have very different inseams, strength, coordination, and confidence. The best first bike is light enough to control, small enough to stop safely, and simple enough that the child can focus on balance and steering.
A miniature mountain bike may look exciting, but suspension and extra gears can add weight without helping a new rider. Features should solve a real problem. Immediate fit and accessible brakes matter more than a long specification list.
Fit the Child for the Present Season
The child should be able to stand over the frame without painful contact and place the feet down with confidence. Saddle height depends on skill. A true beginner may need more foot contact, while an experienced rider can use a higher position for better pedaling.
The REI kids-bike guide recommends using height and inseam rather than age alone. It also warns against buying a bicycle that a child must grow into because an oversized frame makes starting, stopping, and steering harder.
Leave adjustment room, but do not turn future growth into current instability. A bike that fits now can build the skills that make the next size easier.
Wheel Size Is a Starting Point, Not a Guarantee
Wheel sizes such as 16, 20, and 24 inches provide a useful category, but frame shape and saddle range differ between models. Two 20-inch bicycles may fit differently because of standover height, crank length, handlebar position, and tire width.
Measure the child in normal riding shoes and compare the number with the product size chart. Check that knees do not strike the handlebar and that the child can turn without the bar feeling too far away.
A 24-inch model can suit a taller child who has outgrown a 20-inch bike, but moving up early can make the bicycle feel heavy and slow to correct. Control should improve after sizing up, not disappear.
Weight Affects Every Learning Skill
Children have less body mass and strength available to correct a leaning bicycle. A heavy bike is harder to start, lift, steer at low speed, and push up a hill. The child may blame personal ability when the equipment is creating the problem.
Compare the bicycle’s complete weight, and not just the frame material. Suspension forks, wide tires, steel parts, and decorative accessories can make an aluminum bike heavy. Remove unnecessary baskets or training hardware once it is no longer needed.
Weight is not the only priority. A slightly heavier bike with better fit and effective brakes may be safer than a lighter model with an awkward cockpit. The goal is a balanced package the child can manage independently.
Check Brakes, Gearing, and Crank Length
The child should be able to reach and pull the brake levers without rotating the hands off the grips. Lever-reach adjustment can help, but it cannot fix controls designed for adult hands. Test both brakes and explain how to apply them progressively.
A single rear shifter is easier than front and rear shifting. Flat routes may need only one gear, while hills justify a small gear range. Complicated controls can distract a beginner who is still learning to look ahead.
Cranks that are too long force the knees through an exaggerated range and can cause toe overlap. Child-sized components matter because an adult layout on a small frame is still an adult layout.
Four Models for Different Young Riders
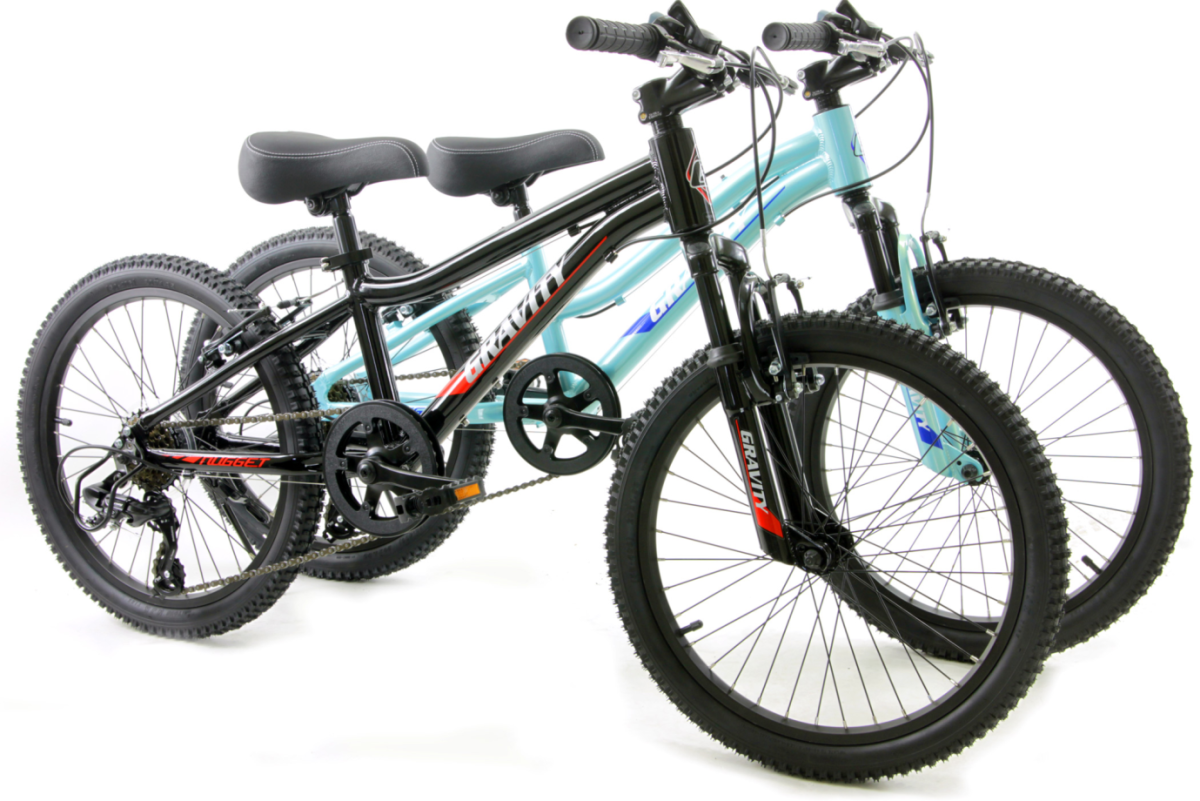
The Gravity Nugget Kids MTB is a child-sized aluminum mountain-style bike with simple rear gearing and V-brakes. It suits neighborhood riding and mild dirt paths when its size range matches the child.
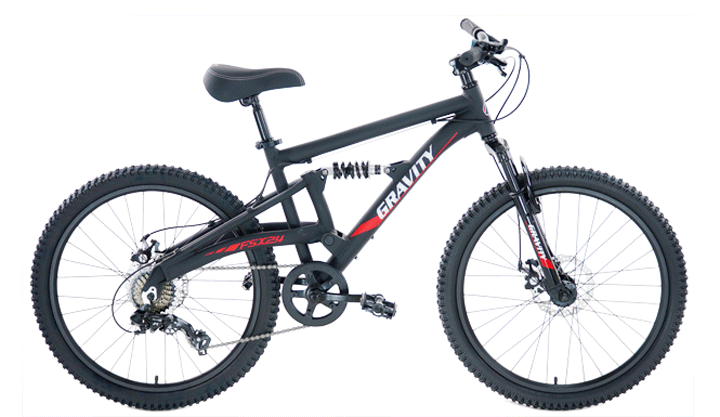
The Gravity FSX 24 adds full suspension, disc brakes, and a 24-inch wheel format. That equipment can appeal to a taller, more experienced child riding rougher ground, but parents should weigh the comfort benefit against additional mass and maintenance.
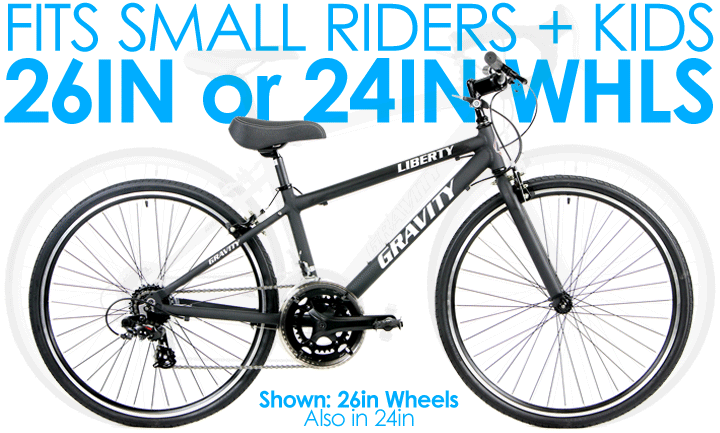
The Gravity Liberty Express Kids uses flat bars and a road-oriented platform for pavement, paths, and smaller riders who want efficient tires without a mountain-bike stance. The Gravity Liberty Express 26 extends the idea to taller children and small riders.
A child-sized fat bike can be fun on sand or snow, but broad tires and heavy wheels are unnecessary for normal sidewalks and parks. Choose special-purpose equipment only when the family will use it.
Red Flags at Any Retailer
Avoid a frame the child cannot stand over, brake levers that cannot be reached, loose bearings, sharp cable ends, and wheels that wobble. Check that the fork faces forward, pedals are installed on the correct sides, and every fastener is secure.
Do not assume a new bicycle is ready because it came from a box or showroom floor. Final assembly and a safety inspection are essential. The NHTSA bicycle safety page also emphasizes helmet use, visibility, and age-appropriate riding rules.
Training wheels should not hide a fit problem. Balance-bike practice or a temporarily lowered saddle can teach independent balance more directly for many children. The USA Cycling balance-bike guide provides additional ideas for building skills through short, positive sessions.
The Right Size Creates Better First Rides
A relaxed beach cruiser may inspire the family riding style, while a child still needs a model sized to individual reach and inseam. Adult category names should not dictate the child’s equipment.
BikesDirect offers kids’ mountain and road options with size guidance and product specifications for comparing wheel size, frame material, brakes, and gearing. Parents can use those details to avoid buying solely by age or appearance.
A hybrid bike may become the next step for a taller teenager, but the first purchase should prioritize today’s control.
A dependable year round bike commuting guide must address the days when riding is least convenient. Heat, rain, darkness, cold, road debris, and changing daylight can break a routine unless the bicycle, clothing, and route are prepared before conditions deteriorate.
An upright hybrid bike often works well because it supports visibility, flat-bar control, practical tires, and mounting points. Gravel and endurance road bikes can be faster over long distances, while a cruiser may suit short, flat routes. Reliability matters more than category labels.
Build a Bicycle That Starts Every Morning
A commuting bike should fit comfortably, stop consistently, and accept the equipment the route requires. Disc brakes help in wet weather, but well-maintained rim brakes can work on flatter dry routes. Wider tires provide comfort and control over potholes, painted lines, and debris.
Fenders keep road spray away from clothing and drivetrain parts. A rear rack or secure bag carries work items without a sweaty backpack. Gearing should include a low ratio for the steepest hill when the bike is loaded.
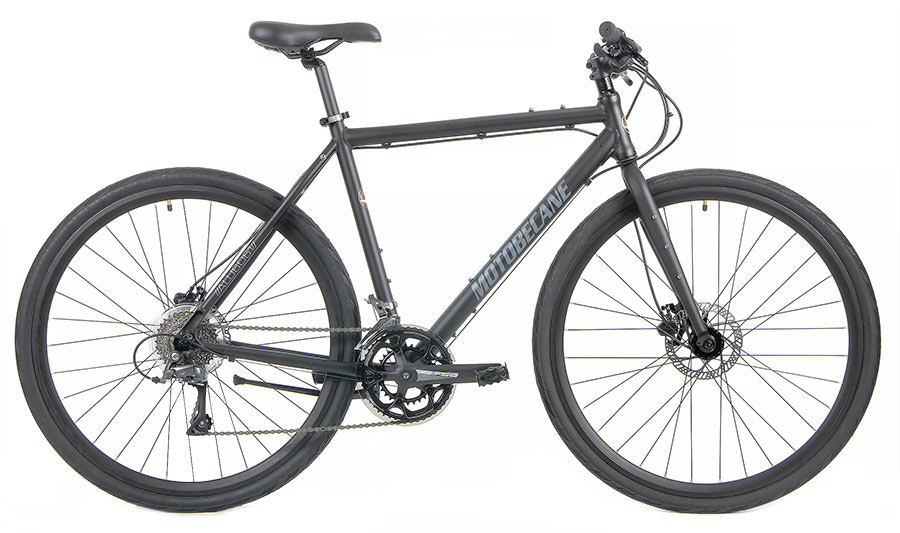
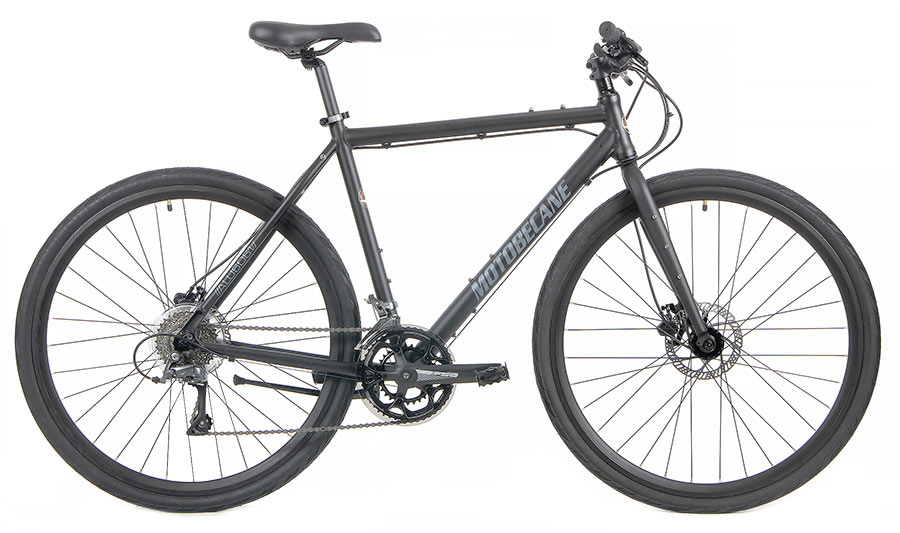
The Motobecane Gravel XP2 is a useful commuter example because its flat bar, disc brakes, and gravel-capable tires support control without a highly aggressive position.
Dress for the First Ten Minutes
Overdressing creates sweat that becomes uncomfortable when the rider slows or stops. Start slightly cool and use layers that can be opened or removed. A wind-resistant outer layer often matters more than thick insulation.
Rain clothing should balance protection with ventilation. Waterproof shoe covers, gloves, and a cap under the helmet can improve comfort, but no system keeps a hard-working rider completely dry in warm rain. Pack dry work clothes in a waterproof bag.
In heat, choose breathable clothing, carry water, and adjust departure time when possible. In cold weather, protect hands, feet, ears, and the front of the torso first. The REI cold-weather cycling guide provides useful layering principles.
Light the Rider Before Darkness Arrives
A white front light and red rear light should be installed before autumn daylight disappears. Daytime flash modes can improve visibility, but riders should avoid patterns that blind others. Reflective ankle, wheel, and bag details add movement that drivers can recognize.
The NHTSA bicycle safety guidance recommends visibility equipment and predictable riding. Lights do not replace lane position, signaling, and route choice, but they make those actions easier to detect.
Carry a backup light or charging cable. Cold can reduce battery performance, and an unexpectedly late workday should not leave the rider invisible.
Adjust Tires and Routes With the Season
Wet roads reward tires with healthy tread and pressure that allows the casing to conform to the surface. Snow and ice may require wider or studded tires where legal and appropriate. Heat raises tire pressure, so check before riding rather than inflating to a fixed number every month.
Choose routes by safety, not only distance. A slightly longer street with lower speeds and better lighting may be faster in practice because it reduces stressful intersections. Test alternatives during daylight before using them in a storm or at night.
A fast road bike can be suitable for long commutes, but narrow tires and an aggressive position may be less forgiving on winter debris. The bicycle should reflect the worst common conditions, not the best summer morning.
Four Bikes With Different Commuting Strengths
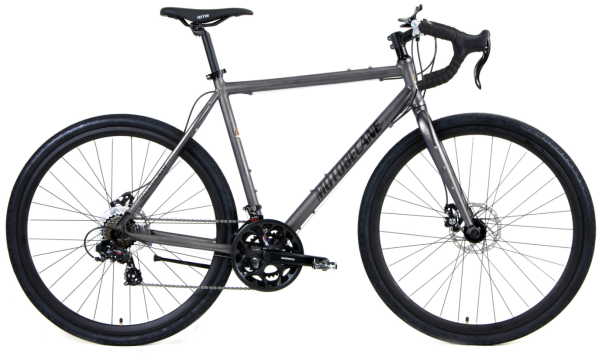
The Gravel XP2 favors upright flat-bar control and mixed-surface tires. The Motobecane Super Mirage SLX XTL adds drop-bar efficiency, mechanical discs, wide gearing, and room for broader tires.
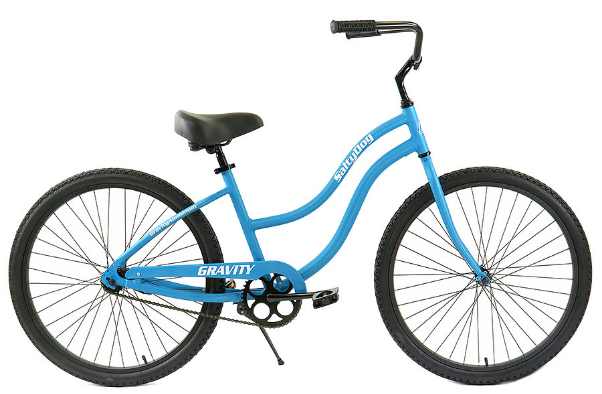
The Motobecane Gravel X1 XTL suits riders who combine commuting with weekend gravel and want several mounts. The Gravity Salty Dog fits short, flat trips where upright comfort matters more than high-speed efficiency.
Each model requires secure lights, a lock, suitable tires, and final fit adjustment. The commuter should also confirm where the bicycle will be stored, since weather exposure and theft risk can shape the best purchase.
Create a Five-Minute Maintenance Routine
Before leaving, squeeze both brakes, check tire firmness, confirm lights, and look for loose bags. Once a week, inspect tire cuts, chain lubrication, pad wear, and rack fasteners. Clean road salt and grit before they damage the drivetrain.
Keep a pump, tube, tire levers, and multitool at work or on the bike. The Park Tool bicycle cleaning guide can help riders protect components before a roadside problem occurs.
Prepare the Workplace End of the Trip
A year-round commute is easier when the destination supports it. Keep spare socks, basic toiletries, a charger, and dry clothing at work. Confirm where wet outerwear can hang without creating a problem for coworkers.
Secure indoor parking reduces theft and protects the bicycle from rain or snow during the day. Where indoor storage is unavailable, use a strong lock, cover sensitive electronics, and avoid leaving removable lights or displays on the bike. These small systems make poor-weather riding routine rather than heroic. Riders should also keep an emergency transit option, cash or payment access, and a contact plan for weather that becomes unsafe. Consistency includes knowing when not to ride and how to reach home without improvising in dangerous roadside conditions after dark alone.
Consistency Comes From Removing Excuses
A beach cruiser can be ideal for a short coastal route, while longer or hillier commutes demand more gearing and efficiency. The most reliable bicycle is the one suited to the actual distance and weather.
BikesDirect offers flat-bar, road, gravel, cruiser, and electric options with specifications that help commuters compare tire capacity, brakes, gearing, and mounting features. Its sizing resources also help buyers avoid turning every ride into a fit problem.
A practical bikepacking essentials guide should help a beginner carry less, not encourage a shopping spree. A first overnight ride needs a suitable route, safe shelter, water, food, repair equipment, weather protection, and a bicycle that remains stable when loaded. Everything else must justify its weight and space.
A gravel bike is a natural starting point because wider tires, drop bars, lower gearing, and frame mounts suit mixed roads. A hardtail, hybrid, or touring-style bicycle can work equally well if its tires, gearing, and carrying options match the route.
Plan the Route Before Packing
Distance alone does not describe difficulty. Surface, elevation, wind, temperature, water access, resupply points, and legal camping determine the real workload. A 40-mile paved route can be easier than 20 miles of loose climbing.
The REI bikepacking guide recommends selecting the bicycle and luggage around terrain. Beginners should choose a route with bailout options, phone coverage where possible, and a known water source.
Share the route and expected return time with someone at home. Download offline maps and carry identification. A weekend adventure should include margins for a puncture, wrong turn, or slower pace.
Choose Bags That Preserve Handling
A seat pack holds soft, light items such as clothing and a sleeping layer. A handlebar roll suits a sleeping bag or compact shelter. A frame bag keeps dense items near the center of the bike, which helps stability. Fork bags or small cargo cages can carry balanced loads when the frame provides suitable mounts.
Do not overload the handlebar with heavy equipment. Steering becomes slow, cables can be compressed, and the tire may contact the bag when the fork moves. Keep heavy tools, food, and water low and centered.
Racks and panniers remain valid for riders who value easy access and already own compatible equipment. The distinction between touring and bikepacking matters less than a secure, balanced load.
Pack the Four Core Systems
Sleep equipment includes shelter, insulation, and a sleeping bag or quilt suited to the expected low temperature. Water planning includes carrying capacity and a treatment method when natural sources are used. Food should be familiar, compact, and easy to prepare.
Clothing should manage temperature rather than provide a fresh outfit for every hour. Pack a dry sleep layer, rain protection, and insulation for stops. Avoid cotton in cold, wet conditions because it holds moisture.
The repair system should include a pump, spare tube even with tubeless tires, tire plugs, tire levers, multitool, chain quick link, and a small tire boot. The REI bike repair kit checklist provides a useful foundation, but every rider should know how to use the tools before leaving.
Leave Redundant Comfort Items at Home
Beginners often pack several versions of the same function: extra shoes, large cooking sets, multiple heavy locks, and too much food. Lay everything out, group it by purpose, and remove duplicate items.
Comfort still matters. A small pillow or favorite warm layer may improve sleep enough to justify its space. The goal is not the lightest possible load but the lightest load that remains safe and enjoyable.
Weigh the complete luggage and ride the loaded bike before the trip. Check for heel strike, bag sway, tire rub, loose straps, and unstable steering. Practice braking because extra mass increases stopping distance.
Four Bikes for Different Weekend Routes
The Motobecane Gravel X1 XTL suits light gravel and budget-focused trips. Its mounts and moderate tires support a simple overnight load, though riders should confirm total capacity and bag clearance.
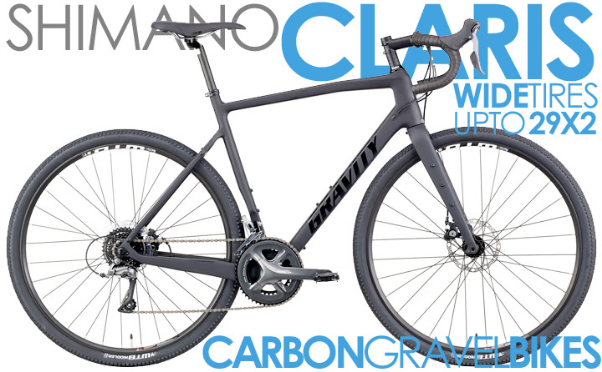
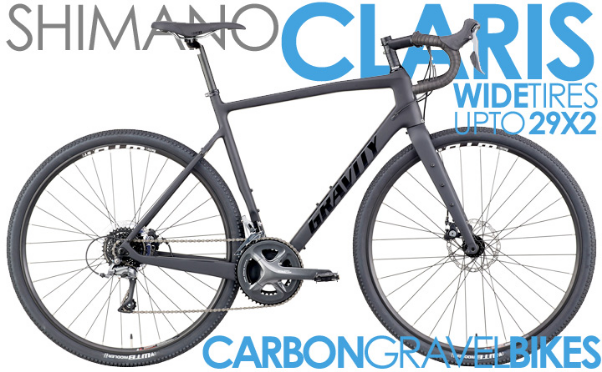
The Gravity Gravel CF Comp offers wide tires and carbon construction for rougher routes. Its larger tire volume can improve comfort, while thru-axles support consistent wheel placement.
The Motobecane Gravel X3 XTL provides integrated road-style controls and useful 2x gearing for routes with long paved connections. The Motobecane MuleKick CF RX600 targets riders who want carbon, hydraulic brakes, and gravel-specific components for frequent travel.
A mountain bike may be better when the route includes technical singletrack, but suspension and wide flat bars can reduce bag space. The bike should be chosen by the hardest terrain, then loaded to preserve control.
Test Everything Close to Home
Complete a short loaded ride and an overnight practice trip before committing to a remote route. Use the exact bags, clothing, food, lights, and sleep system. This reveals rattles, pressure points, missing tools, and unrealistic pacing.
Check bolts after the test because mounts and racks can settle. Inspect tires for cuts and set pressure for the combined load. The SRAM tire pressure guide can provide a starting value, but loaded testing remains essential.
Build a Simple Emergency Plan
Carry enough battery capacity for navigation and emergency calls, but do not depend on continuous service. Note road crossings, towns, shelters, and water sources on an offline map. Weather can change faster than riding pace, so set a firm turnaround time.
A first trip should also include a clear decision rule for mechanical trouble. A broken spoke, damaged tire, or persistent brake problem may require walking to the nearest safe road rather than improvising deeper into the route. Planning that exit is part of packing responsibly, calmly, and safely before the planned departure day.
Carry Less and Plan Bette
A fat bike may be the right expedition tool for deep sand or snow, while many paved and compacted routes need far less tire. Matching equipment to conditions prevents unnecessary weight.
BikesDirect offers gravel, hybrid, mountain, and fat-tire options with product specifications and mounting details for route-based comparison. Buyers can assess tire clearance, gearing, brakes, and geometry before building a carrying system.
Cyclists often ask “Does bike weight matter?” because the scale offers an easy number to compare. The honest answer is yes, but not equally on every route and not at any price. Weight affects climbing, acceleration, carrying, and handling, yet fit, tire pressure, aerodynamics, reliability, and rider fitness often change real-world speed more.
A lightweight road bike can feel lively because the rider repeatedly accelerates the bike and lifts it over hills. A commuter carrying a lock, laptop, water, and clothing may gain more from durable wheels and puncture-resistant tires than from saving a few hundred grams.
Think in Total System Weight
The bicycle is only one part of the moving system. Rider mass, shoes, bottles, tools, bags, and clothing all climb the same hill. Saving one pound from a 180-pound combined system changes the total by less than one percent.
That does not make bicycle weight meaningless. The rider feels the bike separately when lifting it onto a rack, carrying it upstairs, steering through turns, or accelerating after a stop. Perception and total-system physics are both valid, but they answer different questions.
The REI road-bike guide places frame material alongside geometry and components rather than treating weight as the only measure of performance. Buyers should do the same.
Where Lower Weight Pays Off
Long climbs reward lower mass because gravity must be overcome for every vertical foot. Riders who race uphill, repeat steep intervals, or live in mountainous areas can feel a meaningful difference between otherwise similar bikes.
Acceleration also changes. A lighter bicycle can respond more quickly when leaving a corner or increasing speed, although wheel and tire mass are only part of the complete system. Frequent racing surges make this more relevant than steady recreational riding.
Carrying is the most obvious case. Apartment residents, transit users, and travelers may handle the bike more often than they expect. A few pounds can determine whether daily storage is convenient or frustrating.
Where Grams Matter Less
On flat roads at steady speed, aerodynamic drag dominates more than small weight differences. Body position, clothing, wheel depth, and headwind exposure can matter more than a modest frame saving. A comfortable rider who holds an efficient position may outperform a strained rider on a lighter chassis.
Tires can also overwhelm a weight advantage. Pressure that is too high creates vibration and lost control on rough pavement, while pressure that is too low increases casing deformation and puncture risk. The SRAM tire pressure guide helps riders choose a starting point from total load, tire dimensions, and surface.
Reliability matters on every route. Lightweight parts may use less material or narrower safety margins. That can be appropriate for racing, but a utility rider may prefer stronger wheels, wider tires, metal pedals, and mounting hardware.
Four Bikes With Different Priorities
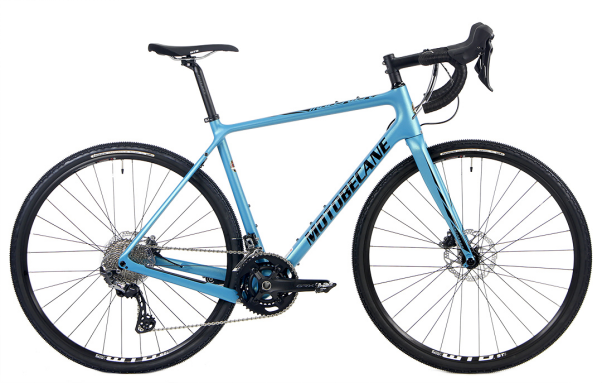
The Motobecane Immortal Spirit XTL represents a carbon platform where lower mass and road performance are central. It suits a rider who already knows that climbing and speed justify a higher frame tier.
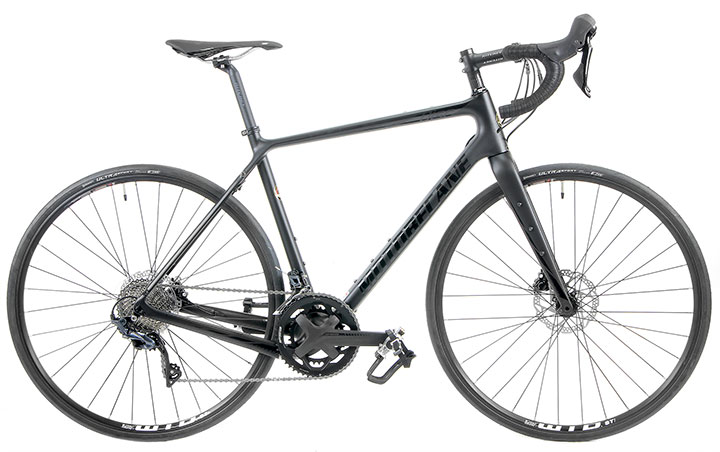
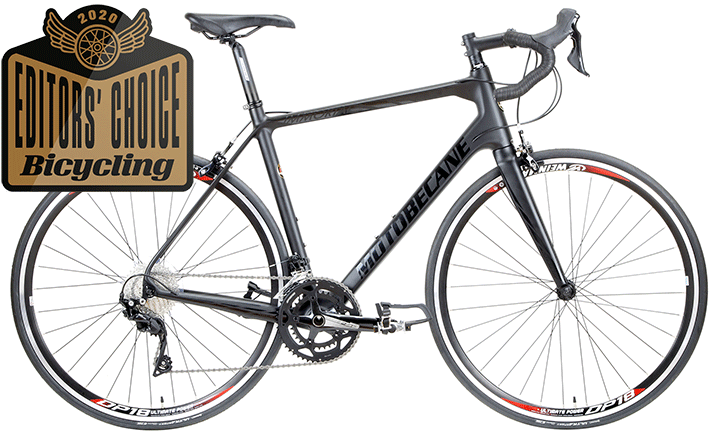
The Motobecane Mirage SLX-XTL uses aluminum for the frame and carbon for the fork. This hybrid material strategy directs money toward comfort and steering feel without requiring a full-carbon chassis.
The Motobecane Super Mirage SLX XTL accepts additional mass from disc brakes, wider tires, a chromoly fork, and extra brake levers. Those grams purchase braking access, rough-road capability, and practical versatility.
The Gravity Gravel CF Comp combines a carbon frame with large tires and disc equipment. It shows that a carbon bicycle can still prioritize traction and comfort rather than chasing a road-racing scale number. A fat bike takes that trade-off further because very wide tires serve flotation and grip, not minimum mass.
Spend Where the Ride Improves
Before paying for lower weight, fix fit, tire choice, pressure, brake setup, and drivetrain condition. These changes can improve comfort and speed without replacing the frame. The Park Tool bicycle cleaning guide is a useful reference for maintaining the equipment already owned.
Then identify a real weight-related problem. Is the bike difficult to carry upstairs, slow during repeated race accelerations, or burdensome on a long climb? If not, a lighter component may provide less value than better tires, a professional fit, or dependable lights.
Weight claims also vary by frame size, pedals, production parts, and measurement method. Compare bicycles under similar conditions and leave room for normal variation. A scale number without context can create false precision.
Rotating Weight Deserves Context Too
Cyclists often hear that a gram at the wheel matters more than a gram at the frame. Rotating parts do require energy during acceleration, but the effect is commonly overstated for steady riding. Tire casing, tread, pressure, and aerodynamic shape can matter more than a small rim-weight difference.
A lighter wheel may still feel more responsive during repeated surges and climbing. The purchase is most valuable when it also improves hub quality, rim width, or tire compatibility. Replacing sound wheels only for a modest scale saving may deliver little practical return. Riders should also include the weight of required pedals, bottle cages, racks, and repair equipment when comparing complete real-world setups used every single week in normal practice.
Buy for the Whole Ride, Not the Scale
A relaxed beach cruiser may carry more mass than a road racer, yet deliver a better experience for short, upright rides. The design succeeds by matching its purpose.
BikesDirect lists frame material, approximate weight, tires, brakes, and components across its categories. Those details help buyers see what the grams are buying or removing instead of treating lower weight as an automatic upgrade.