

A practical bikepacking essentials guide should help a beginner carry less, not encourage a shopping spree. A first overnight ride needs a suitable route, safe shelter, water, food, repair equipment, weather protection, and a bicycle that remains stable when loaded. Everything else must justify its weight and space.
A gravel bike is a natural starting point because wider tires, drop bars, lower gearing, and frame mounts suit mixed roads. A hardtail, hybrid, or touring-style bicycle can work equally well if its tires, gearing, and carrying options match the route.
Plan the Route Before Packing
Distance alone does not describe difficulty. Surface, elevation, wind, temperature, water access, resupply points, and legal camping determine the real workload. A 40-mile paved route can be easier than 20 miles of loose climbing.
The REI bikepacking guide recommends selecting the bicycle and luggage around terrain. Beginners should choose a route with bailout options, phone coverage where possible, and a known water source.
Share the route and expected return time with someone at home. Download offline maps and carry identification. A weekend adventure should include margins for a puncture, wrong turn, or slower pace.
Choose Bags That Preserve Handling
A seat pack holds soft, light items such as clothing and a sleeping layer. A handlebar roll suits a sleeping bag or compact shelter. A frame bag keeps dense items near the center of the bike, which helps stability. Fork bags or small cargo cages can carry balanced loads when the frame provides suitable mounts.
Do not overload the handlebar with heavy equipment. Steering becomes slow, cables can be compressed, and the tire may contact the bag when the fork moves. Keep heavy tools, food, and water low and centered.
Racks and panniers remain valid for riders who value easy access and already own compatible equipment. The distinction between touring and bikepacking matters less than a secure, balanced load.
Pack the Four Core Systems
Sleep equipment includes shelter, insulation, and a sleeping bag or quilt suited to the expected low temperature. Water planning includes carrying capacity and a treatment method when natural sources are used. Food should be familiar, compact, and easy to prepare.
Clothing should manage temperature rather than provide a fresh outfit for every hour. Pack a dry sleep layer, rain protection, and insulation for stops. Avoid cotton in cold, wet conditions because it holds moisture.
The repair system should include a pump, spare tube even with tubeless tires, tire plugs, tire levers, multitool, chain quick link, and a small tire boot. The REI bike repair kit checklist provides a useful foundation, but every rider should know how to use the tools before leaving.
Leave Redundant Comfort Items at Home
Beginners often pack several versions of the same function: extra shoes, large cooking sets, multiple heavy locks, and too much food. Lay everything out, group it by purpose, and remove duplicate items.
Comfort still matters. A small pillow or favorite warm layer may improve sleep enough to justify its space. The goal is not the lightest possible load but the lightest load that remains safe and enjoyable.
Weigh the complete luggage and ride the loaded bike before the trip. Check for heel strike, bag sway, tire rub, loose straps, and unstable steering. Practice braking because extra mass increases stopping distance.
Four Bikes for Different Weekend Routes
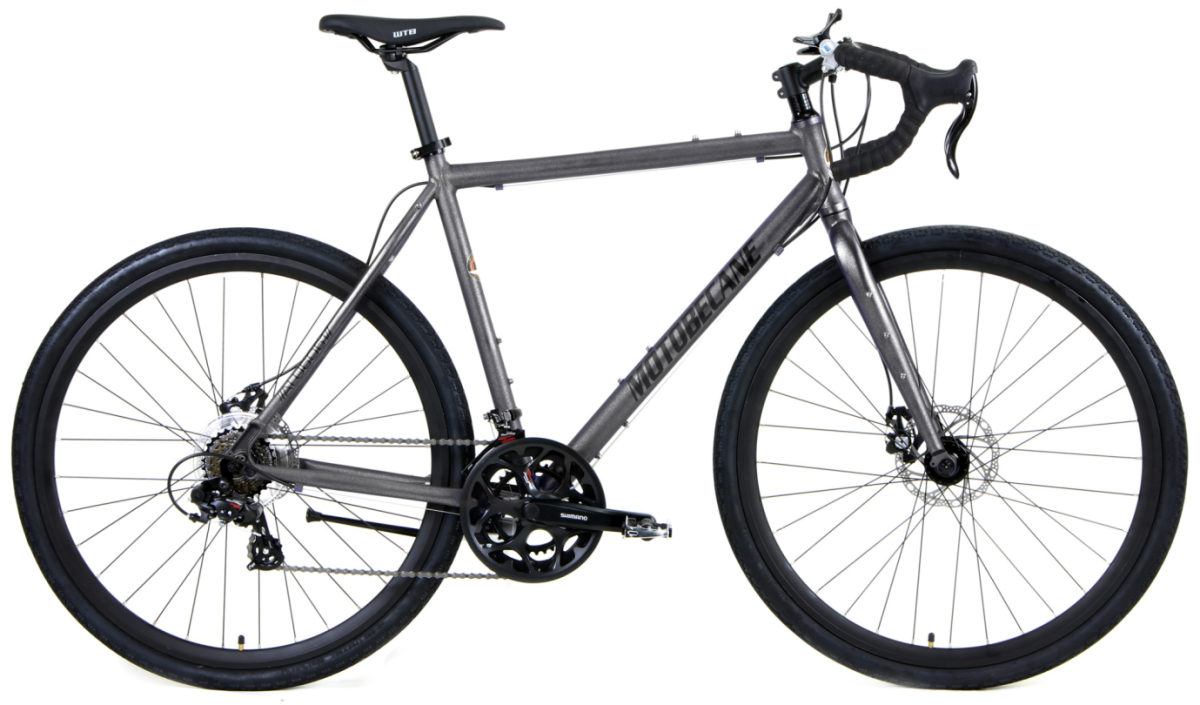
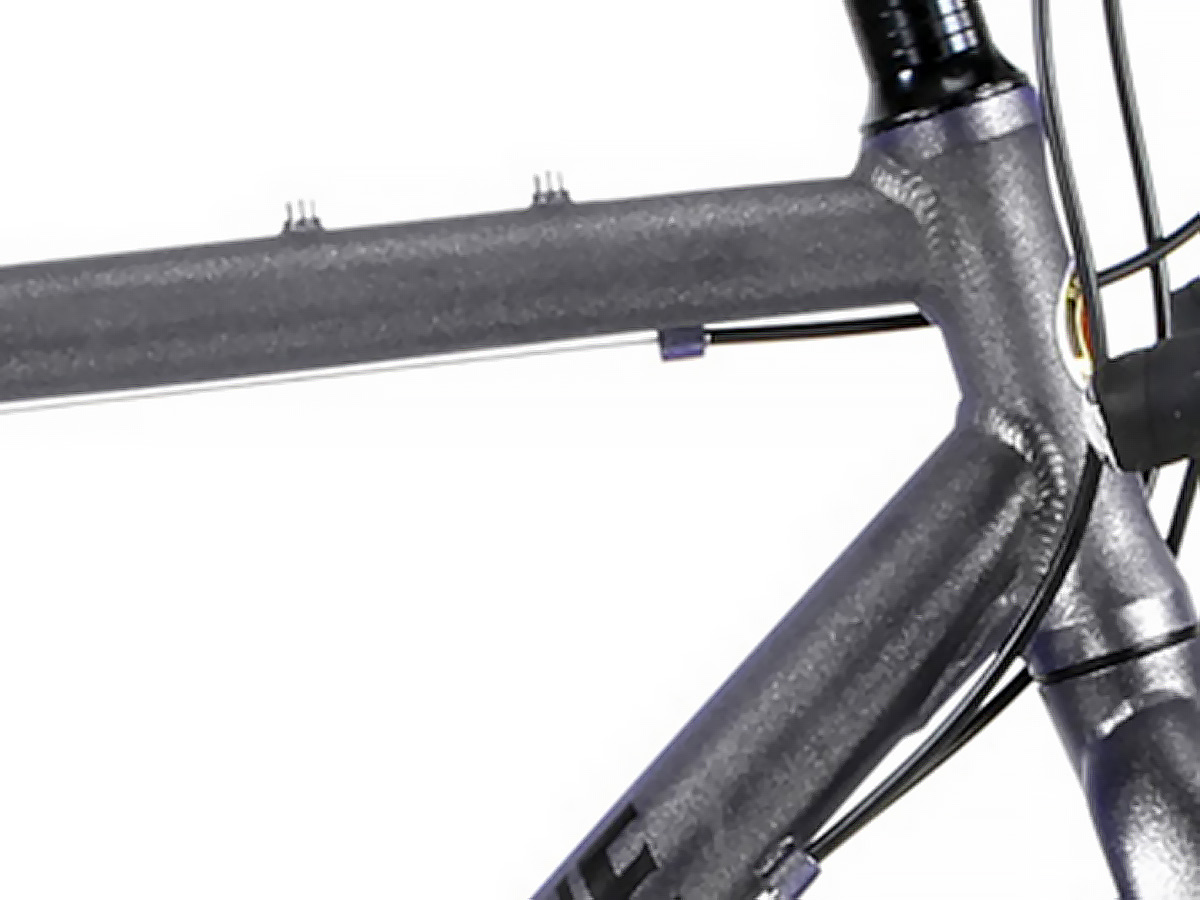
The Motobecane Gravel X1 XTL suits light gravel and budget-focused trips. Its mounts and moderate tires support a simple overnight load, though riders should confirm total capacity and bag clearance.
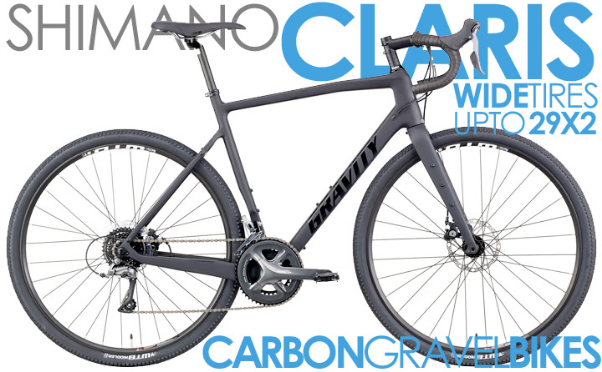
The Gravity Gravel CF Comp offers wide tires and carbon construction for rougher routes. Its larger tire volume can improve comfort, while thru-axles support consistent wheel placement.
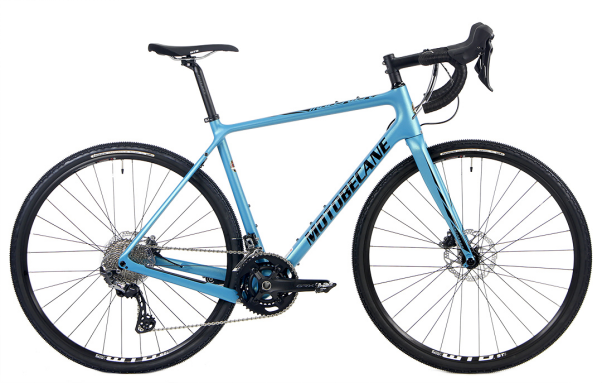
The Motobecane Gravel X3 XTL provides integrated road-style controls and useful 2x gearing for routes with long paved connections. The Motobecane MuleKick CF RX600 targets riders who want carbon, hydraulic brakes, and gravel-specific components for frequent travel.
A mountain bike may be better when the route includes technical singletrack, but suspension and wide flat bars can reduce bag space. The bike should be chosen by the hardest terrain, then loaded to preserve control.
Test Everything Close to Home
Complete a short loaded ride and an overnight practice trip before committing to a remote route. Use the exact bags, clothing, food, lights, and sleep system. This reveals rattles, pressure points, missing tools, and unrealistic pacing.
Check bolts after the test because mounts and racks can settle. Inspect tires for cuts and set pressure for the combined load. The SRAM tire pressure guide can provide a starting value, but loaded testing remains essential.
Build a Simple Emergency Plan
Carry enough battery capacity for navigation and emergency calls, but do not depend on continuous service. Note road crossings, towns, shelters, and water sources on an offline map. Weather can change faster than riding pace, so set a firm turnaround time.
A first trip should also include a clear decision rule for mechanical trouble. A broken spoke, damaged tire, or persistent brake problem may require walking to the nearest safe road rather than improvising deeper into the route. Planning that exit is part of packing responsibly, calmly, and safely before the planned departure day.
Carry Less and Plan Bette
A fat bike may be the right expedition tool for deep sand or snow, while many paved and compacted routes need far less tire. Matching equipment to conditions prevents unnecessary weight.
BikesDirect offers gravel, hybrid, mountain, and fat-tire options with product specifications and mounting details for route-based comparison. Buyers can assess tire clearance, gearing, brakes, and geometry before building a carrying system.
Study the mounting points and select a hybrid bike or adventure model that supports your planned load at BikesDirect.