

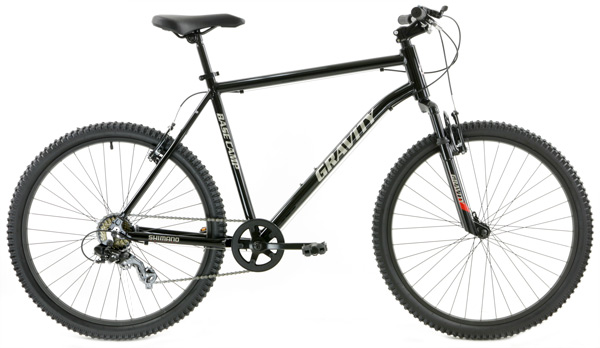
Few features shape a mountain bike more than its suspension. Riders argue about wheel size and frame material, but spend any time on real trails, and the difference between a well-tuned shock and a neglected one will rearrange your priorities fast. Suspension changes how a bike climbs, how it descends, how confidently you hit a rock garden at speed, and how your body feels after four hours in the saddle. Yet most riders own bikes with suspension components they have never adjusted past the factory baseline. They tolerate harshness, lose grip on technical climbs, and never quite trust their fork through fast corners — all because the system feels like a black box they were never invited to open.
This mountain bike suspension guide opens that box. We will walk through hardtail and full-suspension platforms, explain why travel numbers matter, sort out the long-running debate between air and coil shocks, demystify compression and rebound damping, show you how to set up sag for your weight, and finally break down which setup works for cross-country, trail, enduro, and downhill riding. By the end, you will know exactly what your bike is doing beneath you, how to tune it for the terrain you ride most, and which questions to ask before your next upgrade.
Hardtail vs Full Suspension: The Foundation
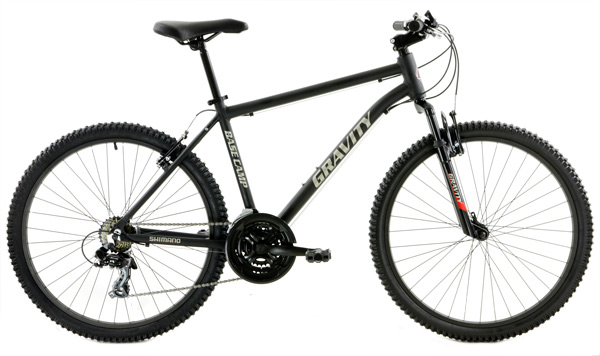
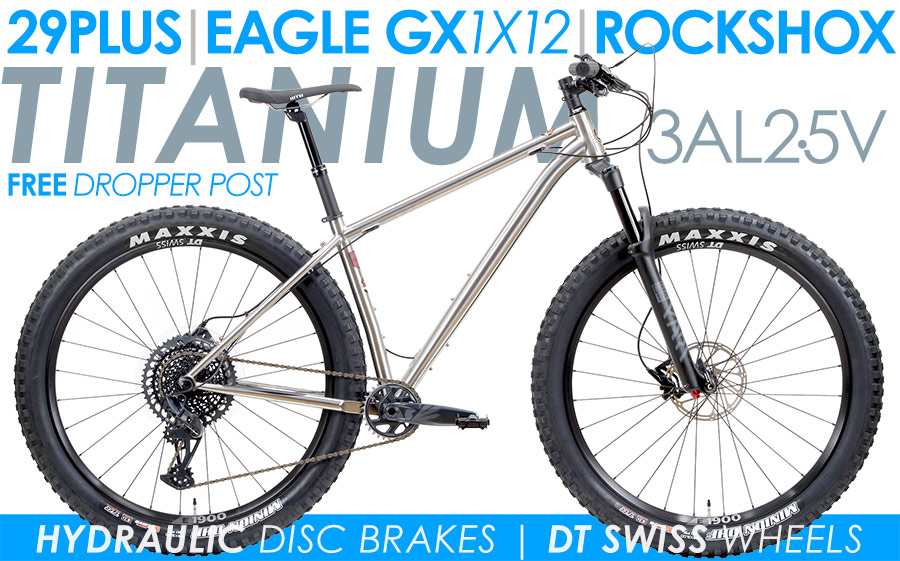
Every honest mountain bike suspension guide starts at the same fork in the road: hardtail or full suspension. A hardtail has a suspension fork up front and a rigid rear triangle. Full-suspension bikes add a rear shock connected to a linkage that allows the rear wheel to move independently from the frame. Both designs solve real problems and create real compromises, and the right choice depends on your terrain, budget, and riding style.
Hardtails cost less, weigh less, and require less maintenance. They transmit power directly to the rear wheel, which makes them efficient climbers on smooth surfaces. Many riders prefer them on tame singletrack, fire roads, and rolling cross-country terrain. Some even use a rigid setup, similar to that of a gravel bike, for fast-rolling efficiency on hardpack. The downside shows up the moment the trail turns rough. Without rear suspension, every root and rock drives feedback through the saddle, your spine, and your hands. Riders ride more cautiously, brake earlier, and tire faster on technical descents.
Full-suspension bikes solve those problems by isolating the rider from impacts. The rear wheel tracks the ground over bumps and chatter, improving traction, control, and confidence — especially at speed. Modern designs pedal far better than the squishy bikes of fifteen years ago, thanks to advances in suspension kinematics and lockout switches. You will pay more, maintain more pivots, and carry slightly more weight, but most riders who tackle truly technical terrain feel the trade-off is worth it within a single ride. This mountain bike suspension guide leans toward full suspension for anyone who regularly rides rocky, rooty, or steep trails.
Understanding Suspension Travel
Travel is the distance your suspension can compress, measured in millimeters. A 100 mm fork compresses 100 mm before it bottoms out. Travel correlates directly with intended use, and matching travel to your terrain is one of the most important calls covered in this mountain bike suspension guide.
Cross-country bikes run 100 to 120 mm of travel front and rear. They prioritize efficiency, pedaling response, and low weight over plush descending performance. Trail bikes — the most popular category in North America — typically have 130 to 150 mm of travel. They balance climbing ability with descending capability and suit riders who tackle a mix of everything. Enduro and all-mountain bikes step up to 150-170 mm travel to handle steeper, faster, more demanding descents while still pedaling uphill under their own power. Downhill bikes max out at 180-200 mm travel because they only need to handle the descent — riders shuttle or chairlift back to the top.

More travel is not always better, and that single sentence might be the most important line in any mountain bike suspension guide. A 170 mm enduro rig on a flat XC course will feel slow, vague, and overbuilt. A 100 mm XC bike on a steep enduro track will hammer your hands and rattle your teeth. According to Bicycling magazine’s coverage of technical bike fit, mismatched travel ranks among the top three reasons riders sell bikes within the first season. Pick travel that matches the terrain you actually ride 80 percent of the time, not the terrain you wish you rode.
Air Shocks vs Coil Shocks
The spring inside your shock or fork stores energy and pushes the suspension back to full extension after a hit. Two main spring types exist: air and coil. Each behaves differently, and the choice often defines a bike’s character, which is why this section of any thorough mountain bike suspension guide tends to spark the strongest opinions among riders.
Air springs use pressurized air inside a sealed chamber. They weigh significantly less than coil springs, adjust easily with a shock pump, and tune progressively — meaning they get stiffer as they travel deeper. That progressivity helps prevent harsh bottom-outs on big hits, which is why most modern trail and enduro bikes ship with air shocks. The downsides include slightly more friction (stiction), more frequent service intervals (most need a full rebuild every 100 to 200 hours), and a less linear feel over small bumps. Riders coming from the smoothness of a road bike sometimes notice that small-bump harshness most acutely.
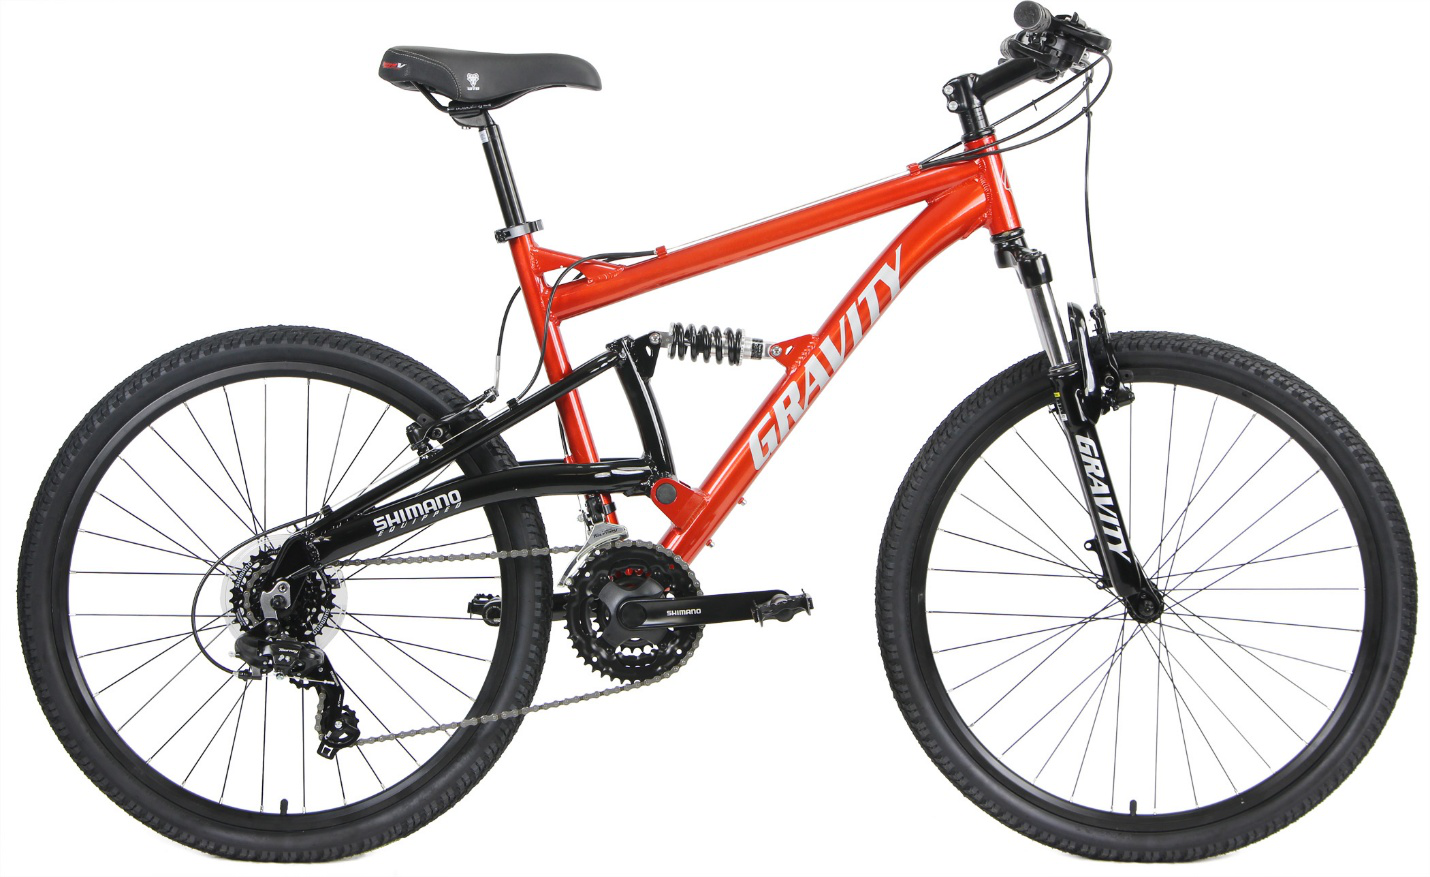
Coil shocks use a steel or titanium spring wrapped around the shock body. They deliver buttery small-bump sensitivity, run cooler on long sustained descents, and require far less maintenance than air shocks. The cost is weight (a coil shock typically adds 200 to 400 grams) and the inflexibility of having to swap entire springs to change spring rate. Enduro and downhill riders have embraced coil setups in recent years because the consistency on long, hot descents outweighs the weight penalty. The International Mountain Bicycling Association (IMBA) has noted that coil setups also tend to track better on rough, sustained terrain, improving both rider confidence and braking control.
Damping Explained: Compression and Rebound
A spring without damping would bounce uncontrollably. Damping uses oil flowing through small ports to slow that bounce and convert it to heat. Every modern shock has two damping circuits; this mountain bike suspension guide expects you to understand: compression and rebound.
Compression damping controls how fast the suspension compresses into its travel. With too little compression damping, the bike feels wallowy, dives in corners, and bobs while pedaling. Too much, and the suspension resists small bumps, transmitting harshness through the bike. High-end shocks split this into low-speed compression (LSC, governing rider weight shifts and pedaling) and high-speed compression (HSC, governing fast impacts like roots and square-edge hits). Adjustments live on small dials atop the fork or shock body, and each click changes feel in noticeable ways once you learn the system.
Rebound damping controls how quickly the suspension returns to full travel after compression. Too fast, and the bike bucks you off line on repeated hits. Too slow, and the suspension packs down — compressing into successive bumps without recovering — leaving you with no travel left when you need it. The starting point most manufacturers recommend is roughly the middle of the adjustment range, then add or remove a click at a time based on how the bike feels on the descent. Any mountain bike suspension guide worth your time will tell you to make one change at a time, test it, and only then move to the next adjustment.
Geometry, Wheel Size, and How They Shape Suspension Feel
Suspension does not act alone, and any honest mountain bike suspension guide has to admit it. The bike’s geometry — head tube angle, reach, chainstay length, and wheel size — works alongside the shock and fork to deliver the final ride feel. A slack head angle (around 64 to 65 degrees) puts the front wheel further out in front of the rider, which calms steering at speed and lets the fork absorb hits without diving. A steeper head angle (68 to 69 degrees) places the front wheel closer to the rider, sharpens steering, and rewards efficient climbing. Most modern trail and enduro bikes have moved progressively slacker, which means today’s 140 mm trail bike often descends like a 160 mm enduro bike from five years ago.
Wheel size affects suspension feel in subtle but important ways. The 29-inch wheel rolls over bumps more easily because the contact angle is shallower — effectively giving you free travel without consuming actual shock movement. The 27.5-inch wheel accelerates faster and changes direction more nimbly. Many modern bikes mix the two formats in what the industry calls a mullet setup: a 29-inch wheel up front for rollover and a 27.5-inch wheel out back for agility and clearance. Any thorough mountain bike suspension guide acknowledges that no setup exists in isolation — geometry and wheels are inseparable from how the suspension actually feels under load on real trails.
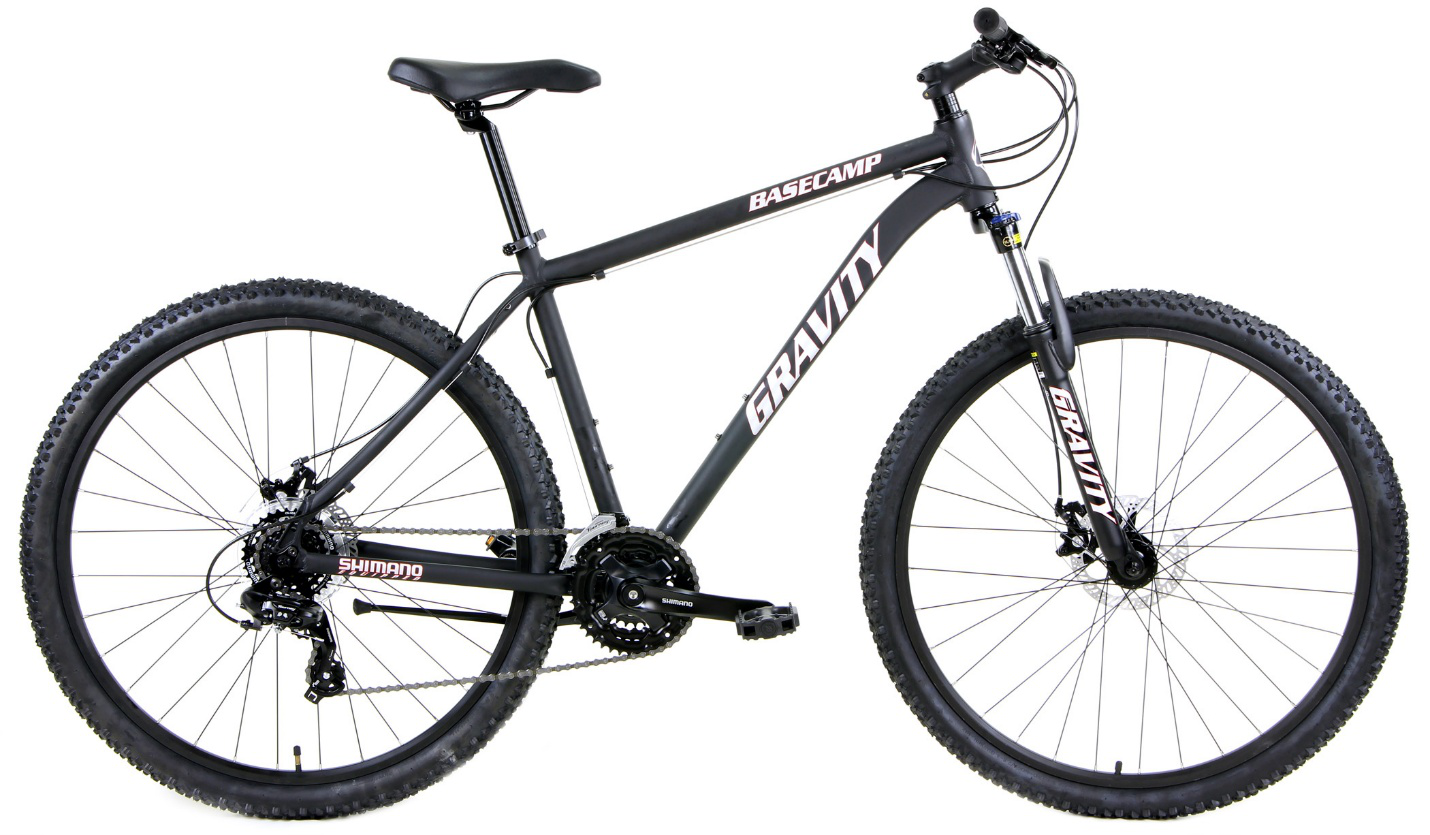
Chain stay length plays a quieter role in this mountain bike suspension guide, but it matters more than most riders realize. Shorter chainstays (around 425 mm) make the bike playful and easy to maneuver. Longer chainstays (445 mm or more) deliver stability at speed and better climbing traction. Pair these geometry details with the right suspension setup, and the result is a bike that feels predictable, balanced, and confidence-inspiring from the first ride forward.
Setting Up Suspension for Your Weight: The Sag Setup
Sag is the amount the suspension compresses under your static body weight in riding position. Setting sag correctly is the single highest-leverage change you can make to your bike, and it costs nothing but five minutes and a friend. This mountain bike suspension guide would be incomplete without spending real time on it.
For most trail and enduro bikes, set rear shock sag to 25 to 30 percent of total travel. Cross-country bikes prefer 20 to 25 percent for a firmer pedaling platform. Downhill bikes typically run 30 to 35 percent for maximum traction and absorption. Forks generally use the same sag percentage as the rear, though some riders run the fork slightly firmer for steering precision. Use the O-ring on the shock or fork stanchion to mark your sag after sitting in your normal attack position. Some riders even apply lessons from balloon-tire setups, where a fat bike runs low pressure to serve as a kind of secondary suspension on snow and sand.
If you weigh on the heavier side, you will need higher air pressure or stiffer coil springs. Lighter riders sometimes struggle to find the right rate, and a bike’s stock spring may be too stiff regardless of how much air you remove. Most fork and shock brands publish weight-based starting charts, but those are starting points, not finish lines. Spend a ride tuning, then another fine-tuning, and your bike will feel like a completely different machine. Far better than throwing money at new parts before you have tuned what you already own, which is the truest piece of advice in any mountain bike suspension guide.
Cross-Country (XC) Suspension Setup
XC racing rewards efficiency above all else, and this mountain bike suspension guide adjusts its recommendations sharply for that goal. Riders favor 100 to 120 mm of travel, firm sag (20 to 25 percent), and aggressive compression damping that resists bobbing on climbs. Many XC bikes include a remote lockout lever that lets the rider stiffen the suspension completely for paved or fire-road sections. Air shocks dominate this category because every gram counts when you are racing the clock for two hours. Suspension here should disappear on climbs and quietly absorb the occasional rock or root without sucking pedaling energy out of your legs.
Trail Suspension Setup
Trail riders deal with the widest variety of terrain, and trail bikes deliver the best general-purpose setup. Travel of 130 to 150 mm with around 28 percent sag works for most riders, most of the time. Compression damping sits in the middle of its range, rebound damping tuned to recover fast enough for chunky descents but slow enough to stay composed. Air shocks remain the standard, although coil conversions are increasingly popular for riders who push trail bikes hard. This category covers everything from smooth flow trails to New England technical singletrack, so this mountain bike suspension guide emphasizes setup discipline over component choice for trail riders. Even casual riders moving up from a hybrid bike can adapt to a properly set trail suspension within a few rides.
Enduro Suspension Setup
Enduro racing demands suspension that descends like a downhill bike and still pedals capably uphill. Travel typically lands at 150 to 170 mm with sag around 30 percent. Riders often add volume reducers (small plastic tokens) to the air spring to increase progressivity, which keeps the suspension supportive in mid-stroke while still allowing big hits to use full travel. Coil shocks have taken over much of the enduro category because long, sustained descents heat air shocks, degrading performance. The right enduro setup, as this mountain bike suspension guide presents it, feels supple at the top of the stroke for grip, supportive in the middle for pumping and cornering, and ramps progressively at the bottom for big hits and drops.
Downhill Suspension Setup
Downhill bikes exist for one purpose: hammering downhill at speed. Travel of 180 to 200 mm with 30 to 35 percent sag soaks up everything from drop landings to rock gardens to high-speed roots. Compression and rebound damping both run firmer than on trail or enduro bikes to keep the chassis controlled at high speeds. Dual-crown forks add stiffness and travel that single-crown forks cannot match. Coil suspension is nearly universal at this level. Riders carry their bikes up via chairlifts, shuttles, or hike-a-bike, then descend at speeds where any suspension misbehavior can ruin a run. Setup at this level is unforgiving, and most serious DH racers work with a tuner — far beyond what any single mountain bike suspension guide can deliver — to dial in their dampers for specific tracks.
Maintenance and Long-Term Care
Suspension performance degrades silently. Seals dry out, oil contaminates, and air can migrate past worn IFP (internal floating piston) seals. The fork that feels fine probably lost 20 percent of its performance over the last 18 months, and you adapted without noticing. Most fork and shock manufacturers recommend a lower-leg service every 50 hours and a full rebuild every 100 to 200 hours. Skipping these intervals will not just cost you performance — it will cost you the part itself when worn seals scratch the stanchions. Even relaxed builds like a beach cruiser with a basic suspension fork benefit from periodic checkups, so this mountain bike suspension guide applies regardless of how serious your riding becomes.
Ready to Upgrade Your Ride?
Visit Bikesdirect.com to browse models engineered around every suspension setup covered in this mountain bike suspension guide. From precise XC race rigs to plush enduro machines and bombproof downhill builds, we stock the bikes that fit your trails, your style, and your budget. Compare travel ranges, shock specs, and frame designs side by side, and ride out with the suspension setup that finally matches the trails you love. Pick the bike — we will handle the details.